
Imagine you get to know that your favorite TV series is now available on Netflix but you are having difficulties watching it due to slow broadband speed. Doesn’t it irritate you to the core? Hell, Yes! You might wonder the whole point of taking a broadband when it runs slowly just when you need it the most. Well, this is not the only thing that you do with a fair speed of the Internet. Fortunately, there are preemptive steps that could help in increasing the broadband speed in your Windows computer.
In this post, we have listed some of the tips to increase broadband speed in Windows.
Reservable Bandwidth
One of the most important steps that you could take is enabling Reservable Bandwidth and set it to value ‘0’ After performing these steps, your system will be set to reserve nothing but 20% by default. To do so, follow these steps:
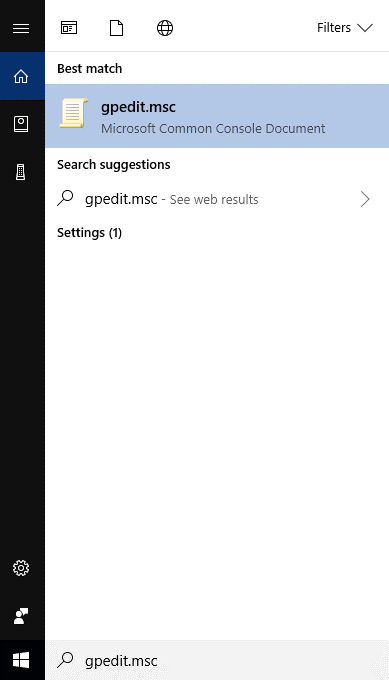
- Go to search box beside the Start menu and type ‘gpedit.msc’ to open Local Group Policy Editor.
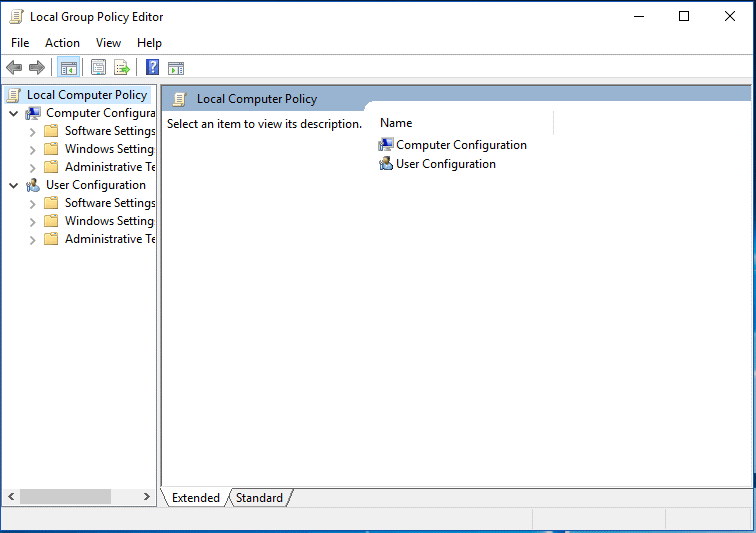
- Local Group Policy Editor box will open, now navigate to the following path:
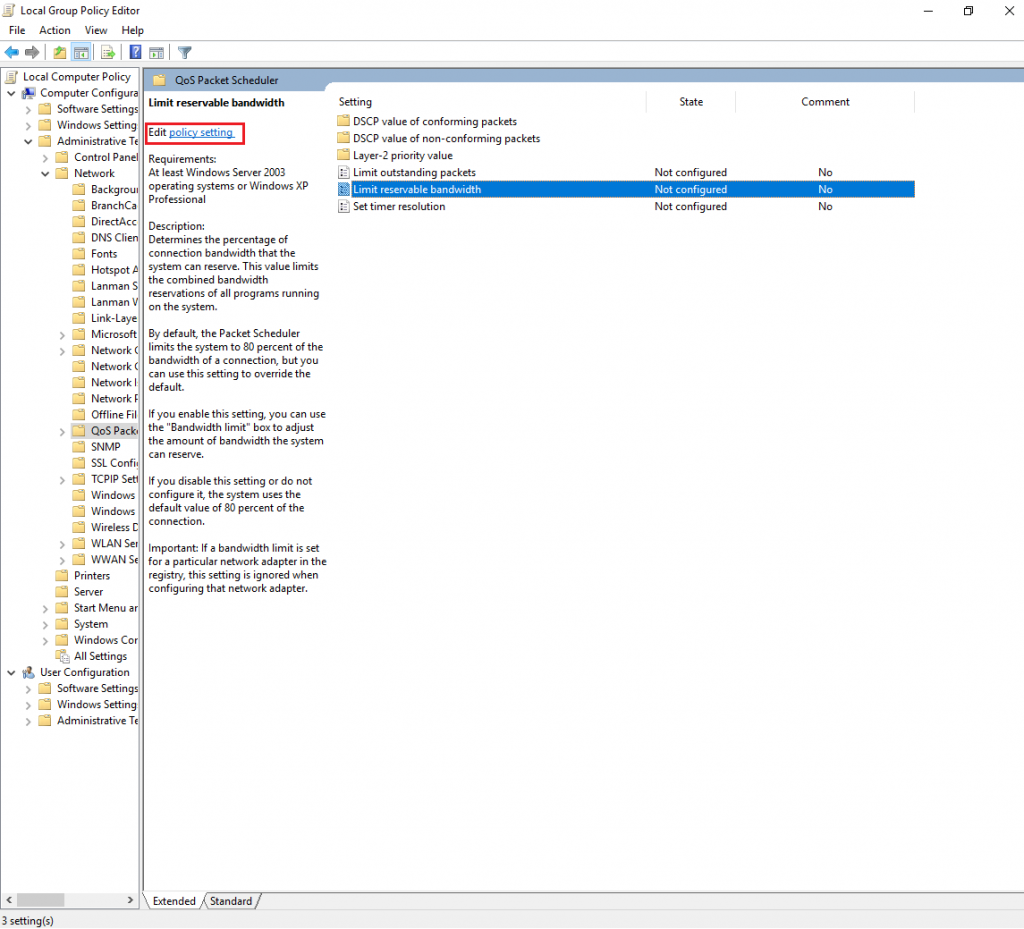
Local Computer Policy-> Computer Configuration->Administrative Templates–> Network->QoS Packet Scheduler->Limit Reservable Bandwidth (Limit Reservable Bandwidth will be on the right-hand side of the Local Group Policy Editor, unlike the other ones.)
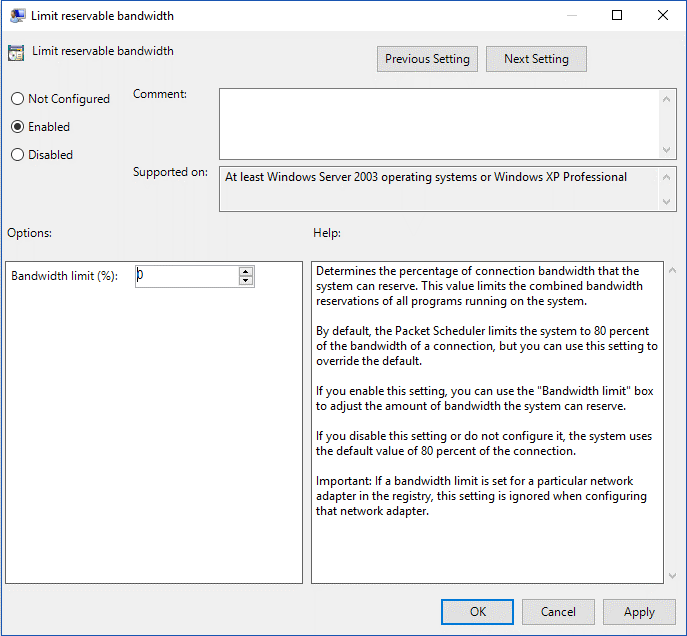
- Once you locate Limit Reservable Bandwidth, Click Edit Policy Setting.
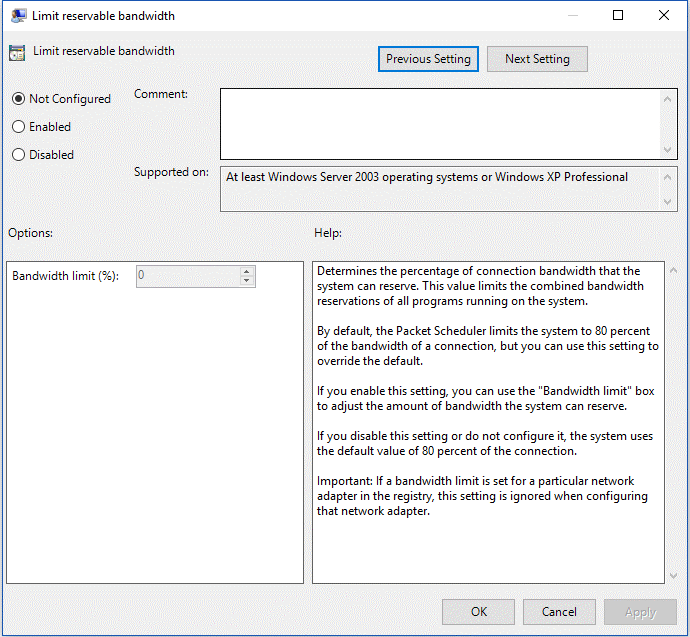
- You will get a new window, you must see a checkmark beside Not Configured. Not Configured is the default setting. By default, “the Packet Scheduler limits the system to 20 percent of the bandwidth of a connection” Change it to Enabled. Under Options, change the bandwidth limit to 0%. Now the system will reserve nothing.
See Also: How to Fix “Your Computer Is Low on Memory” On Windows 10?
Speedup Broadband In Windows Using OpenDNS or Google DNS
To increase Internet speed on Windows, you can contemplate using OpenDNS. The OpenDNS is said to provide complete protection against botnet infections and phishing attacks. With OpenDNS, you can access websites with ease. To get that, follow the below steps:
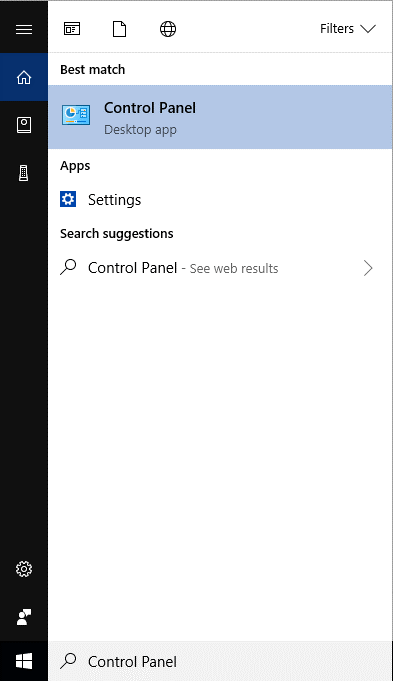
- Go to Search Bar beside Start button and type Control Panel to open Control Panel.
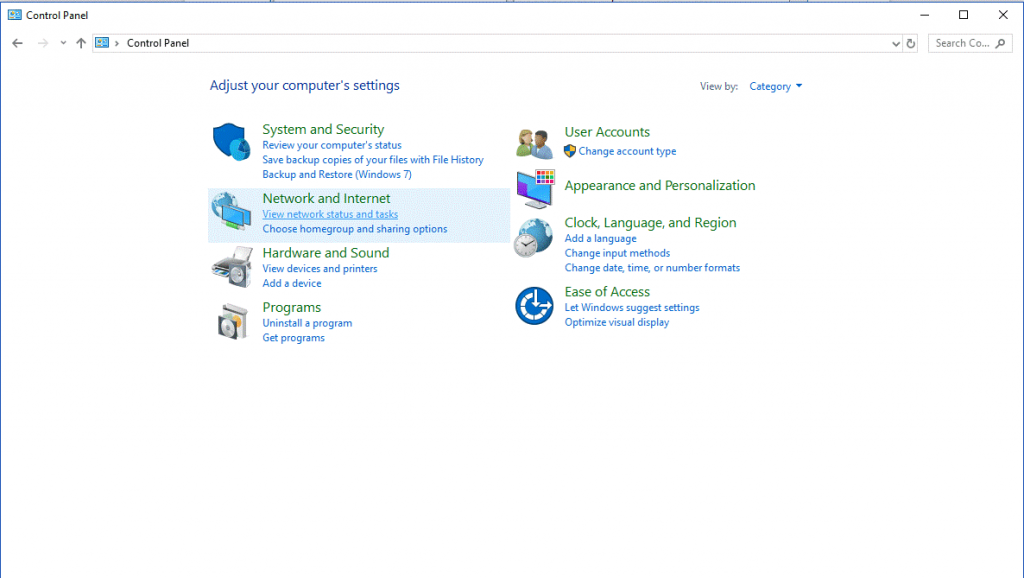
- Once Control Panel is open, click on View Network Status and Tasks under Network and Internet.
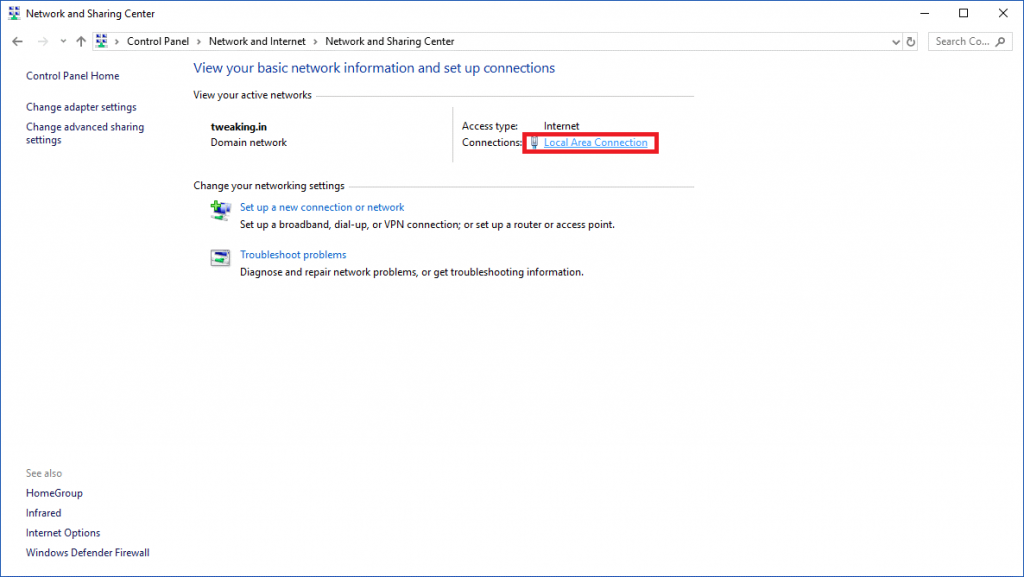
- Now you will get the page wherein you will see network connections. Select Your Network Connection. Click on Local Area Connection.
- You will get General Settings of the network.
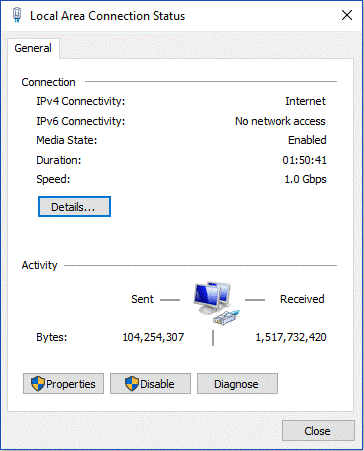
- Click Properties to open the settings of the network.
- Now locate Internet Protocol Version 4 (TCP/IPv4) and click on it and then Properties which is right-hand side of the dialog box.

- Now you will get Internet Protocol Version 4 (TCP/IPv4) Properties.
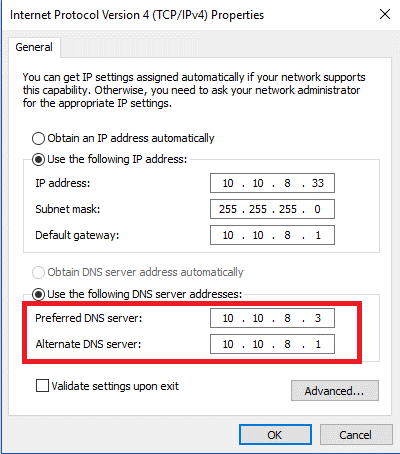
- Use the following DNS server addresses: enter OpenDNS preferred IP addresses: type Preferred DNS Server – 67.222.222 and 208.67.222.220 for the Alternate DNS server.
- Press OK and then exit the dialog box.
Note: You can also enter Google DNS instead of OpenDNS, if you are using Google DNS, enter 8.8.8.8 beside Preferred DNS server field and 8.8.4.4 for the Alternate one.
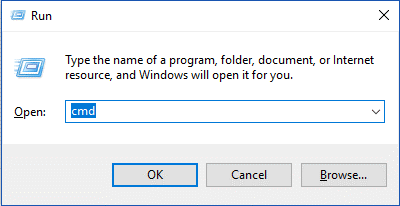
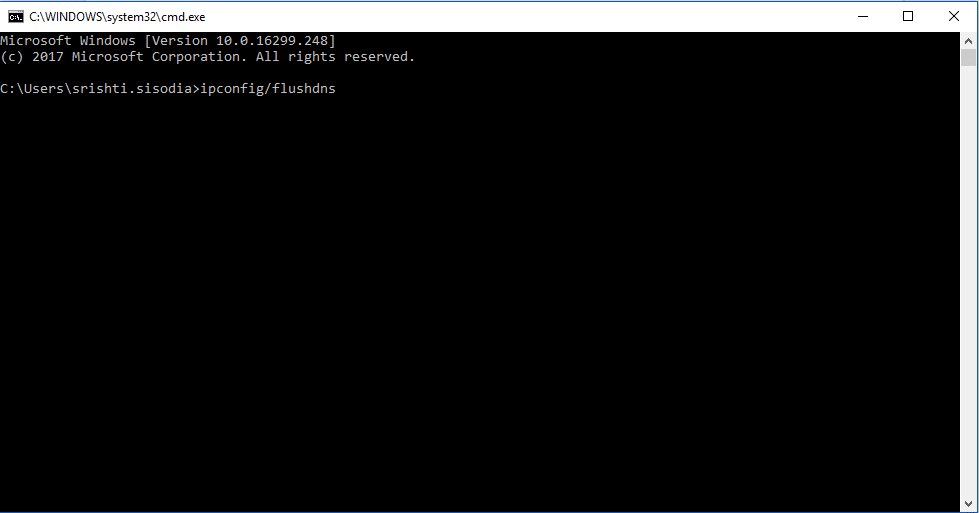
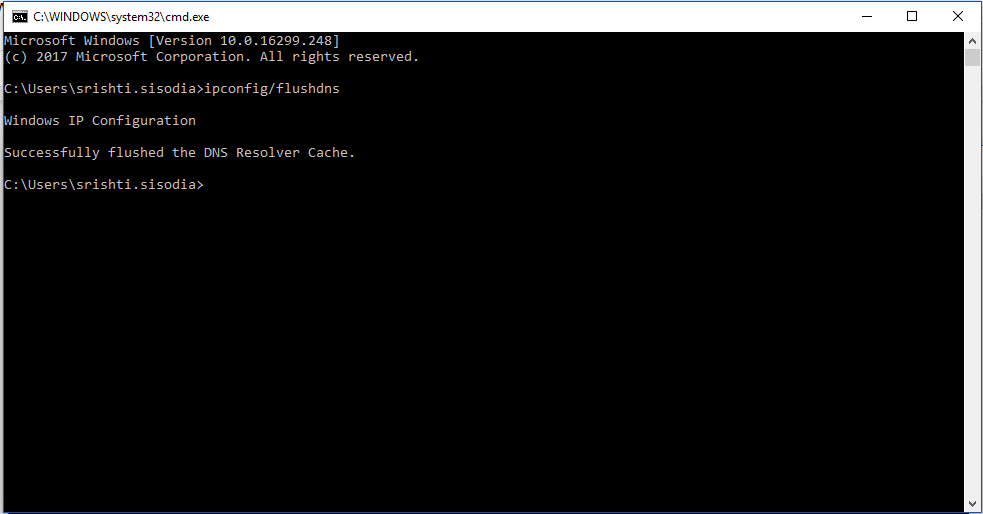
- Once you are done with it, press Windows and R key together to open Run Window. Type cmd to open Command Prompt. Type ipconfig/flushdns and press Enter. Once you have followed all these steps, the work is done.
So, these are the two methods to enhance your broadband speed in no time. Try them and let us know what worked for you in the comments below.