
Are you facing problems with your Mac? Would like to reinstall it but Internet Recovery Mode is not working? Don’t worry! In this article, we will learn what to do when Command +R and Internet recovery mode are not working. In addition to this, we will also look at other options to reinstall macOS. Here’s how to restore a Mac when Internet Recovery is not working.
Why do we need to Reinstall Mac?
- To fix frequent system crash
- Boost Mac performance and speed
- Remove malware infections
- Continuous error messages or sudden system restart and a lot more.
So, due to these common problems, you might want to reinstall the Mac operating system. There’s a simple way to do it, use either Mac Recovery partition or Mac Internet Recovery. They can be accessed by pressing Command + R keys. But if nothing comes up when you press Command + R then?
Well, we have the best solution to fix this problem. So, without any delay, let’s learn and know more about Mac Recovery.
What is Mac Recovery Mode?
Mac Recovery Mode, in simple words, is a program that loads a built-in recovery tool and helps reinstall Mac. It is the SOS for macOS and helps fix various Mac-related problems. Back in 2011, when OS X Lion was launched, there was no Recovery partition. Instead, users had to use a physical disk to reinstall Mac.
But nowadays using the Mac Recovery partition, you can easily reinstall the operating system from scratch. However, if it goes missing or for some reason, you are unable to access it, worry not. There’s a fix to this problem too.
What is the difference between Internet Recovery and regular Recovery?
Normal Recovery Mode is an essential cache of all the utilities you require. It is saved on a partition in your Mac’s startup drive. Meaning it’s hidden from the rest of the disk space and can be used when you run into some problems. If you need to reinstall macOS, Recovery Mode will reboot your Mac with the latest version of the OS. In contrast, Internet Recovery will reinstall the macOS that initially came with it. This is because Internet Recovery mode uses embedded code that includes images of the OS.
When to use Internet Recovery
When the Recovery partition goes missing, Internet Recovery mode is used. This happens when you are using a RAID volume because it doesn’t support the recovery partition. Also, if the partition drive is modified or it has been partitioned with Boot Camp Assistant, you might face problems using normal recovery.
But if Internet Recovery mode also stops working then?
Here’s the fix.
How to Fix Internet Recovery Mac Not Working
If you have a bad luck streak, only then are there chances that both normal recovery mode and Internet Recovery Mac stops working. In such cases, the best possible solution is to use a bootable flash drive. This is helpful when you have to deal with such unforeseen problems.
Why does the Internet Recovery Mac stop working?
Here are some common reasons for Internet Recovery mode not working:
- If your Mac is running macOS version older than Sierra, you will not find Recovery partition or Recovery option.
- Problem with keyboard
- Faulty internet connection
- Incompatible internet settings
- Slow internet connection
Fix for Internet Recovery Mac Not Working
When Internet Recovery and Normal Recovery is not the option for you, the next best thing you can do is to use a bootable installer. The easiest way to do so is to use the Terminal app.
To use it, follow the steps below:
- Attach a flash drive to your Mac
- Head to Disk Utility > select Volume from the sidebar
- Click Erase
- Ensure the name is not changed from Untitled.
- Open Terminal app via Spotlight search
- Here cut & paste correct createinstallmedia text into Terminal (the code varied from macOS version to version, so we suggest using the correct install command.
Big Sur beta
sudo /Applications/Install\ macOS\ Big\ Sur\ Beta.app/Contents/Resources/createinstallmedia --volume /Volumes/MyVolume --nointeraction --downloadassets
(We assume this will be the correct createinstallmedia code for the current beta).
Catalina
sudo /Applications/Install\ macOS\ Catalina.app/Contents/Resources/createinstallmedia --volume /Volumes/MyVolume
Mojave
sudo /Applications/Install\ macOS\ Mojave.app/Contents/Resources/createinstallmedia --volume /Volumes/MyVolume
High Sierra
sudo /Applications/Install\ macOS\ High\ Sierra.app/Contents/Resources/createinstallmedia --volume /Volumes/MyVolume
Sierra
sudo /Applications/Install\ macOS\ Sierra.app/Contents/Resources/createinstallmedia --volume /Volumes/MyVolume --applicationpath /Applications/Install\ macOS\ Sierra.app
Once you enter the correct command, it will look something like the below image:

- After this, enter admin password > Y > press Return. This will wipe the flash drive and then will turn it into a bootable installer.
- Wait for the process to finish.
Additional Tip: Performing Spring Cleaning Is Essential
Before you reinstall macOS, you should always run a Disk Utility scan as it helps to optimize Mac and boost overall performance. Before you start using the Recovery mode, it is recommended to spring clean your Mac.
Wondering why?
Because over time, junk files, cache, logs, old and large files simply clutter your disk space. And, they are one of the most common reasons for slow and sluggish performance on your Mac.
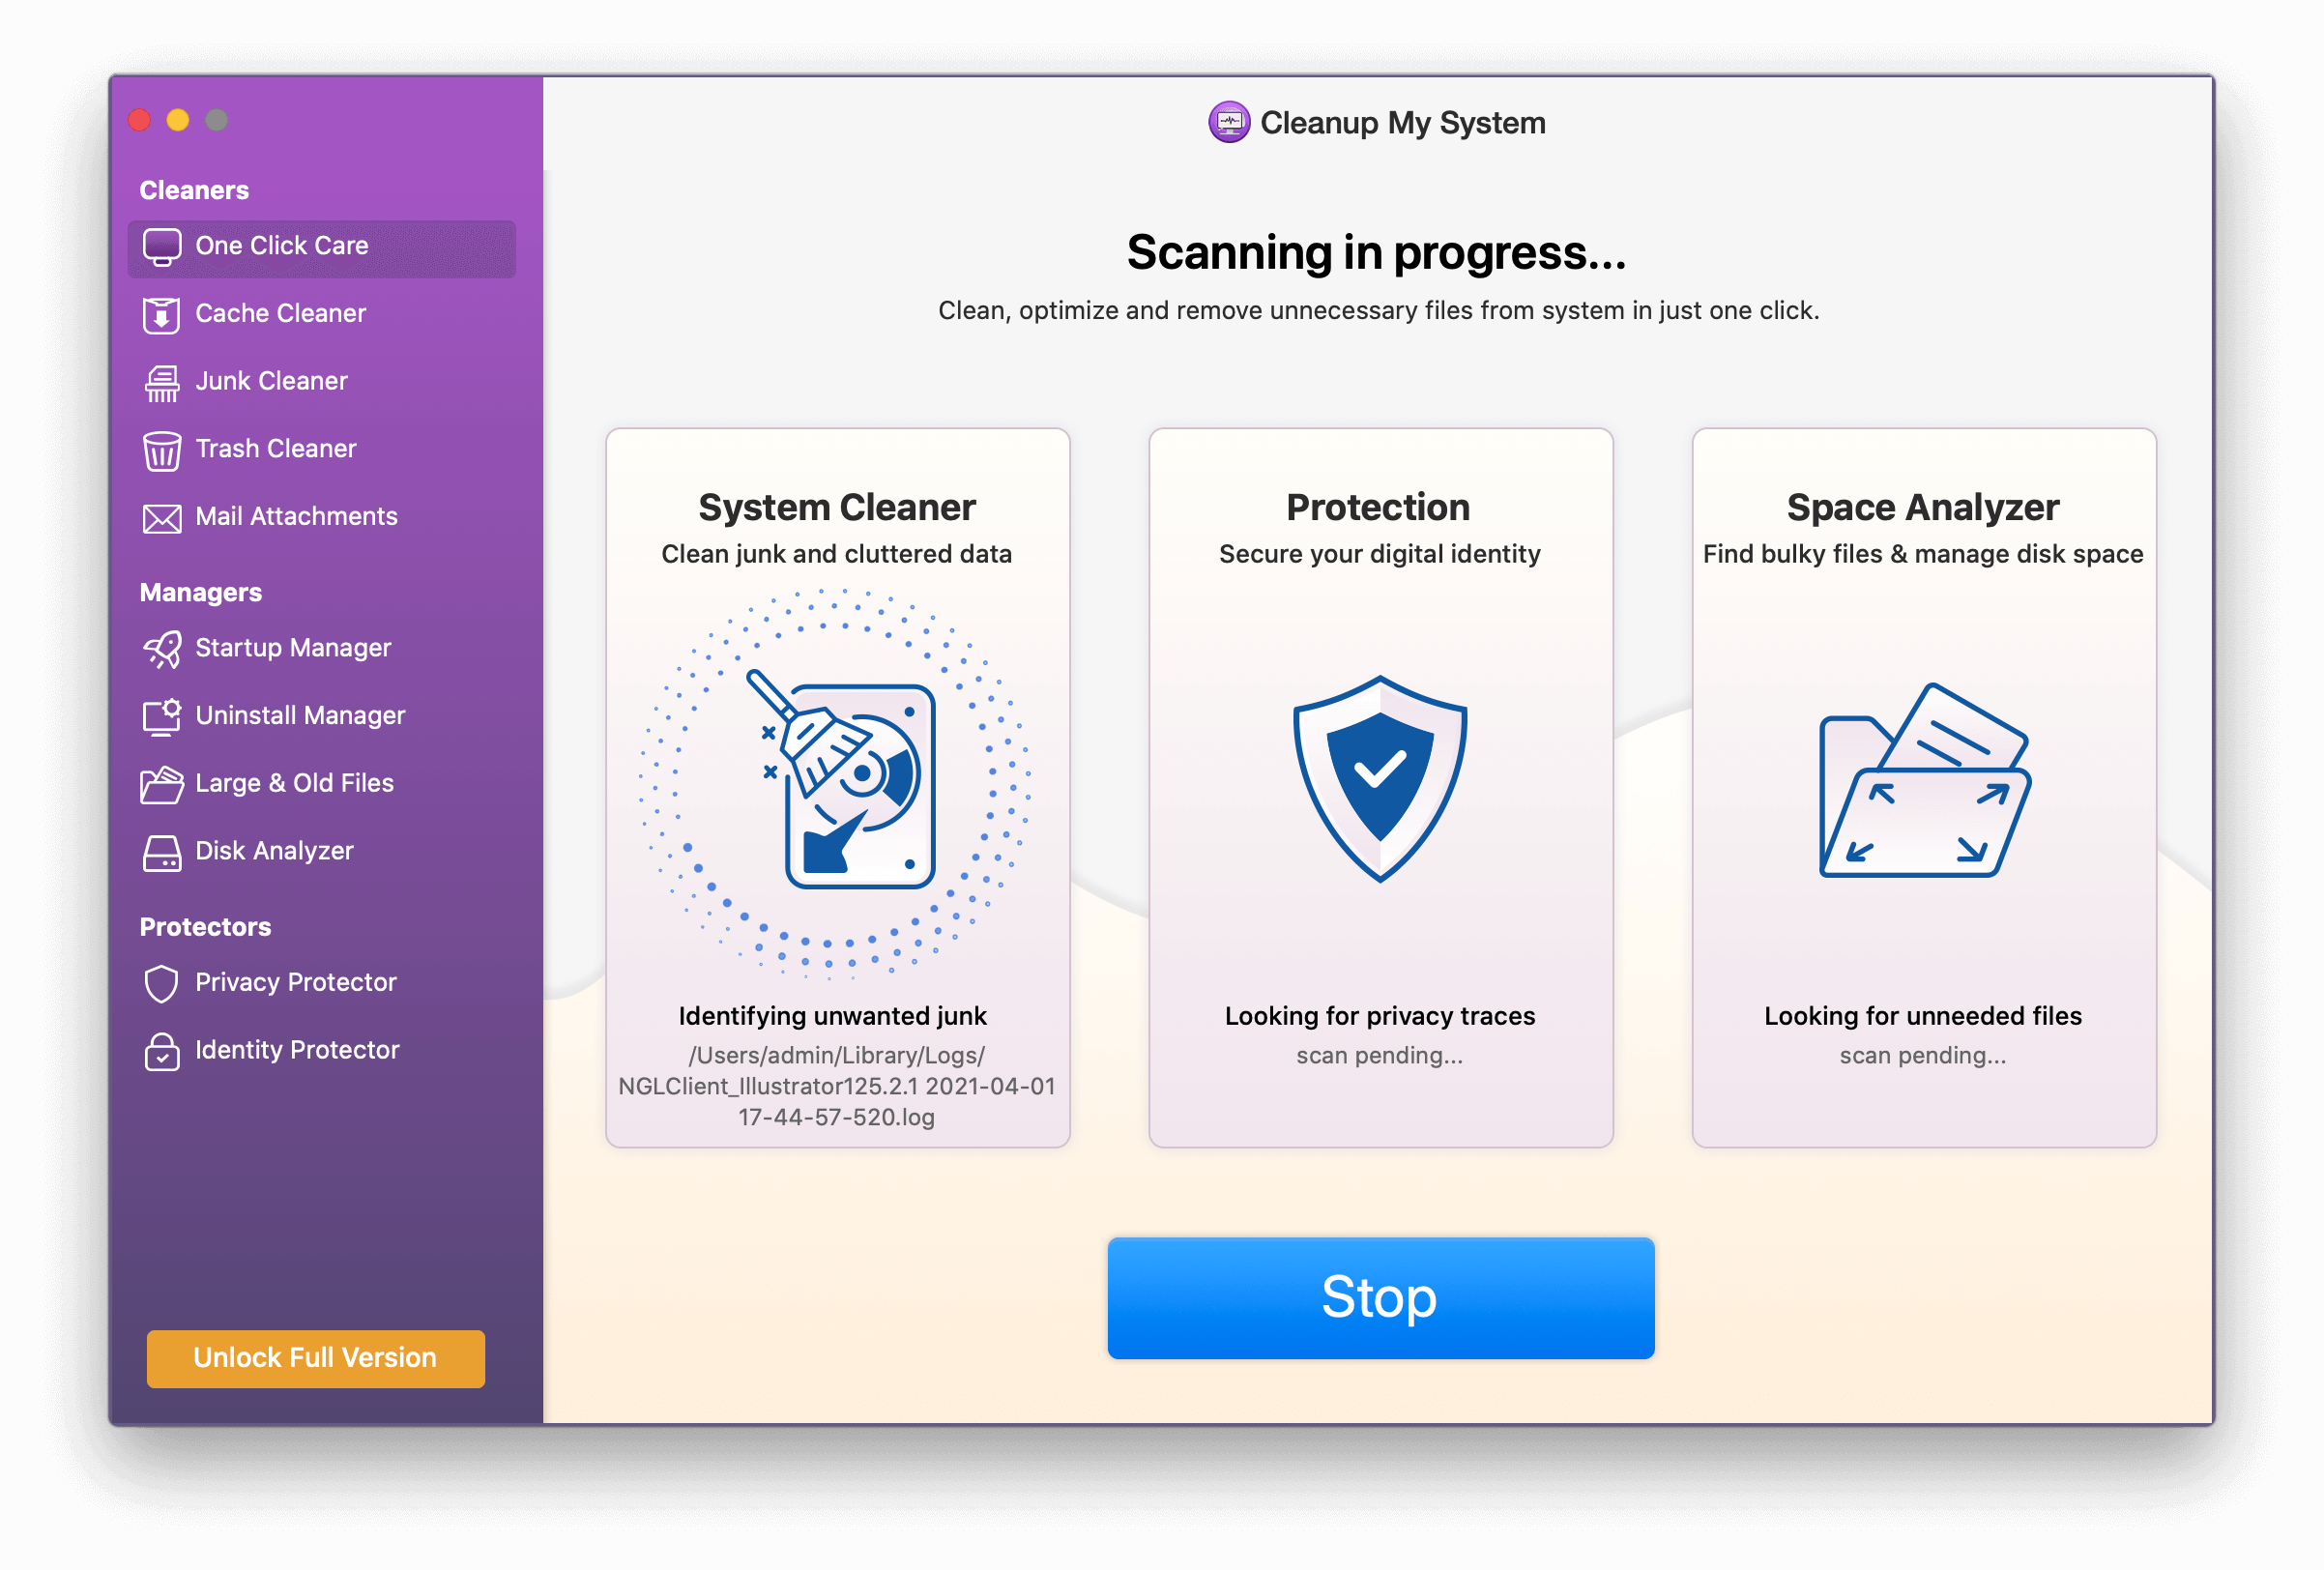
To clean out this unwanted data that causes performance problems, you need a dedicated Mac cleaner and optimizer. For all-in-one cleaning and optimization, we suggest using Cleanup My System.
Using this best Mac cleaning software, one can effortlessly clean cache, logs, junk files, mail attachments, trash items, old/large files/folders, old document versions, broken preferences files, and more. This fantastic utility holds the potential to clear over 500 million GB of junk files in one go that slow down the system. Plus, it helps to remove several unwanted applications and the associated files that unnecessarily hog macOS storage space.
What’s more? The tune-up utility also assists users in managing startup items, login items, and deleting privacy exposing traces via the Protectors module, all of which are required to keep Mac optimized and security intact.

- Using this best Mac cleaning software, one can effortlessly clean cache, logs, junk files, mail attachments, trash items, old/large files/folders, and more. This fantastic utility has cleared our 500 million GB of junk files that slow down the system and has helped remove several unwanted applications with their leftovers that create problems on Mac.
- Cleanup My System also helps in managing startup items and deleting privacy exposing traces via the Protection module, all of which are required to keep the Mac optimized and security intact.
So, get your hands on Cleanup My System today and boost your Mac’s performance for a lag-free and smoother performance!
Install macOS from the Bootable Installer
Follow the steps to install macOS using a bootable installer:
- Connect the bootable flash drive
- Shut down <Ac
- Hold down Option/Alt (depending on the keyboard you are using) and press the Power button.
- You’ll now see a startup device, list with a yellow drive with Install.
- Hit it and press Return. Wait for the process to finish.
- Select Disk Utility > drive (your main hard drive)
- Click Erase
- Name the hard drive and ensure that the Format is Mac OS Extended (Journaled) and the Scheme is GUID Partition Map.
- Click Erase > Done
- Again, choose Disk Utility > Exit it
- Choose install macOS > Continue. Follow on-screen instructions and select the name of the hard disk > Install.
macOS will now be installed via a bootable installer. That’s all if Internet Recovery or Normal Recovery is not working, this is how you can reinstall macOS. Hope you found the article helpful. Please do let us know your thoughts by leaving feedback in the below box.