Stuck with “Error Write Fault” on Windows 10? Well, this error can unexpectedly pop up on your device and is displayed along with the following error message:
The system cannot write to a specified device.
In technical terminology, this error is also known as the “Error 29” and occurs majorly when you’re trying to upgrade the Windows OS or update the system drivers.

So, wondering what causes this error? The most common causes for encountering this issue include corrupt system files, missing DLL or EXE extension files, or the presence of a virus or malware on your device. Although, there’s nothing to worry about. You can easily resolve this error by following a few workarounds.
5 Ways To Fix ERROR_WRITE_FAULT on Windows 10
Let’s get started and explore a few possible solutions that will allow you to troubleshoot this issue on your own.
#1 Run an SFC Scan
SFC (System File Checker) is an in-built Windows utility that scans your device to replace corrupt system files and restores discrepancies. The SFC command is executed on the Command Prompt shell of your Windows device. To run the SFC command for fixing the Error Write Fault, follow these steps:
Launch the Start menu search box, type “Command Prompt”, right-click on its title, and select “Run as Administrator”.
In the Command Prompt window, type the following command and hit Enter.
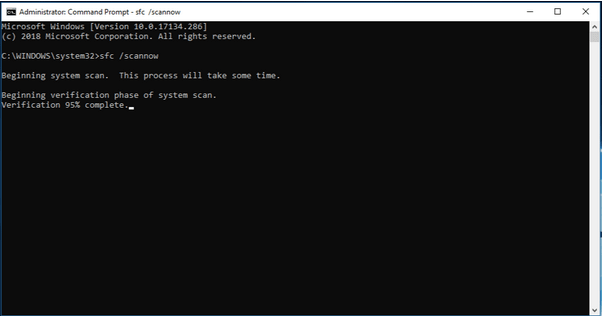
sfc/scannow
Wait for a few minutes until a complete scan is performed on your device while your system fixes all the corrupt system files and discrepancies.
Once the scan is completed, reboot your device and then try upgrading the Windows OS to check whether you’re still encountering the Error 29 on your machine.
#2 Run the Hardware Troubleshooter
Windows 10 comes packed with a variety of built-in security features. So, in our next workaround, we’ll be using the Windows hardware troubleshooter to fix the “The system cannot write to the specified device” issue. Here’s what you need to do.
Press the Windows icon placed on the bottom-left corner of the Taskbar. Tap the gear-shaped icon to open Settings.
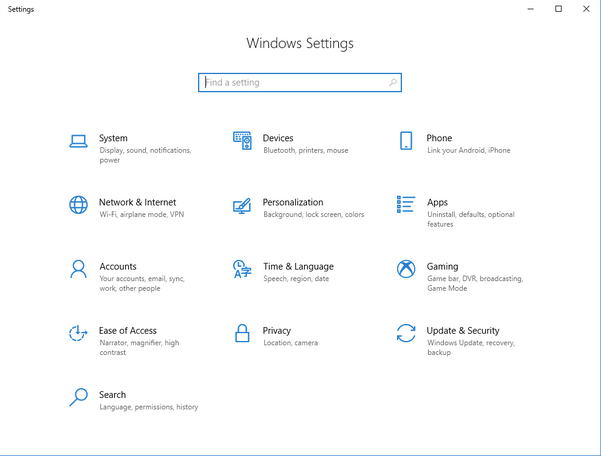
In the Settings window, select “Update and Security”. Switch to the “Troubleshoot” section from the left menu pane.
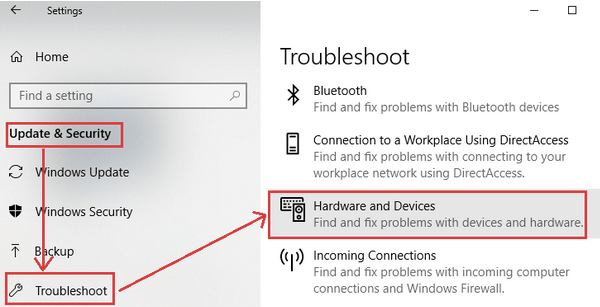
On the right side of the window, scroll down to look for the “Hardware and Devices” option. Tap on it and then hit the “Run the Troubleshooter” button placed underneath.
Wait for a while until Windows scans and fixes general hardware-related issues and errors that exist on your device.
#3 Remove Temporary and Junk Files
Over time and prolonged usage, our system gets cluttered with a lot of temporary and junk data. Hence, to make sure that our device is performing at its peak performance, cleaning up the junk files becomes a must. To clean up the temp and junk files on Windows, follow these steps:
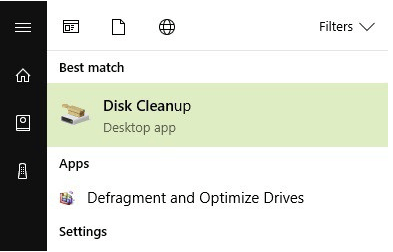
Launch the Start menu search box, type “Disk Cleanup” and hit Enter.
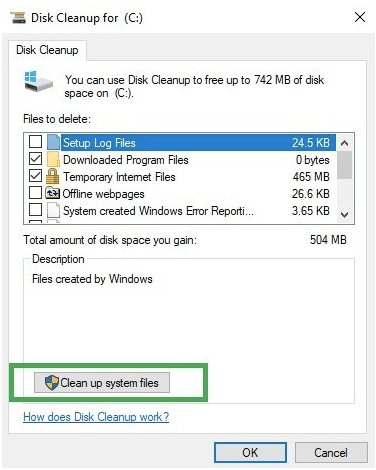
Select the disk drive on which you need to perform a scan. We’ll be selecting drive C: as a reference.
Tap the “Clean up System Files” button and then hit on OK.
Using the Disk Cleanup utility is one of the fastest and safest ways to clean up junk and temporary files. You can perform the above set of steps and clean up all the disk drives one by one to make sure that your device is free of junk data.
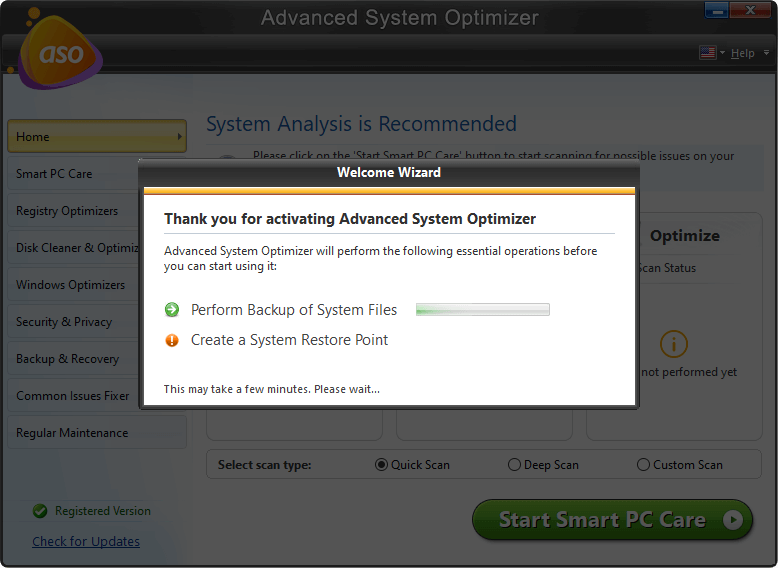
Download Advanced System Optimizer

Also, here’s one quick tip. You can also seek the help of a third-party cleaning and optimization tool to make sure that your device gets the best treatment. Download and install the Advanced System Optimizer utility tool on your Windows PC. Advanced System Optimizer is one of the best cleaning and optimization tools for Windows that removes junk data, temporary files and performs an in-depth scan on your device to optimize its performance. This nifty tool is a powerful cleanup utility that allows you to quickly recover chunks of storage space on your machine.
#4 Manage Drive Permissions
In our next workaround to fix the “Error Write Fault” on Windows PC, we will be managing and tweaking the settings of drive permissions.
Tap the “This PC” icon placed on the desktop. Right-click on the disk drive that needs to be fixed, select “Properties”.
Switch to the “Security” tab and then hit the “Advanced” button placed at the bottom.
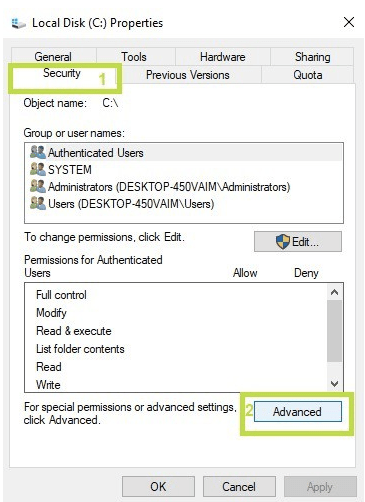
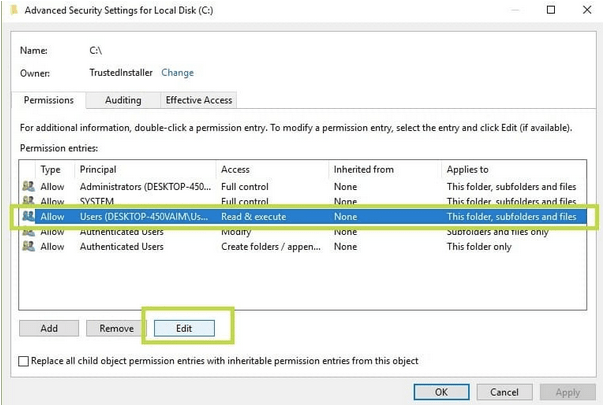
In the Advanced Security Settings window, select your user ID and then tap on the “Change Permissions” button.

In the Permissions tab, again select your user ID and then hit the “Edit” button.
Check on the “Full control” option placed underneath the “Basic Permissions” section.
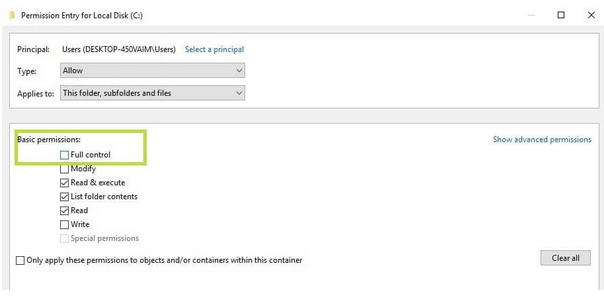
After making the above-mentioned changes, exit all windows, reboot your device to check whether the issue persists.
#5 Scan Your Device for Viruses or Malware Infections
In this digital-driven world where cybercrimes are increasing like wildfire, having a comprehensive security solution that safeguards your device against threats is a must. As soon as you make a quick Google search about the best antivirus software, you’ll get a million results listed on the screen. Well, lucky enough, we have one quick recommendation for you!
Download Systweak Antivirus

Download and install Systweak Antivirus on your Windows PC offering real-time protection against viruses, malware, and zero-day exploits. Systweak Antivirus makes sure that your device is 100% error-free and shields your sensitive data from being exposed. Apart from offering round-the-clock protection against malicious threats, Systweak Antivirus also optimizes your device’s performance by cleaning unwanted start items and programs.
Install the Systweak Antivirus security tool right away and then scan and remove any virus or malware traces that exist on your system.
Conclusion
This wraps up our guide on how to fix the “Error Write Fault” on Windows 10 device. You can use any of the above-mentioned solutions to get past this error notification. Do let us know which solution worked out the best for you. Feel free to share your thoughts in the comments space!