
If you are a fan of cloud storage platforms (which we are so sure you are), you probably use Dropbox or must have at least heard of it. Now, you save a lot of files and folders, whether online or offline. There comes a time when you are filled up to the brim and have to let go of some files so that you can create some storage space. That’s exactly where this wonderful feature of Dropbox called Smart Sync comes into play. But, what if one fine day, you find that dropbox smart sync is not working?
What is Dropbox Smart Sync And Why Should I Care If It Doesn’t Work?
With the Dropbox Smart Sync feature, you can store your files online as well as on your hard drive. The best part is your storage is preserved, these files are still on the cloud online, and you can access them with Windows File Explorer. Here’s the deal! Dropbox Smart Sync is a feature available for customers who have subscribed for plus, professional, standard or advanced plans. So, if you have paid for it and if it’s not working, it makes sense that you will have to look into the matter and we have got you sorted.
Ways To Resolve Dropbox Smart Sync Issues
We’d highly recommend that you try these steps in the order they are mentioned below –
Step No 1: Whitelist Dropbox In Your Security Or Antivirus Software
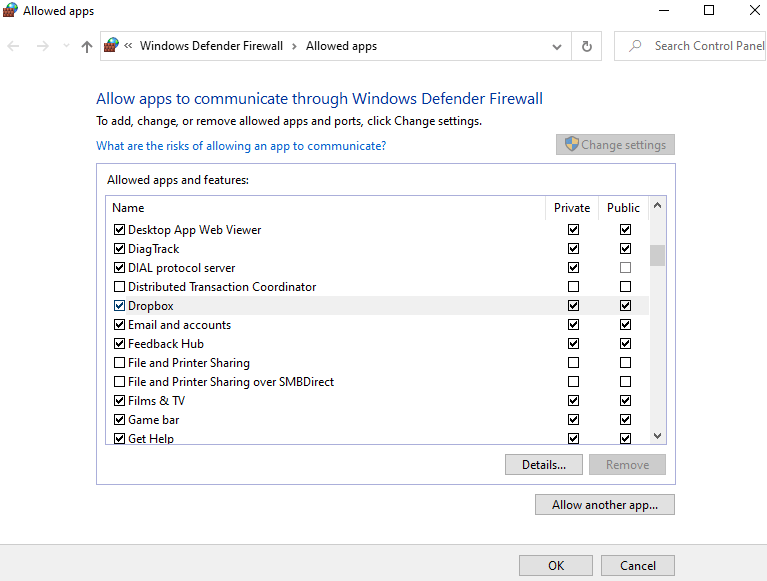
In today’s scenario, robust Antivirus software is a must-have for your Windows 10 PC. It doesn’t just shield you from viruses but even ransomware, malware and several other different kinds of threats. But, you may have to make a small tweak if you encounter Dropbox smart sync is not working. You’ll have to whitelist it. Let’s say you are using Windows Defender as a prime antivirus tool, all you have to do is –
- Press Windows + I key to open Settings
- Type in Firewall in the search area
- From the dropdown, select Allow an app or feature through Windows Firewall
- Now, in the window that opens next, click on Allow another app button that you will find at the bottom of the screen
- Hit the add another app
- Click on Browse which will open file explorer
- Head towards the search bar and type C:\Program Files (x86)\Dropbox and hit enter
- Double click on Dropbox.exe to open it
- You will now see that Dropbox has been added to Add an app dialog box. Hit the Add button
- You will now see Dropbox in the Allowed apps and features
- Click on the checkbox next to Dropbox and also click on Private and Public checkboxes that you will find in the same row as Dropbox
- Click OK
Step No 2 : Quit And Reopen Dropbox Application
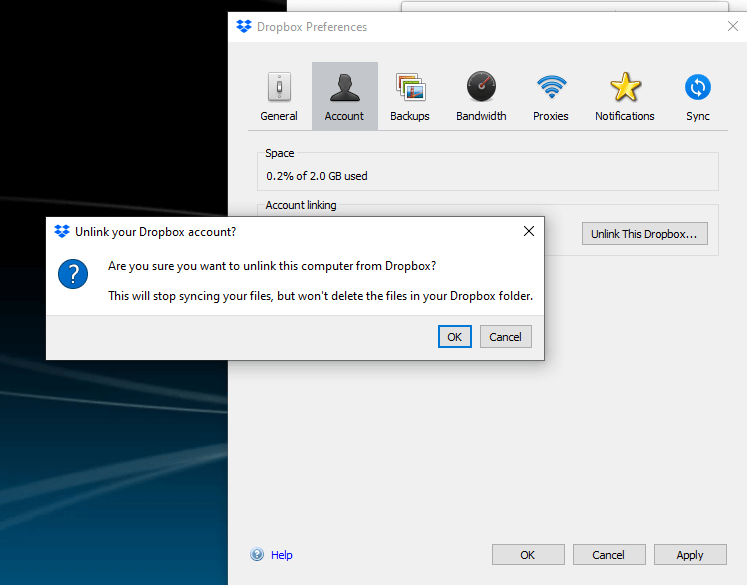
To resolve Dropbox smart sync not working issue sign out of your Dropbox account and log in again. The steps for this are mentioned below –
- Click on the Dropbox icon in the notifications area
- On the top right click on your profile icon
- Then click on Preferences
- Now click on the Account tab
- Click on Unlink This Dropbox
- And click on OK
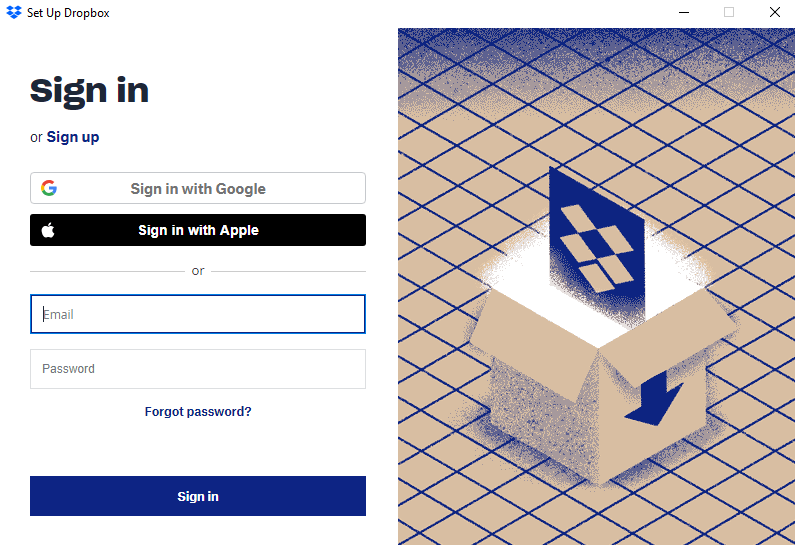
- Now, login into Dropbox again
Step No 3: A Quick Restart
After having tried step 1 and step 2, a quick restart might be required for the above changes to surface. So, press Windows key, click on the power button and then click on restart. It is as simple as that.
Step No 4: Reinstall Dropbox With Admin Privileges
To resolve Dropbox Smart Sync not working and several other issues, you may have to reinstall Dropbox with admin privileges.
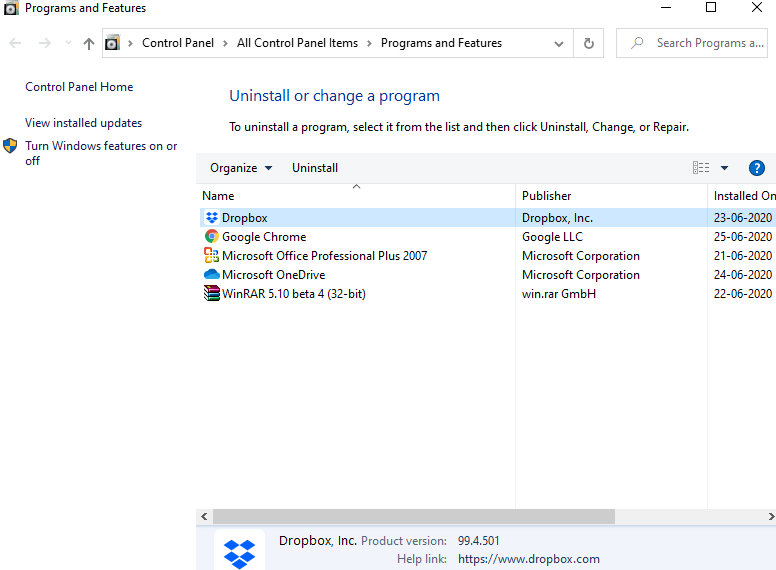
- If you have already installed Dropbox, uninstall it. For this, you can use the control panel or use the below-mentioned steps –
- Press Windows + R key to get Run window
- Type appwiz.cpl in the Run dialog box and press enter
- Locate Dropbox, right-click on it and hit the uninstall button
- Once uninstalled, reboot your computer
This step is to ensure that none of the remnants of the old Dropbox is there on your desktop or laptop –
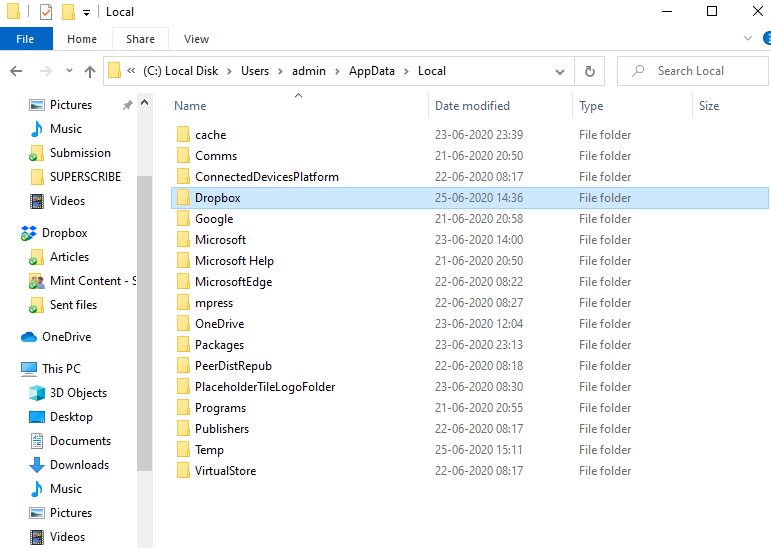
- Press Windows + E key to open File Explorer
- In the address bar, type %LOCALAPPDATA% and hit enter
- Delete the Dropbox folder
- Now go to %APPDATA%, %PROGRAMFILES(X86)% and %PROGRAMFILES% and delete Dropbox folders from these directories as well
- Download the application again and open the installer. Remember not to right-click on Run as an administrator
- Follow the instructions as per the install wizard. Two things could happen.
- You will be asked for the administrative password and username that you can get from your administrator. Take that and sign in
- If you are not asked for the password or username, you are the admin.
- Complete the installation and login
Step No 5: Remember To Update Your Windows 10 PC and Acquire All The latest Patches
We have already covered a detailed and comprehensive guide on how you can check your Windows 10 desktop or laptop for latest updates and security patches. Make sure you go through the blog and update your Windows 10 PC. If you are working on Windows 7, you might want to consider upgrading it to Windows 10. Here’s how you can upgrade Windows 7 to Windows 10 for free.
Did The Above Solutions Work Out For You
If they did, do give us a thumbs up in the comment section below and in case you get stuck at a point, all you need is to shoot us a comment, and we’ll be at it. For more such troubleshooting content on all applications and features related to everyday tech, keep reading We The Geek.Follow us on social media – Facebook, Instagram and YouTube.