
Have you ever found yourself in a situation where you need to access your office computer from home or need to help a friend with a computer problem but can’t physically be there? Well, in these scenarios, Remote Desktop can come in handy. So, what is Remote Desktop and how does it work?
What is Remote Desktop?
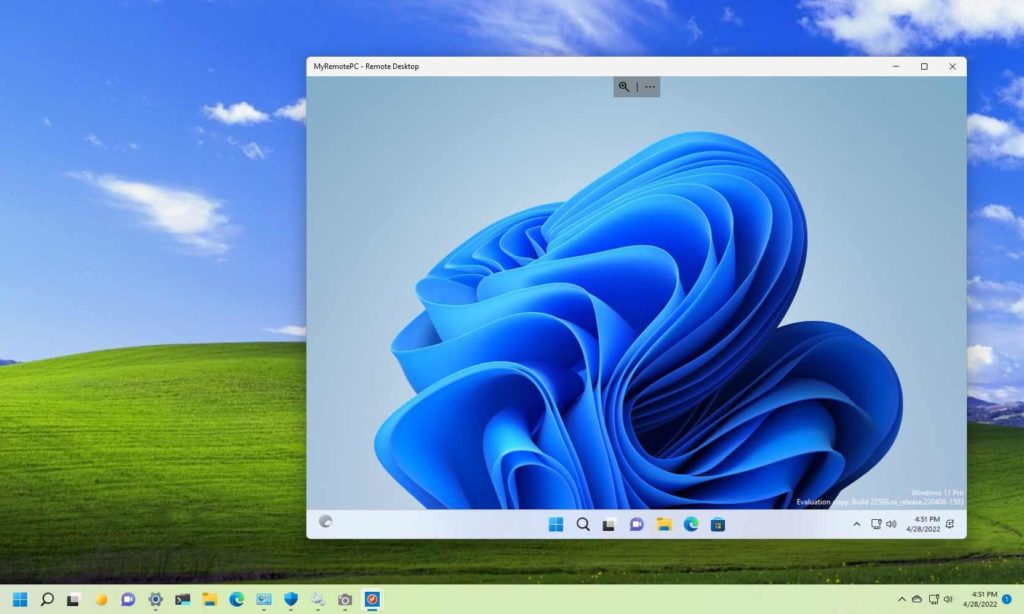
Remote Desktop is a feature built into Windows that allows you to access and control another computer or device from your computer. This means that you can view and interact with the desktop, applications, and files on the remote computer as if you were sitting in front of it. Remote Desktop is particularly useful for remote support, troubleshooting, or accessing files and resources that are not available on your local machine.
But well, keeping the remote desktop always enabled can turn out to be a security risk to your device and data. Hence, here are some different ways that you can use to disable remote desktop on Windows 11.
Let’s explore!
Also Read: How To Fix Remote Desktop Authentication Error on Windows 11
Why Disable the Remote Desktop Feature on Windows?

While Remote Desktop can be a useful feature for accessing and controlling remote computers, there are some reasons why you may want to disable it for security purposes.
- Security risk: If Remote Desktop is enabled on a computer with weak passwords or is configured incorrectly, it can become a target for hackers who can use it to gain unauthorized access to the computer and its data.
- Might Expose data: If Remote Desktop is enabled without proper security measures, data transmitted between the local and remote computers can be intercepted and exposed to potential attackers.
- Remote Desktop can be used for malicious purposes: Remote Desktops can also be used by attackers to install malware or conduct other malicious activities on the remote computer, which can compromise its security and put sensitive data at risk.
- Drains system resources: If Remote Desktop is enabled on a computer, it can consume system resources, which can slow down the computer and affect its performance.
You can try the below-listed methods to quickly disable remote desktop on Windows 11. Here you go!
Also Read: How To Set Up Remote Desktop Access In Windows 10?
How to Disable Remote Desktop on Windows 11?
Method 1: Via the Settings App
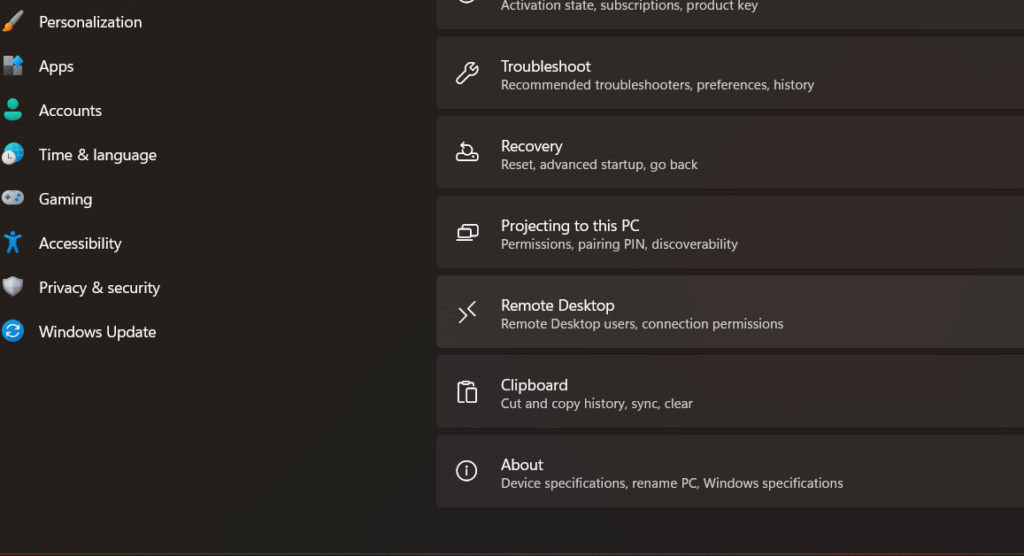
Tap on the Windows icon placed on the Taskbar and select “Settings”. Switch to the “System” tab and select “Remote Desktop”.
Toggle off the “Remote Desktop” option to disable it.
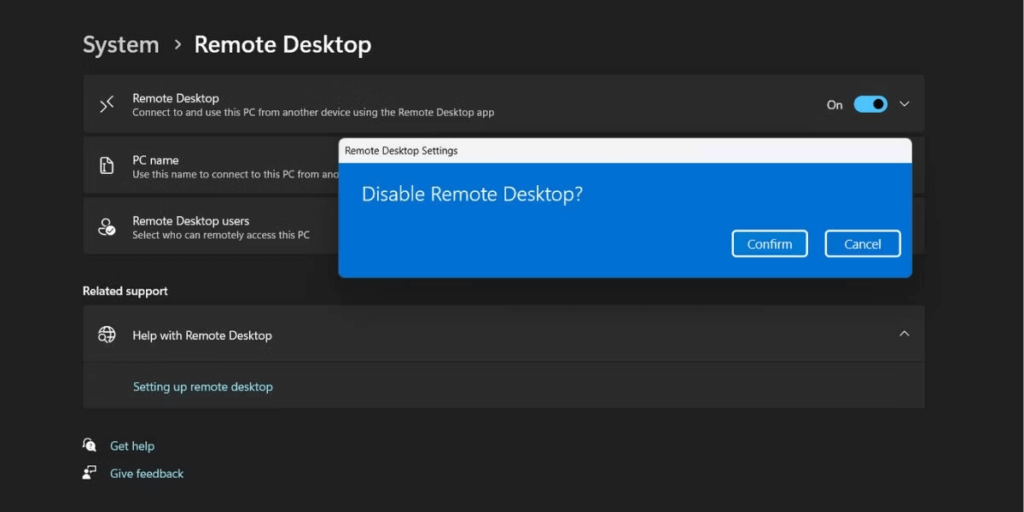
Windows will now throw a confirmation alert on the screen. Hit on the “Confirm” button to proceed.
Method 2: Control Panel
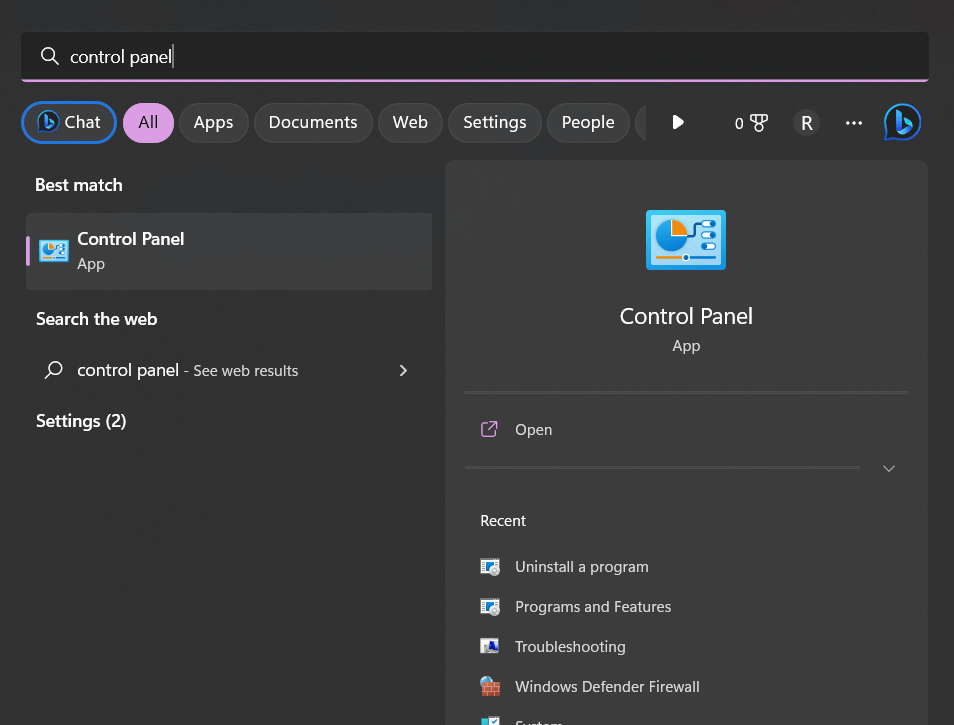
Tap on the search icon placed on the Taskbar, type “Control Panel” and hit Enter.
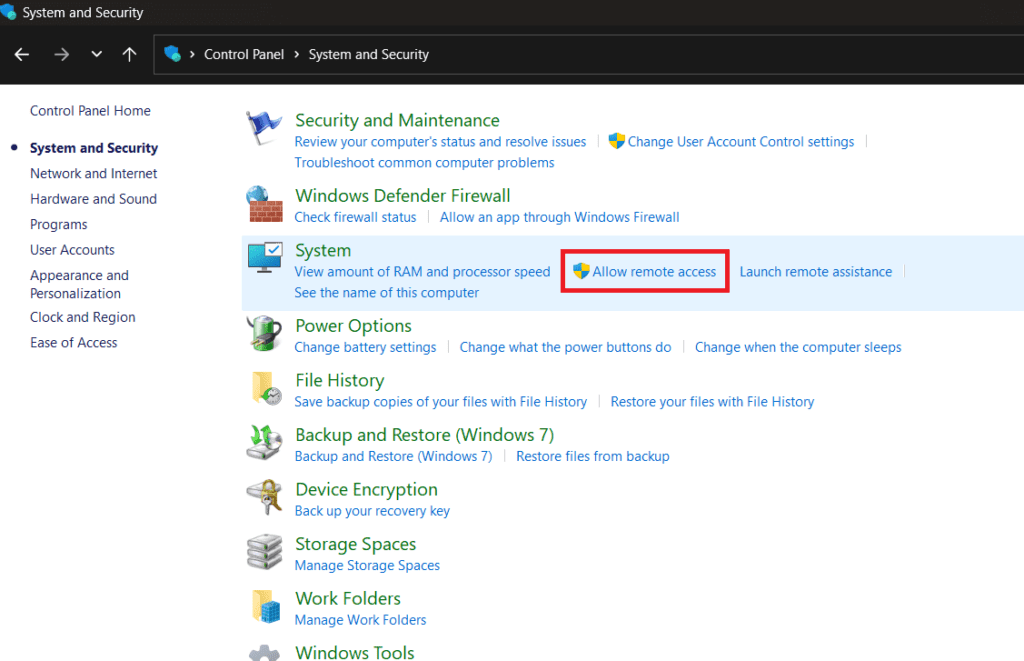
In the Control Panel window, select “System and Security”. Tap on the “Allow Remote Access” option placed under the “System” section.
Now, uncheck the “Allow remote assistance connections to this computer” option.
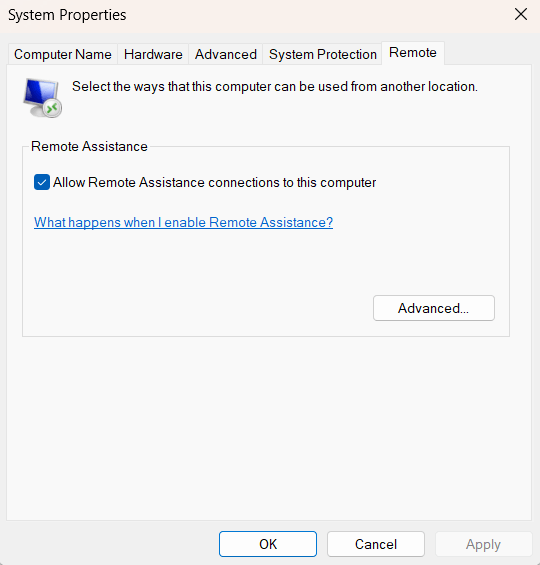
And that’s it, folks. Here’s how you can easily disable the remote desktop via the Control Panel app.
Method 3: Edit the Registry
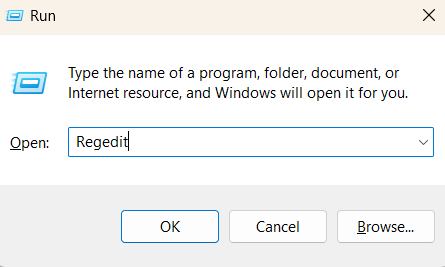
Press the Windows + R key combination to open the Run dialog box. Type “Regedit” and hit Enter.
Navigate to the following folder location in the Registry Editor window:
HKEY_LOCAL_MACHINE\SYSTEM\CurrentControlSet\Control\Terminal Server
In the Terminal Server folder, look for a file named “fDenyTSConnections”.
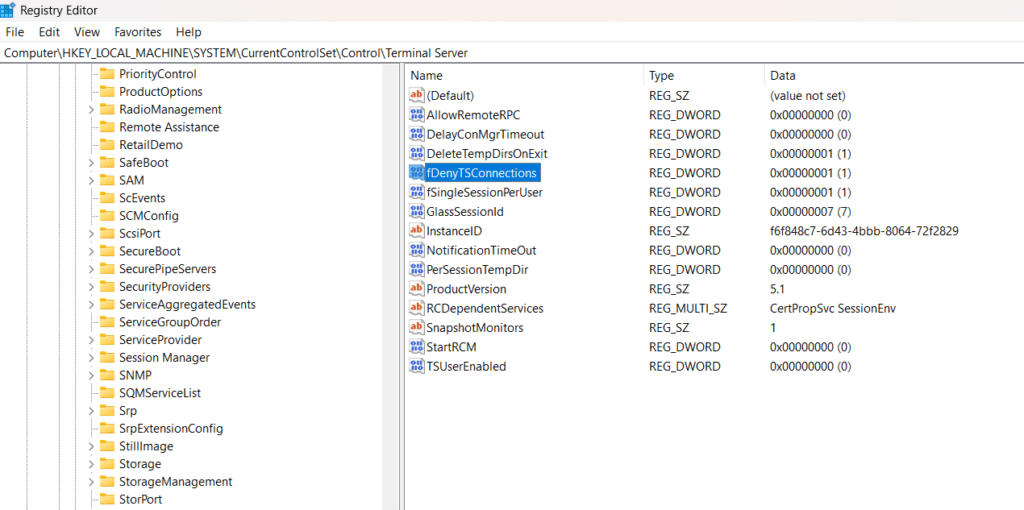
Double-tap on it to open “Properties”. Enter “1” in the Value Data field and hit on the OK button to save the recent changes.

After making the above-listed changes in the Registry Editor, reboot your device.
Method 4: Windows Firewall
Head on to Control Panel> System and Security> Windows Defender Firewall.
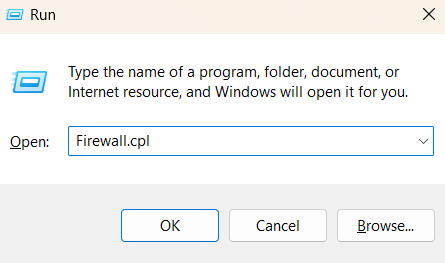
Alternatively, you can also press the Windows + R key combination, enter “Firewall.cpl” in the textbox, and hit Enter.
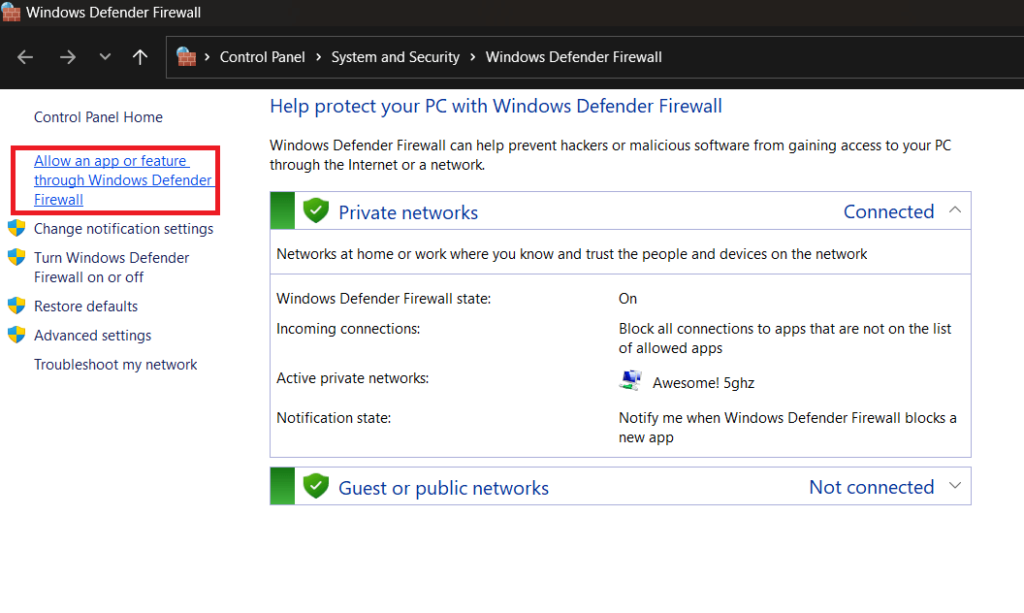
Tap on the “Allow an app or feature through Windows Defender Firewall” option placed on the left menu pane.
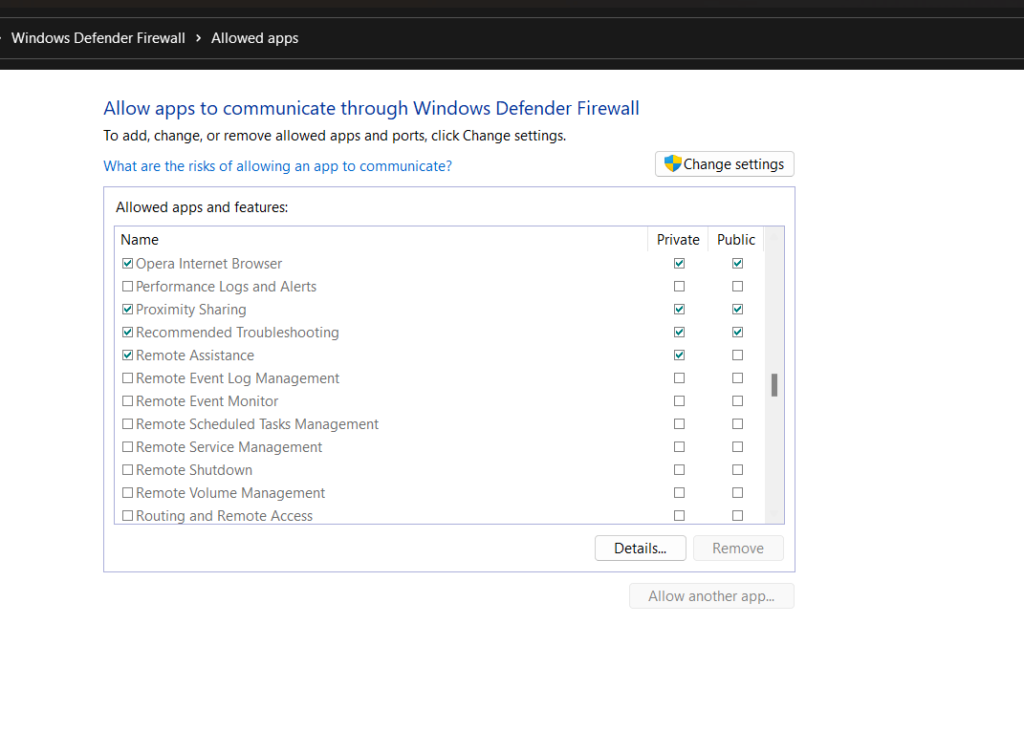
Uncheck the “Remote Desktop” option. Hit on the OK button to confirm your action.
Also Read: How to Fix Remote Desktop Gateway server is Temporarily Unavailable
Method 5: Via Command Prompt
Yes, that’s right! You can also use the Command Prompt app to disable remote desktop on Windows. Here’s what you need to do:
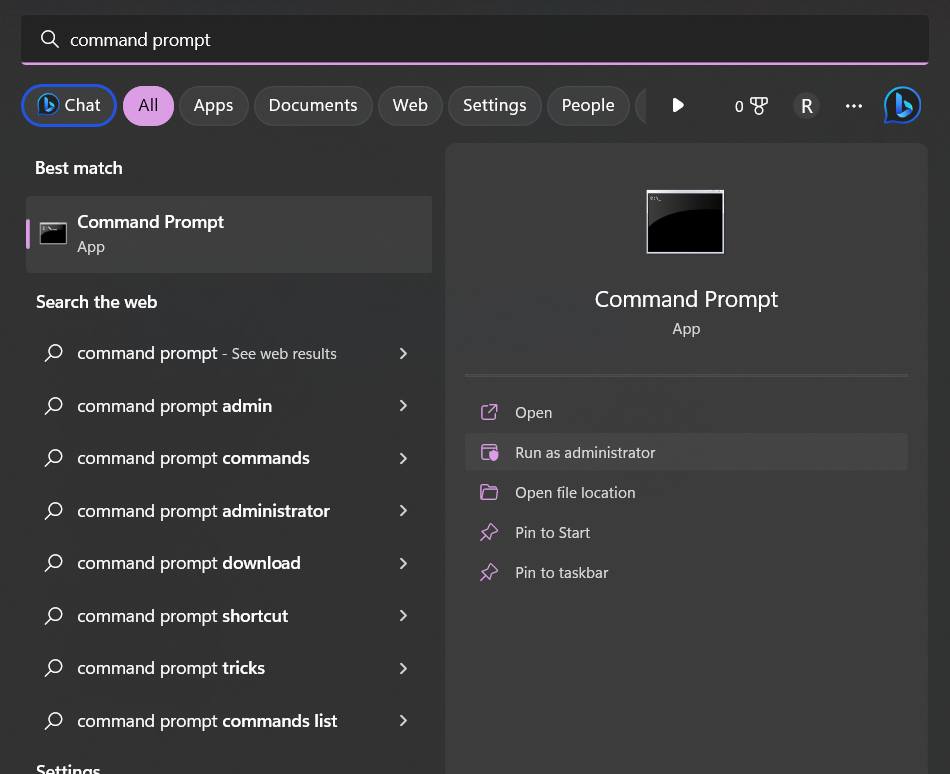
Tap on the search icon placed on the Taskbar, type “Command Prompt” and select the “Run as administrator” option.
In the Terminal window, type the following command and hit Enter:
net stop termservice
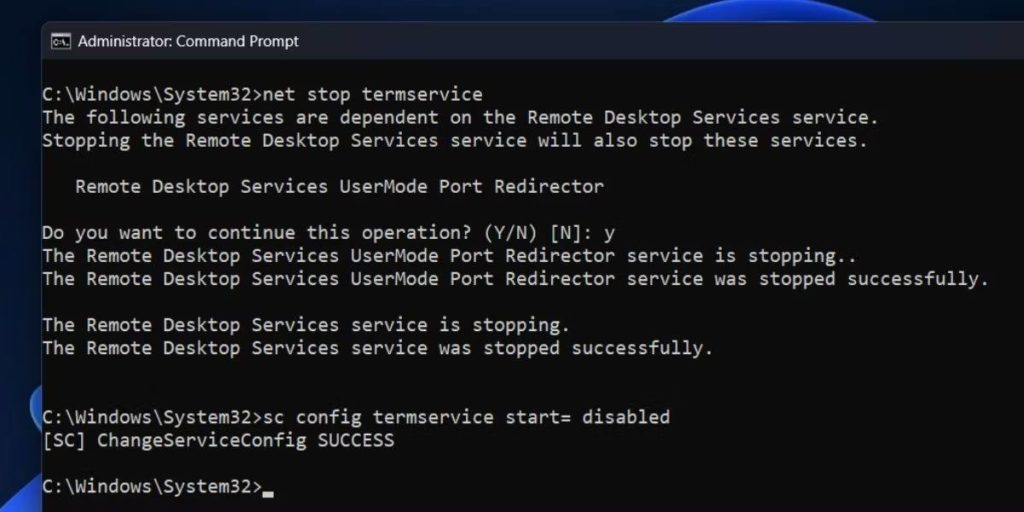
Type “Y” to confirm your action.
Once you execute this command in the Terminal, the remote desktop feature will be turned off.
Also read: 6 Ways To Activate Remote Desktop Connection In Windows 11 Pro
Conclusion
Disabling Remote Desktop on Windows can be a crucial step towards securing your system and protecting your data from unauthorized access. By following the steps outlined in this guide, you can easily disable Remote Desktop on your Windows computer, preventing any potential security risks that may come with this feature.
So, which method would you prefer to disable remote desktop on Windows? Feel free to share your thoughts in the comments box!