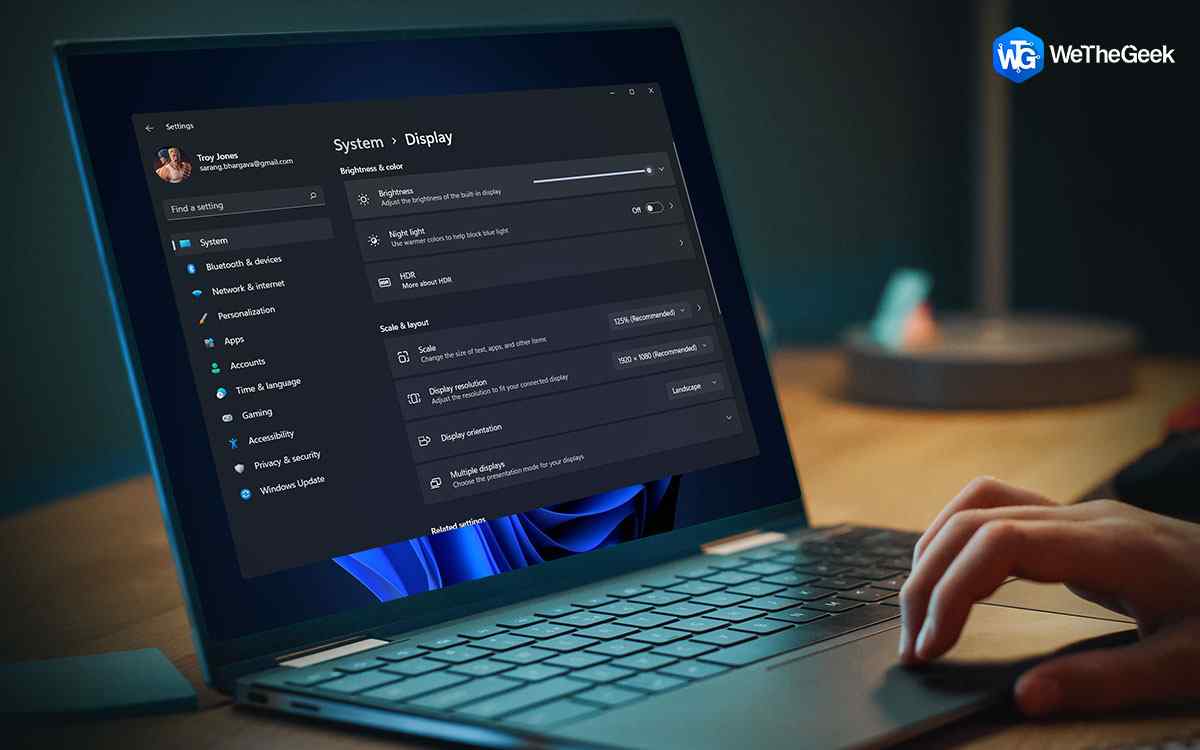
Display resolution section missing or greyed out on Windows 11? Unable to change the display resolution on your device? We’ve got you covered.
By altering the display resolution on Windows, you can enhance your overall visual experience of using your device. So, yes, Windows allows you to customize the display resolution settings based on your preference.
How to Access the Display Settings on Windows 11?
To configure the display resolution settings on Windows 11, follow these quick steps:
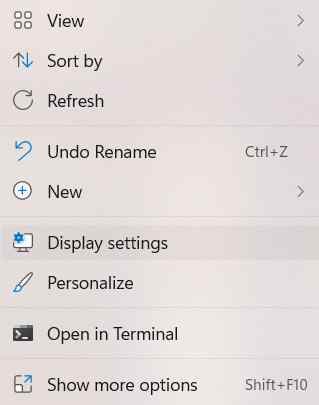
Right-click anywhere on the Desktop and select “Display Settings.”
Look for the “Display Resolution” option placed under the “Scale and layout” section. Tap on the drop-down menu placed next to the “Display Resolution” option to alter the settings.
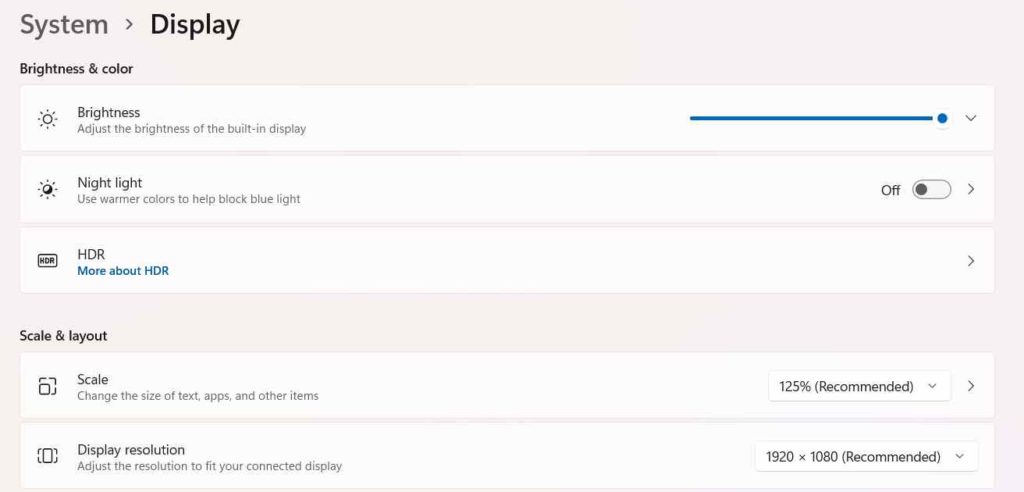
A pop-up will appear on the screen to confirm the changes. Tap on the “Keep changes” button to confirm your selection.
Can’t change Screen Resolution in Windows? Here’s the Fix!
However, if you cannot change the display resolution settings on Windows 11, here are a few workarounds you can try. This post has listed a few essential solutions to help you overcome this random glitch.
Method 1: Reboot your Device
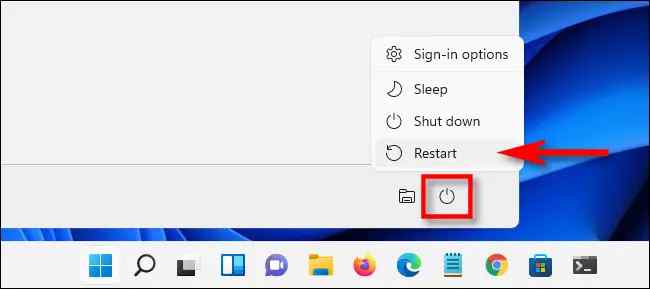
Yes, sometimes the simplest of solutions solve the most complex problems. So, before you begin troubleshooting, you can try rebooting your device to check if it helps.
Tap the Windows icon on the Taskbar and select the “Power” icon. Tap on “Restart.”
Also read: How To Fix HDR Display Not Working On Windows 10?
Method 2: Update the Display Drivers
Outdated graphic drivers can be one of the most common reasons to trigger this issue on your device. To update the display driver on Windows 11, follow these quick steps:
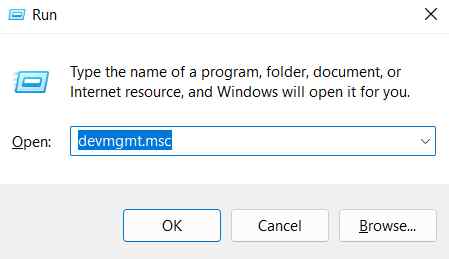
Press the Windows + R key combination to open the Run dialog box. Type “Devmgmt.msc” in the textbox and hit Enter.
In the Device Manager window, select “Display Adapters.” Right-click on the display driver and select “Update Driver.”
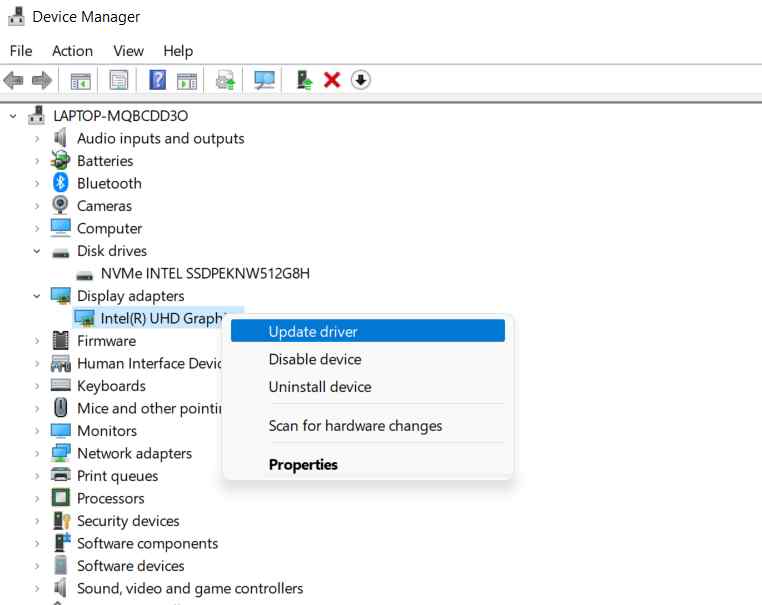
Follow the on-screen instructions and install the latest version of graphic drivers on your device.
After updating the graphic drivers, reboot your device and open the Display settings to check if the issue was resolved.
Also read: How To Fix “Display Driver Failed To Start” In Windows 10
Method 3: Run the SFC Scan
SFC (System File Checker) is an in-built Windows utility that scans and restores corrupt system files. The SFC tool does an awesome job restoring the corrupt system files with a cached copy stored on the OS. To use the SFC tool on Windows 11, follow these quick steps:
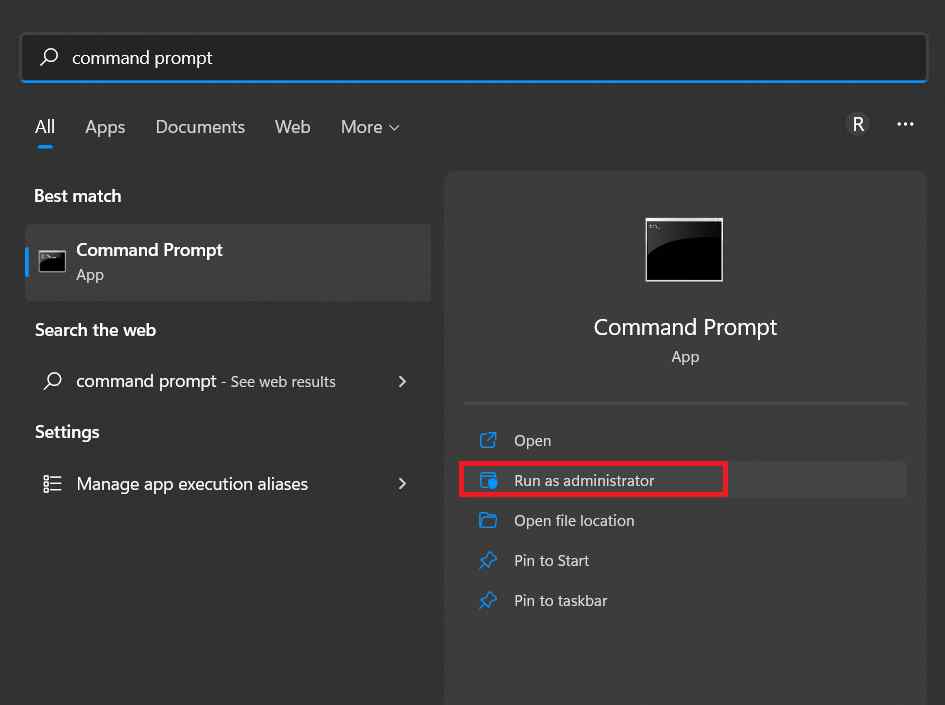
Tap on the search icon placed on the Taskbar and type “Command Prompt.” Select the “Run as administrator” option to launch CMD in admin mode.
Once the Terminal window appears on the screen, type the following command and hit Enter to execute it:
sfc/scannow
The scanning process will take up a little time. Wait for a while until the scan is completed, and then reboot your device. So, if you cannot change the display resolution on Windows due to a corrupt system file, the SFC tool will help you resolve this glitch.
Method 4: Update Windows
Using an outdated version of Windows can also trigger the “Can’t change display resolution” issue on your device. To make sure that your device is operating on the latest version of Windows, here’s what you need to do:
Launch the Settings app, and select the Windows Update category from the left menu pane.
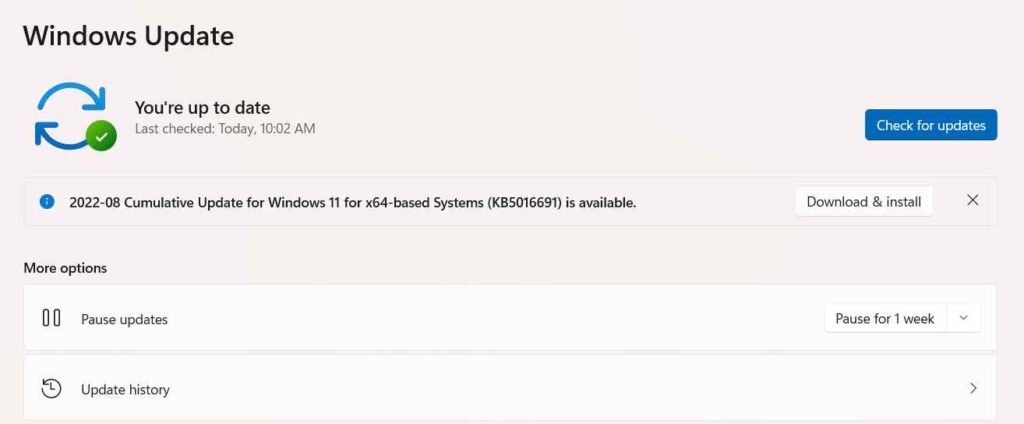
Hit on the “Check for Updates” button.
Wait for a while until Windows notifies you about the available updates. If an update is available for your computer, upgrade your device to the latest version of Windows 11.
Method 5: Update the Display Adapter Driver
Launch the Settings app on your Windows 11 PC and switch to the “System” tab. Select “Display.”
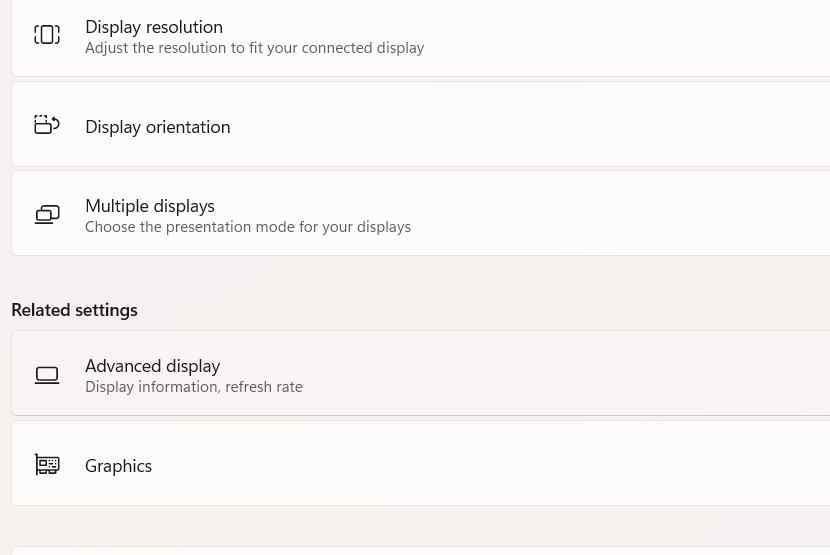
Tap on the “Advanced Display” option.
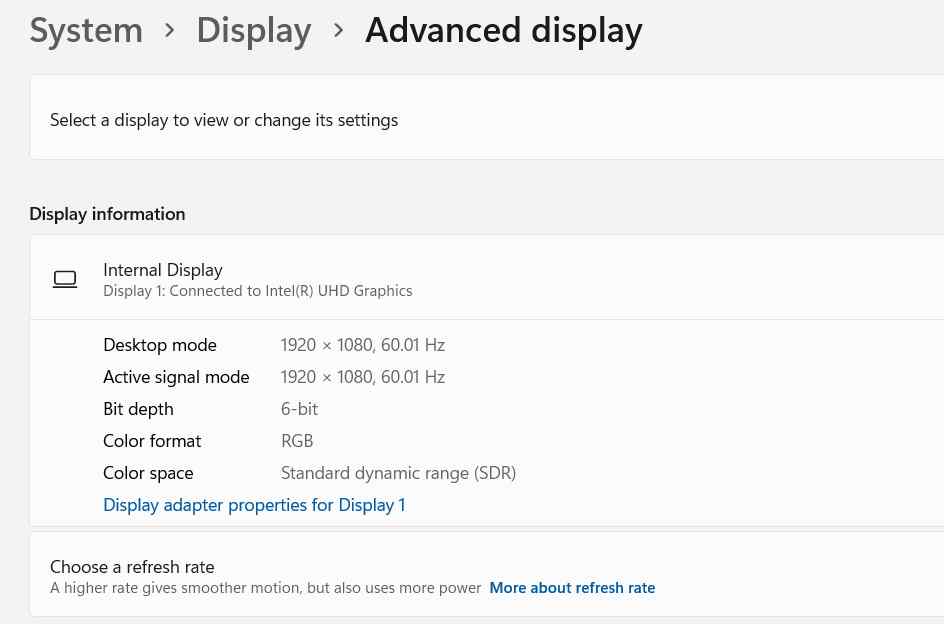
Tap on the “Display adapter properties for Display 1” option.
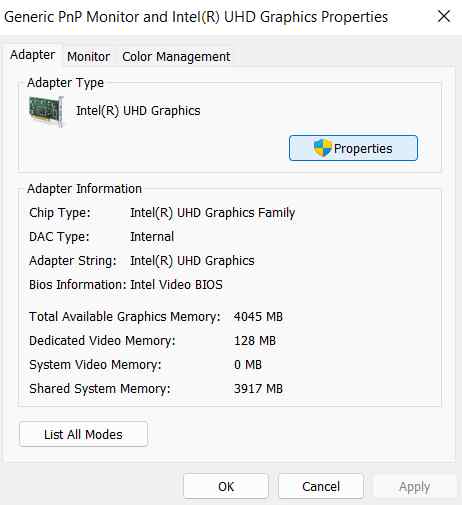
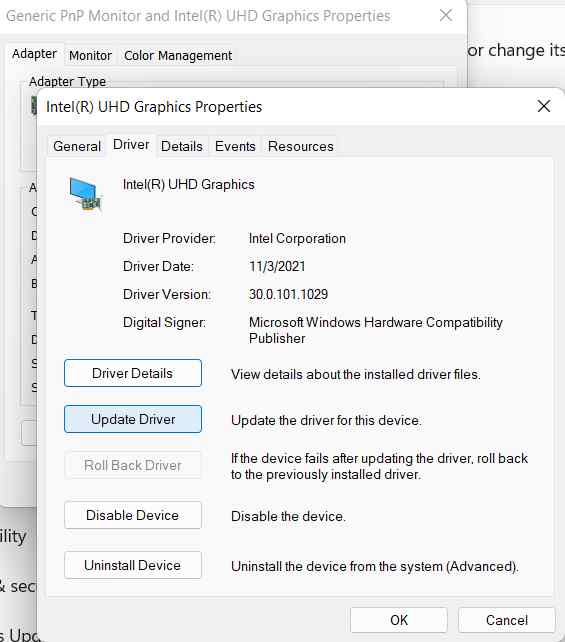
The “Graphic Properties” window will now appear on the screen. Tap on the “Properties” button. A new window will now pop up. Switch to the “Driver” tab and hit the “Update Driver” button.
Tap on OK to save the recent changes. Reboot your device and launch the Settings app to check if the “Display Resolution” section is functional.
Also read: 8 Best Fixes For Display Driver Stopped Responding and Has Recovered Error.
Conclusion
Here were a few simple methods to resolve the “Can’t change display resolution” issue on Windows 11. If the “Display Resolution” section in the Settings app is missing or greyed out, you can use any of the above-listed solutions to overcome this glitch.
Was this post helpful? Do let us know which method did the trick for you. Feel free to share your thoughts in the comments section. Follow us on social media – Facebook, Instagram and YouTube.