Are you attempting to move Windows 11’s volume slider? Want to discover a more straightforward method to launch the full-volume mixer window? By including a shortcut in the volume mixer, you can simplify things if you frequently modify your volume. This blog post will assist you in creating a shortcut that will make it simpler for you to access the Volume Slider and Mixer and eliminate the need for two clicks to access the Volume Slider.
Also Read: How to Increase Volume in Laptop Beyond Max
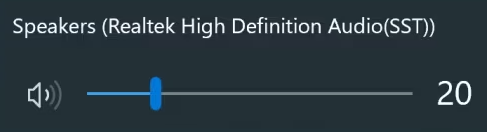
Where Is Windows 11’s Volume Slider?
Currently, Windows 11 includes a shortcut to the volume slider in the quick icons tray, which can be toggled between being always visible and hidden by default. Although this is a convenient location to put it, some users could find it to be too far away. In addition, a right click will reveal the volume mixer panel. Fortunately, you can make a shortcut to this volume mixer window and put it anywhere you wish.
Must Read: How To Fix Missing Volume Icon On Windows
How To Permanently Add A Volume Slider Shortcut In Windows 11
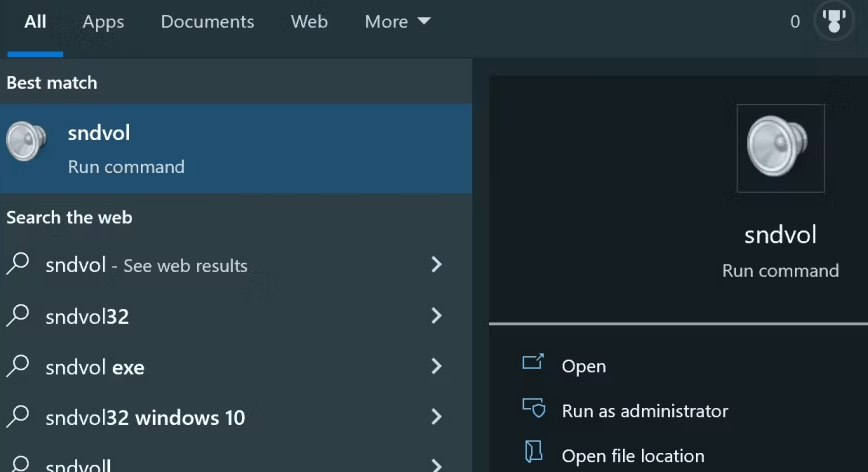
The enlarged mixer window and volume slider are connected to an EXE file that may be quickly located via search.
Step 1: Search “sndvol” in the start menu. Choose Open File Location from the context menu when you right-click on it.
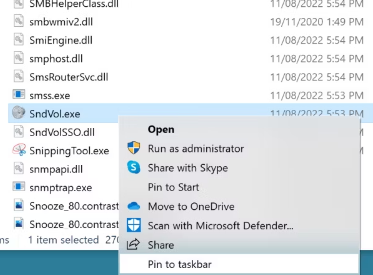
Step 2: Sndvol will be highlighted when you arrive at the system32 folder using this method.
Step 3: To add a one-click shortcut to the volume mixer, right-click the program and choose Pin to Taskbar.
Step 4: You can also put this shortcut somewhere else by using Pin to Start or Create a Shortcut.
Also Read: How To Change a Volume Label on Windows 11
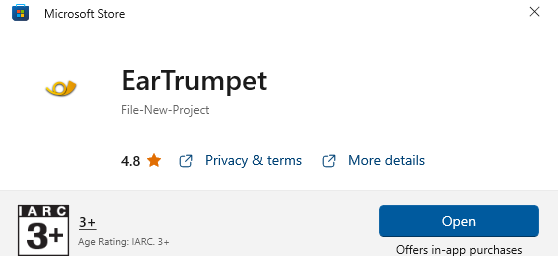
Bonus Feature: Use EarTrumpet To Control Window’s Volume
A compact but very useful software for Windows 11 is called EarTrumpet. It provides you with additional control over the audio volume on your PC. You can specifically adjust the volume of certain running programs. You can rapidly switch between what you can hear most if you’re playing a game, chatting, and listening to music, for instance. Here is a step-by-step EarTrumpet tutorial that will help you have better audio in anything you do.
Step 1: Get the free EarTrumpet app from the Microsoft Store and install it.
Step 2: Once installed, locate the program on your taskbar. Although it has the same appearance as the sound icon, it has more tools.
Step 3: To view the percentage of your loudness, hover your cursor over the EarTrumpet icon.
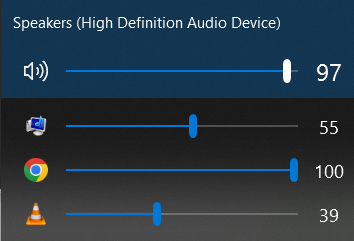
Step 4: To acquire the desired sound levels, left-click on the icon to enter the Volume Mixer and move the sliders.
Step 5: Click the icon with the right mouse button and choose Settings > General to customize your user experience.
Step 6: The taskbar flyout, the mixer, and the settings can all be opened quickly by establishing shortcuts in the following window.
Additionally, you may decide whether to share data with the software’s developers and modify the EarTrumpet symbol to its vintage appearance.
You Might Want To Read: How to Increase Microphone Volume in Windows 10
The Final Word
The volume slider will be used a lot despite being a rather basic feature. For some users, especially those who wish to rapidly and easily modify audio, having it available can be vital. Even if you’re just making one click instead of two, over time, those clicks might add up. Simply pin the volume mixer to your taskbar as an alternative. In addition to reducing clicks, it can occasionally be more responsive than the default UI.
Please let us know in the comments below if you have any questions or recommendations. We would be delighted to provide you with a resolution. We frequently publish advice, tricks, and solutions to common tech-related problems. You can also find us on Facebook, Twitter, YouTube, Instagram, Flipboard, and Pinterest.
Suggested Reading:
10 Best Sound Boosters for Windows 10, 8, 7 Laptop and Desktop in 2022
How to Fix Failed to Create Volume Snapshot Issue
How To Restore Sound To My Computer
How to Fix Error 0X80071AC3 ‘The Volume is Dirty’ in Windows 10, 8, 7?