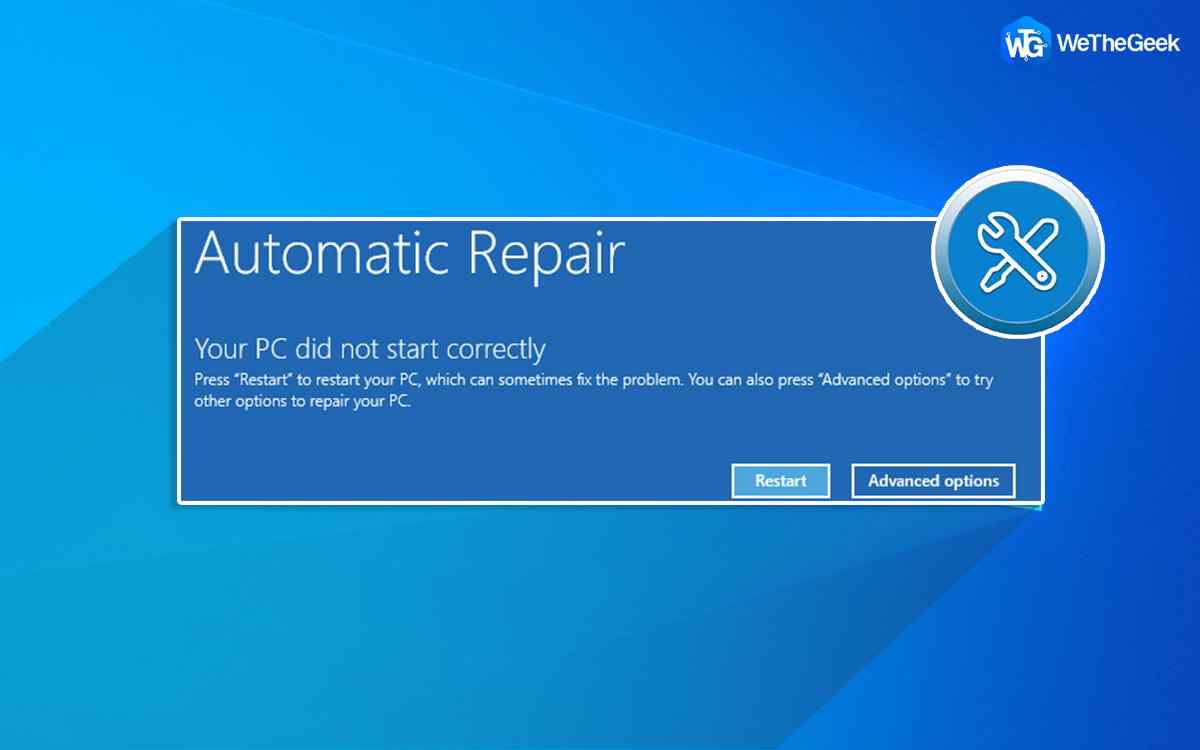
After you boot into Windows, you can get an error notice that says “Your PC did not start successfully.” While this issue isn’t fatal on its own, you should be aware of it if it occurs frequently. This problem can be caused by a number of things, including a recent hardware upgrade, a new or updated driver, or file system damage. If this is the first time you’ve seen the issue, try restarting your computer to see if it occurs again. This guide will help users to fix the “Your PC Did Not Start Correctly” error with simple and quick steps:
How to Fix “Your PC Did Not Start Correctly” Error
Method 1: Startup Repair Tool
Startup Repair is a built-in Windows application that attempts to identify and resolve any computer issues. To utilize Startup Repair, go to the “Your PC did not start correctly” box and choose Advanced options instead of Restart.
Select Troubleshoot > Advanced options > Startup Repair from the Troubleshoot menu. Log in to your account and wait for the process to finish. Check to see whether you can now boot into Windows after restarting. If that doesn’t work, move on to the next step.
Method 2: Safe Mode
By starting your computer in a limited state, you can debug Windows. You can use Safe Mode to recover vital data from a malfunctioning computer and then transfer the data to a flash drive. Additionally, booting into Safe Mode and restarting your computer normally may resolve the “Your computer did not start successfully” problem.
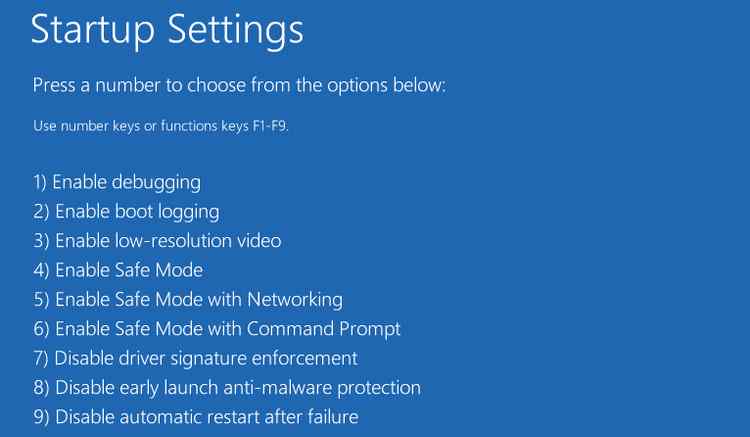
Navigate to Advanced Options > Troubleshoot > Advanced Options > Startup Settings to enter Safe Mode.
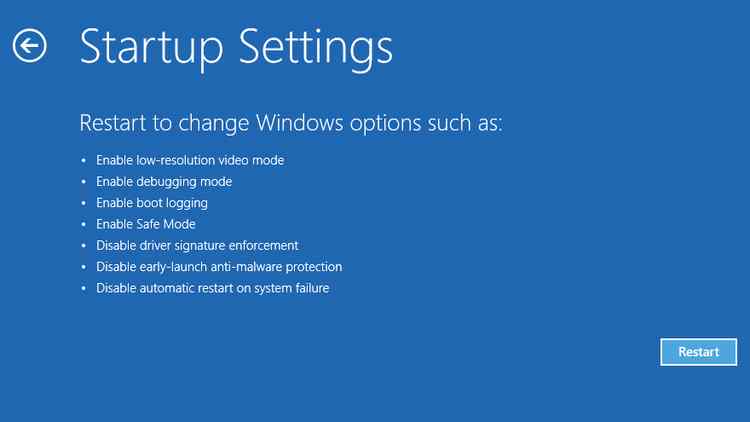
Select Restart from the menu. You’ll get a selection of alternatives when the computer resumes. Press 4 to enable Safe Mode, and your computer should boot into it.
Now is an excellent time to transfer any data. Restart the computer after you’re finished.
Method 3: System Restore
If you’ve recently made any changes to the system, the problem may have started to emerge. If you’re not sure what adjustments you could have made, your system can time-travel to a previous state where everything was OK. It may sound like magic, but it’s not; it’s Windows’ System Restore feature, which is one of the most effective recovery tools available.
You can only use System Restore if your system has already established a restore point. Fortunately, if you have System Restore turned on, Windows will generate a restore point each time you make a significant change, such as installing a driver or installing a Windows update.
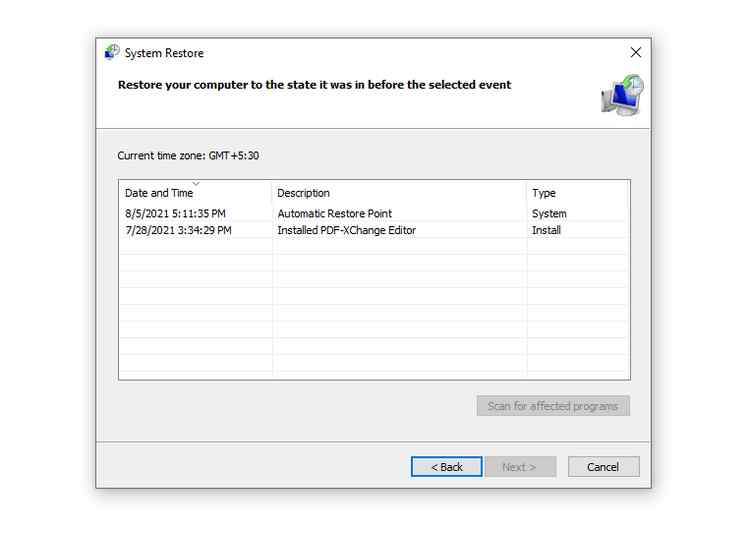
Click Advanced settings > System Restore to utilize System Restore (or to see whether your system has a restore point). If you have multiple administrator accounts, you may need to choose and log in to an administrator account you want to restore at this stage.
Choose a restore point from a time when your system was in good working order, then click Next. If you’re afraid that this will remove a vital application you’ve recently installed, go to the next screen and select Scan for affected programs. You’ll see a list of programs that will be missing after the restoration.
To proceed, click Finish and wait for Windows to complete the process. Hopefully, you’ll be able to boot into Windows again once it’s finished.
Method 4: DISM & SFC
If one or more system files are corrupted or missing, Windows may have difficulties booting. The System File Checker can help you resolve the problem.
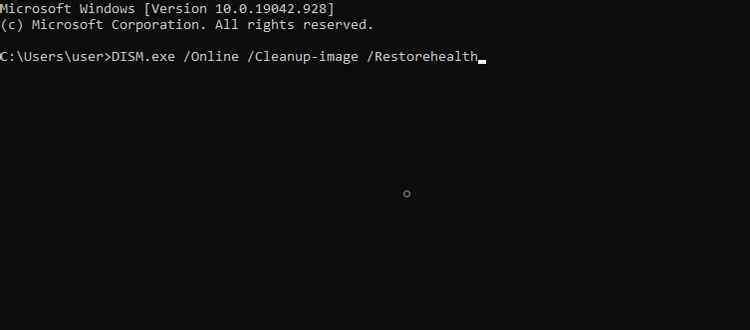
Navigate to Advanced settings > Command Prompt from the error screen. Download the system files that Windows requires for proper booting using the DISM (Deployment Image Servicing and Management) program first.
DISM.exe /Online /Cleanup-image /Restorehealth
Run the System File Checker software after that.
sfc /scannow
The SFC utility looks for missing or corrupt system files on your computer. If any are found, it will add or replace them with a stable copy retrieved by the DISM utility. Use the shutdown command and restart your PC once the utility has finished scanning and repairing the system files.
shutdown /r
Method 5: Windows Update
If there is a widespread problem, Microsoft could have identified it and released a patch to address it. You’ll need to update Windows if this is the case. If you can’t boot into Windows, though, you’ll have to update it from Safe Mode.
With one exception, follow the steps outlined under the heading “Boot into Safe Mode” in this article. To enable Safe Mode with Networking, hit 5 instead of 4 in the final step. Then, when you boot into Windows, go through the standard procedure for updating Windows.
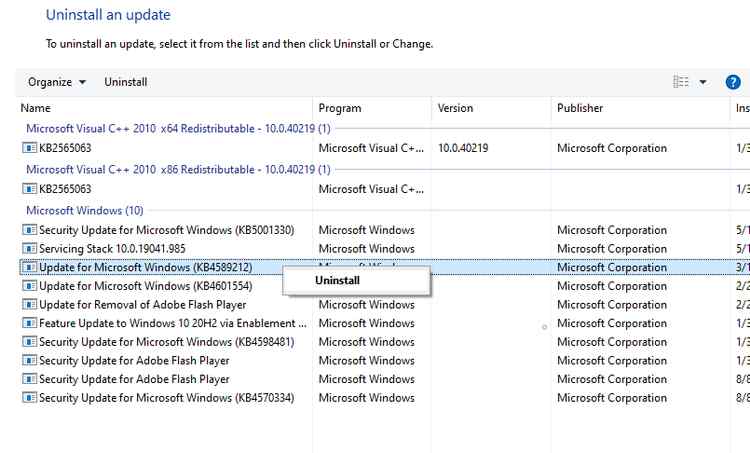
Select Settings > Update & Security > Windows Update > Update history > Uninstall Updates from the Update & Security menu. Look for the most recent update that was installed, right-click it, and select Uninstall from the menu.
The Final Word On How to Fix “Your PC Did Not Start Correctly” Error?
The above methods have been compiled from various troubleshooting forums based on their success rate. Many users have voted these methods to be the best resolutions for PC not starting issues. You can check your PC status after each method, and once your issue is resolved, you can ignore the remaining methods.
Follow us on social media – Facebook, Instagram and YouTube. For any queries or suggestions, please let us know in the comments section below. We would love to get back to you with a solution. We regularly post tips and tricks, along with answers to common issues related to technology.