Did you know Windows comes packed with a “Wireless Display” feature that allows you to share your PC’s display on a secondary screen via a wireless network? Yes, that’s right. You can easily cast your device’s content on a bigger screen with the help of this feature without using an HDMI cable.
Image source: Tech News Today
As screen mirroring allows you to cast your phone’s or tablet’s display on your television or any other supported device, you can do the same on your Windows PC by using the “Wireless Display” feature.
Also read: How To Fix Second Monitor Not Detected on Windows 10 (2022)
How to Add a Wireless Display on Windows 11?
The Wireless Display feature is hidden deep within the Settings. And here’s how you can enable it:
Tap on the Windows icon and select “Settings.” Switch to the Apps section from the left menu pane.
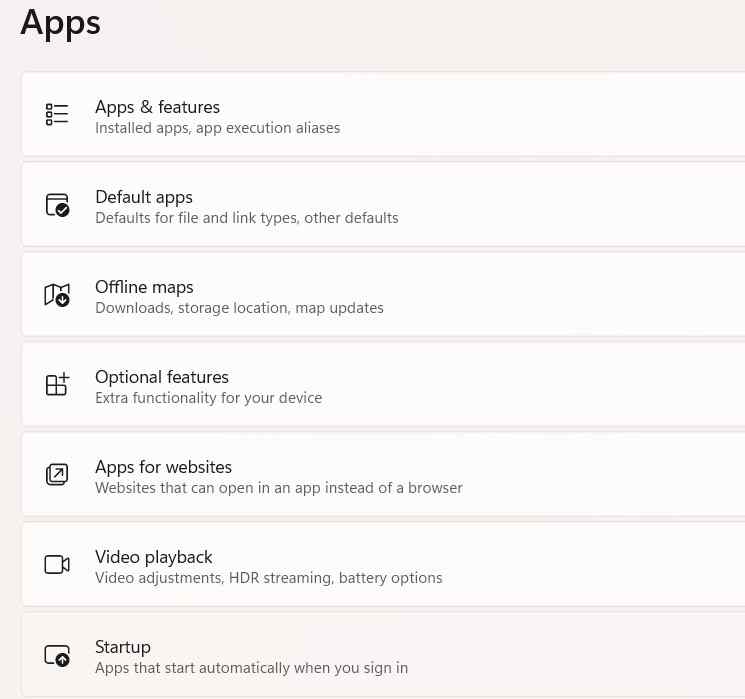
Select “Optional Features.”
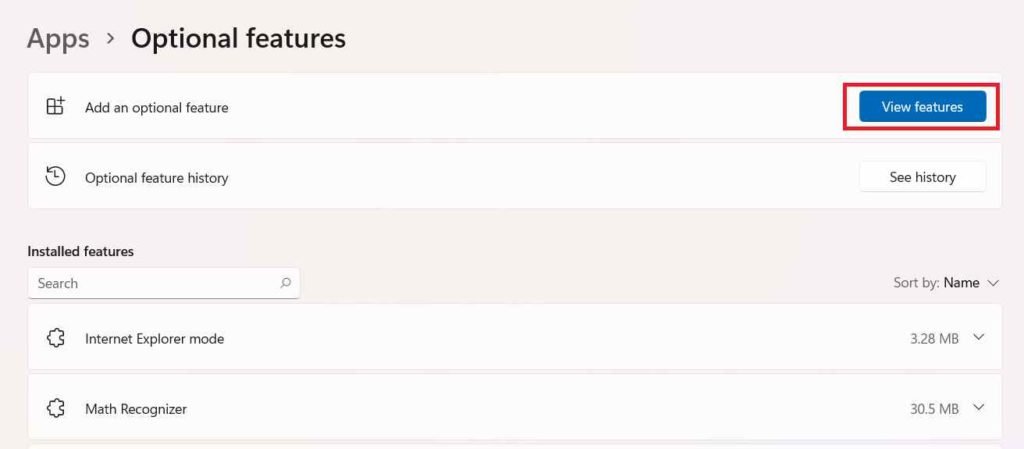
To add the “Wireless Display” feature to your Windows PC, hit on the “View Features” button placed in the top-right corner.
A new window will now appear on the screen listing all the optional features available for your device. Scroll down to the extreme bottom and look for “Wireless Display.”
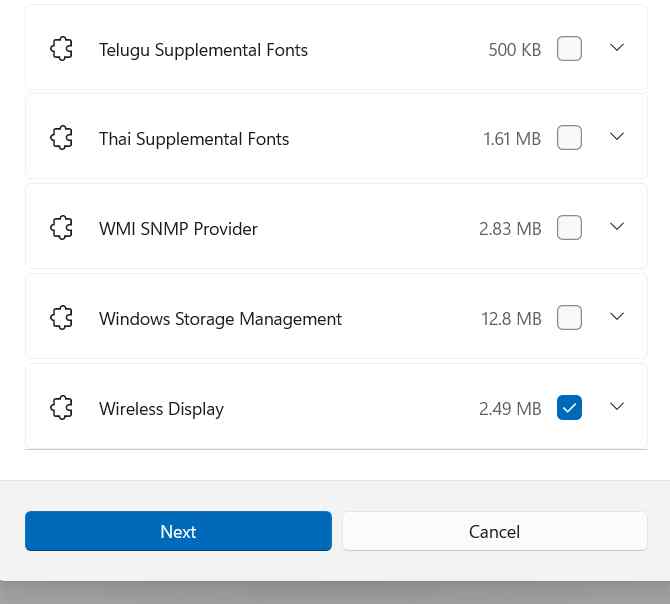
Check the “Wireless Display” option and click the “Next” button. Tap the “Install” button to add the Wireless Display feature to your Windows PC.
Also read: How to Mirror/Cast Your Android Phone Display On Windows 10 PC
Wireless Display not Working? Here’s the Fix!
Installed the Wireless Display feature and still not able to use it? Wireless Display not working on your device? Here are a few simple workarounds that you can try to resolve this issue.
Solution #1: Check the WiFi Network
The Wireless Display feature uses the WiFi connection for screen mirroring. Hence, you must ensure that both devices are connected to the same WiFi network and receive stable Internet bandwidth. So, if the devices are connected to different WiFi networks, you may not be able to stream content.
Solution #2: Configure Windows Defender Firewall Settings
Unable to use the Wireless Display feature on Windows 11? Here’s a quick change that you can make to the Windows Defender app:
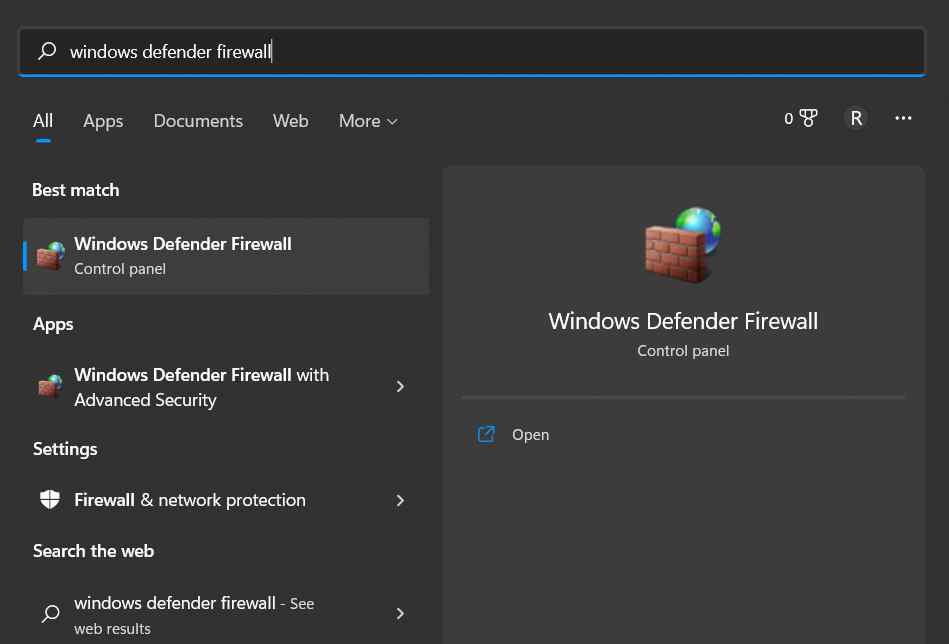
Tap on the search icon placed on the Taskbar and type “Windows Defender Firewall,” and hit Enter.
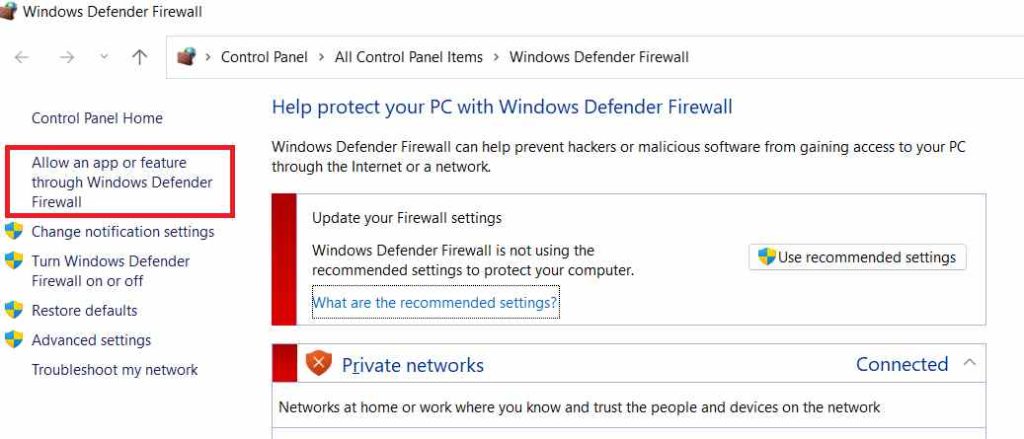
The Windows Defender Firewall window will now appear on the screen. Select the “Allow an app or feature through Windows Defender Firewall” placed on the left menu pane.
Scroll down through the list of apps and look for “Wireless Display.” Check on it and hit on the OK button.
Solution #3: Enable WiFi Direct
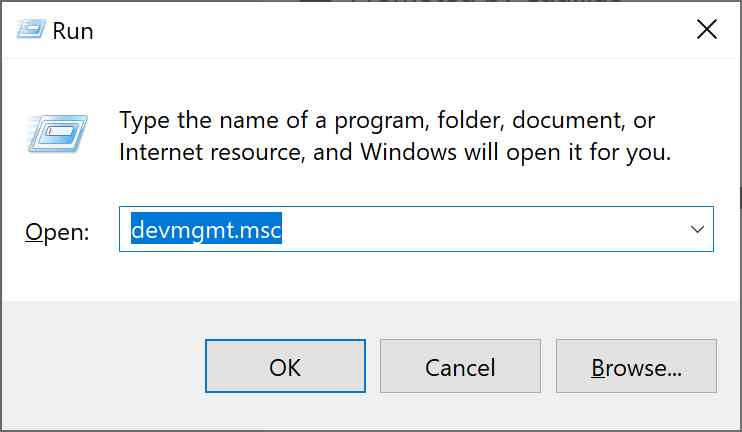
Press the Windows + R key combination to open the Run dialog box. Type “Devmgmt.msc” and hit Enter.
In the Device Manager window, select “Network Adapters.”
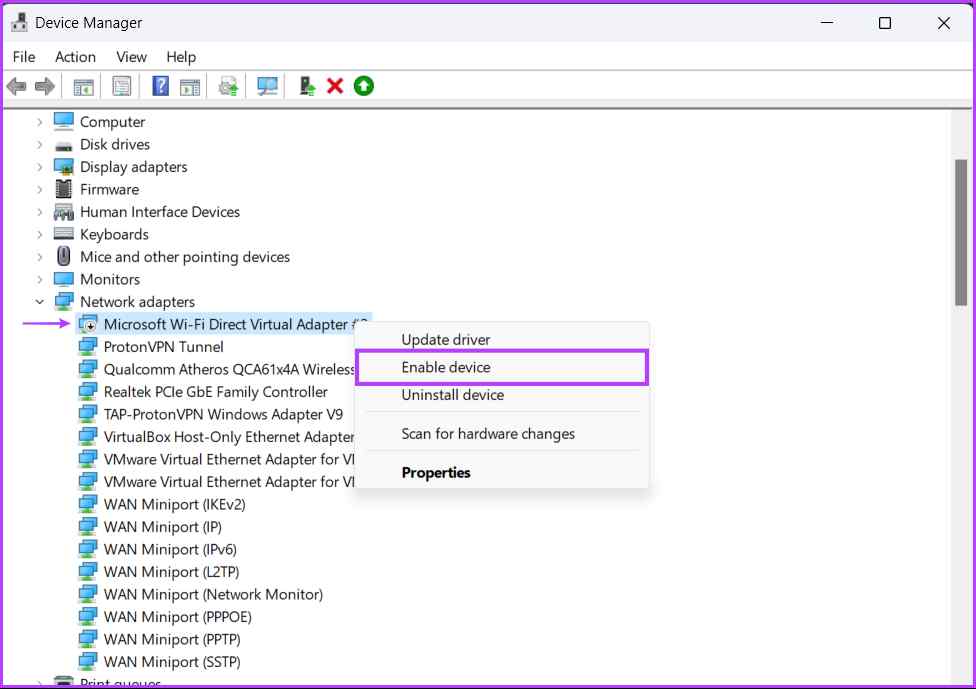
Right-click the “Microsoft WiFi Direct Virtual Adapter” driver and select “Enable Device.”
Also read: How To Fix Wireless Mouse Not Working On Windows 10 PC?
Solution #4: Update the WiFi Direct Driver
Launch the Device Manager app on your Windows PC and select “Network Adapters.”
Right-click on the “Microsoft WiFi Direct Virtual Adapter” driver and select the “Update Driver” option from the context menu.
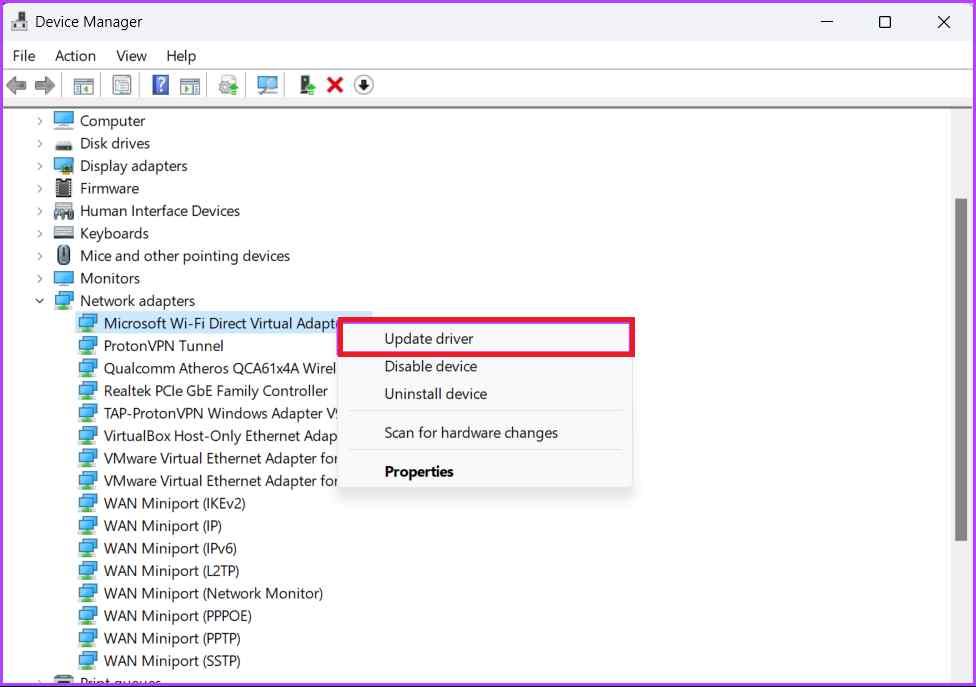
Select the “Search automatically for drivers” option so that Windows can install the latest update of the WiFi Direct driver from the manufacturers’ website.
Keeping track of outdated and corrupt system drivers is a tedious task. We only realize the issue after encountering any error or glitch. Right? Well, we recommend you use a third-party tool to update drivers and optimize PC performance.
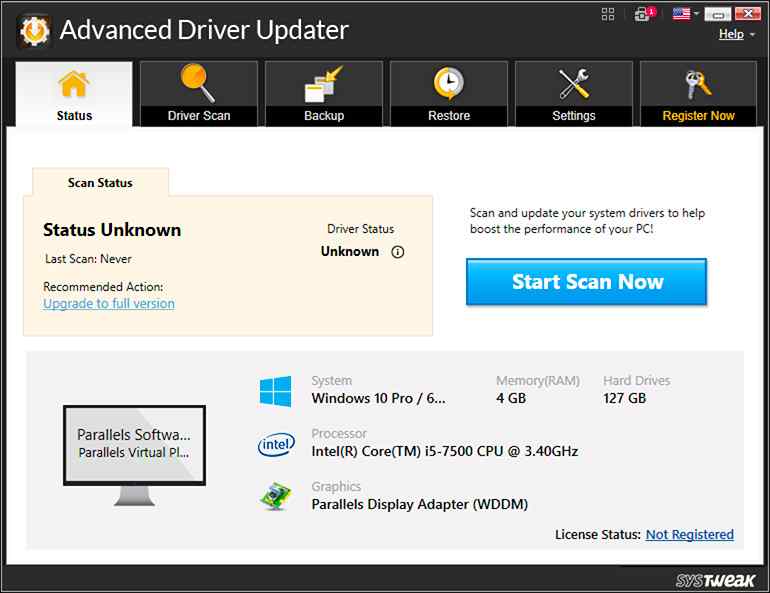
Advanced Driver Updater is one of the best driver updater tools available online that scans, downloads, and updates drivers on Windows in just a few clicks. This nifty tool automatically updates all the outdated/missing/corrupt drivers on Windows to keep your PC’s performance in a top-notch state. Follow these steps to update your drivers seamlessly:
1. Download and install the Advanced Driver Updater tool on your Windows 11 PC immediately.

2. Once installed, click the Start Scan button on the welcome screen.

Note: The scan might take some time to complete depending on the internet connection and the number of outdated drivers.

3. Once the scan is complete, you will get the list of obsolete drivers. Click on Update Driver to update the driver to its latest compatible version.
Conclusion
There were a few solutions to fix the “Wireless Display feature not working on Windows 110′′ issue. If you were experiencing issues while casting your Windows PC screen on a secondary display, you could use these workarounds to get past this hindrance. Was this helpful? Do let us know which solution did the trick for you. Feel free to share your thoughts in the comments section.
Follow us on social media – Facebook, Instagram and YouTube.