Having trouble accessing the on-screen keyboard on Windows 11/10? Well, it’s a commonly reported issue faced by a majority of users after upgrading to Windows 11. But looking on the bright side, you can easily troubleshoot this issue on your own by making a few quick changes to your device’s settings.
Windows On-screen keyboard is a handy accessibility feature that also acts as a secondary keyboard. So, whenever anything goes wrong with your actual keyboard, you can simply switch to the on-screen keyboard to get things done. Also, when you’re using Windows in Tablet mode, the on-screen keyboard offers convenient ease of accessibility.

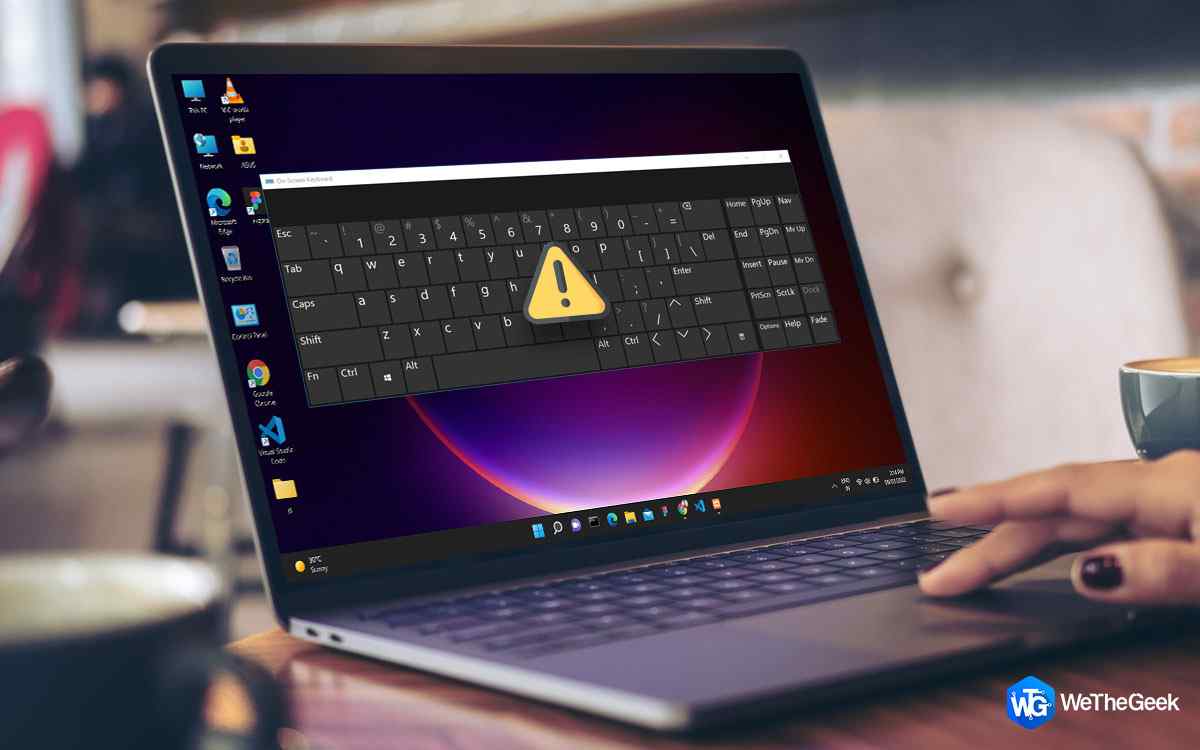
Image source: Gear Up Windows
So, if the Windows on-screen keyboard fails to load, you can use the below-listed workarounds to get it functional again. In this post, we have listed a variety of simple (Tried & Tested) solutions that you can use for fixing the “On-screen keyboard not working on Windows” issue.
Here you go!
Also read: Tips And Tricks To Use On-Screen Keyboard On Windows 10
Windows On-Screen Keyboard not Working? Here’s the Fix!
Solution 1: Restart the Touch Keyboard Service
Press the Windows + R key combination to open the Run dialog box. Type “Services.msc” in the textbox and hit Enter.
In the Services window, scroll through the list and look for “Touch Keyboard and Handwriting Panel Service”. Double-tap on it to open Properties.

Set the “Startup Type” value as “Automatic”. Hit on the OK and Apply button to save the recent changes.

Reboot your device and try launching the on-screen keyboard to check if the issue was resolved.
Solution 2: Manually Enable the On-Screen Keyboard
Launch the Settings app, and switch to the “Accessibility” section from the left menu pane.
Scroll down and select “Keyboards”.

Toggle ON the switch next to the On-screen keyboard to enable it.
Also read: How To Fix Alt + F4 Keyboard Shortcut Not Working on Windows 11
Solution 3: Use Windows Run
Press the Windows + R key combination to open the Run dialog box. Type the following command in the textbox and hit Enter to execute it:

Osk.exe
By doing so, you will force enabling the on-screen keyboard to launch on your computer.
Solution 4: Create a Shortcut for the on-screen Keyboard
If you are unable to open the on-screen keyboard using conventional methods, then you can try creating a shortcut to launch it. Here’s what you need to do:
Head on to the Desktop, right-click anywhere, and select New> Keyboard Shortcut.

A new window will now appear on the screen. Type the following path in the text field:
%windir%\System32\osk.exe

Tap on “Next”.
Enter a shortcut name and hit the Finish button.

And that’s it! A new shortcut icon for the on-screen keyboard will now be created on the desktop. Double-tap on it to launch the on-screen keyboard.
Also read: Keyboard not Working? Making a Beep Sound? Here’s the Fix!
Solution 5: Modify Google Chrome’s Settings
Some users have reported that they encountered the “On-screen keyboard not working on Windows” issue while using the Google Chrome browser. Hence, we will try making some changes in Chrome’s settings and see if this hack works. Here’s what you need to do:
Head on to the Desktop and now right-click on Google Chrome’s icon, select “Properties”.
In the Google Chrome Properties window, switch to the “Shortcut” tab.
Now, in the target field, hit the spacebar key once and then paste the following command:
–disable-usb-keyboard-detect

Hit on the OK and Apply buttons to save the recent changes.
Solution 6: Run the SFC Command
SFC (System File Checker) is a useful Windows utility that allows you to scan and fix corrupt system files. The on-screen keyboard not working issue can also be triggered due to the presence of a corrupt system file or misconfigured settings. To resolve the issue, we can use the SFC command on Windows 11. Follow these quick steps to run the SFC command on Windows 11:
Press the search icon placed on the Taskbar, type “Command Prompt” and then hit the “Run as Administrator” option.

In the Command Prompt window, type the following command and hit Enter to execute it:

sfc/scannow
Once the command execution is completed, reboot your device. Relaunch the on-screen keyboard and check if the issue persists.
Conclusion
Here were a few simple troubleshooting methods to fix the “On-screen keyboard not working on Windows” issue. The on-screen virtual keyboard on Windows is quite useful. You can use it as an alternative keyboard whenever your actual keyboard fails to work. Also, you can use the on-screen keyboard to type in passwords and other sensitive information.
So, go ahead and try any of the above-listed methods to fix the on-screen keyboard to get it up and running again within no time. Good luck, fellas!
Follow us on social media – Facebook, Instagram and YouTube.