
Microsoft released the Windows 10 operating system for its users back in 2015. This is considered to be the major change to the Windows in its history. However, Windows 10 didn’t let user expectation down and offered mind-blowing capabilities and features like Hello face login, touch-screen support, and multiple desktops and more. However, there are some things you should do on priority after installing Windows 10 that can enhance your Windows experience. So, let’s have a look!
Run Windows 10 Update

The recommended procedure for installing the setup of Windows 10, is to check out the latest updates before going forward. However, it is also recommended to run the Windows update again once you’re done with installing Windows 10.
Follow the steps to install Windows Updates:
Step 1: Go to Start Menu and look for Windows update.
Step 2: Choose the Windows Update Settings.
Step 3: Hit Check for Updates to find out whether your machine is up-to-date or not.
Know More: Best Hidden Tricks For Windows 10
Step 4: If you’ve pending updates, then you need to wait up a little bit for the updates to download and prepare.
Step 5: Once the updates are downloaded and prepared, you’ll be prompted to Restart to save the changes made.
However, In Windows 10 update works slightly different and the majority of times it will be downloaded automatically and distress you from manually installing them.
Turn on System Protection

Installation of Windows 10 on your machine automatically disables system protection or you can say by default it’s not there after the installation. You need to enable system protection to have the option to undo a future Windows Update. For that, all you need to do is access an Explorer window and right-click on “This PC”. Select Properties and choose System Protection from the new window that appears on your screen. Choose your preferred “C”-drive and hit Configure. Now, you can “Turn on system protection.
Check Windows Defender
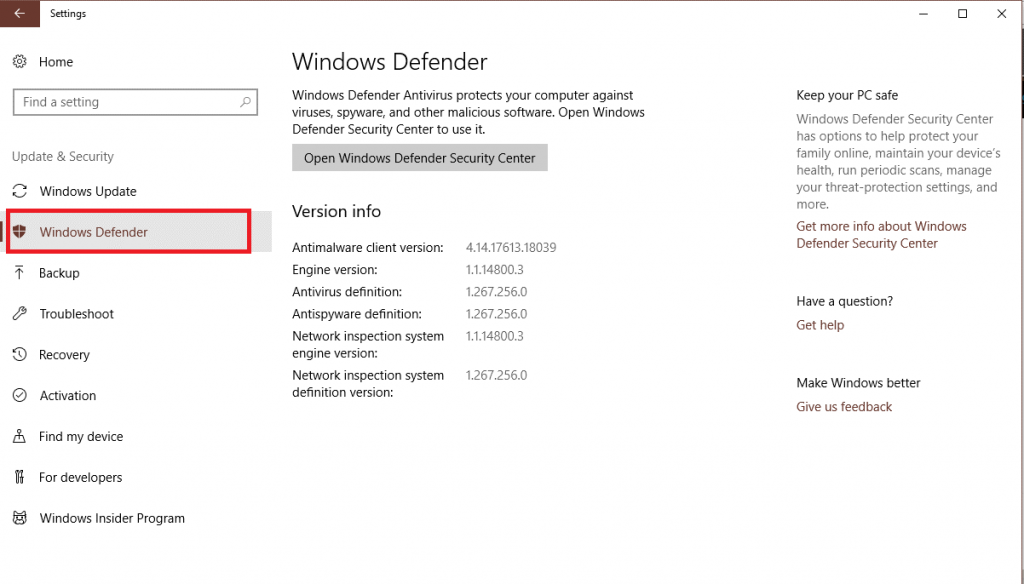
To keep your machine safe and secure, Windows 10 offers the inherent anti-virus tool that gets the work done for you without costing an extra buck. As the name reflects, Windows Defender adds an extra layer of security to your system to safeguard it from virus and malware. In order to make sure Windows Defender is enabled on your system then you need to make sure real-time protection and cloud-based protection is toggle on your machine.
Know More: How To Get Rid Of Shortcut Virus From Windows 10
Limit Your Notifications
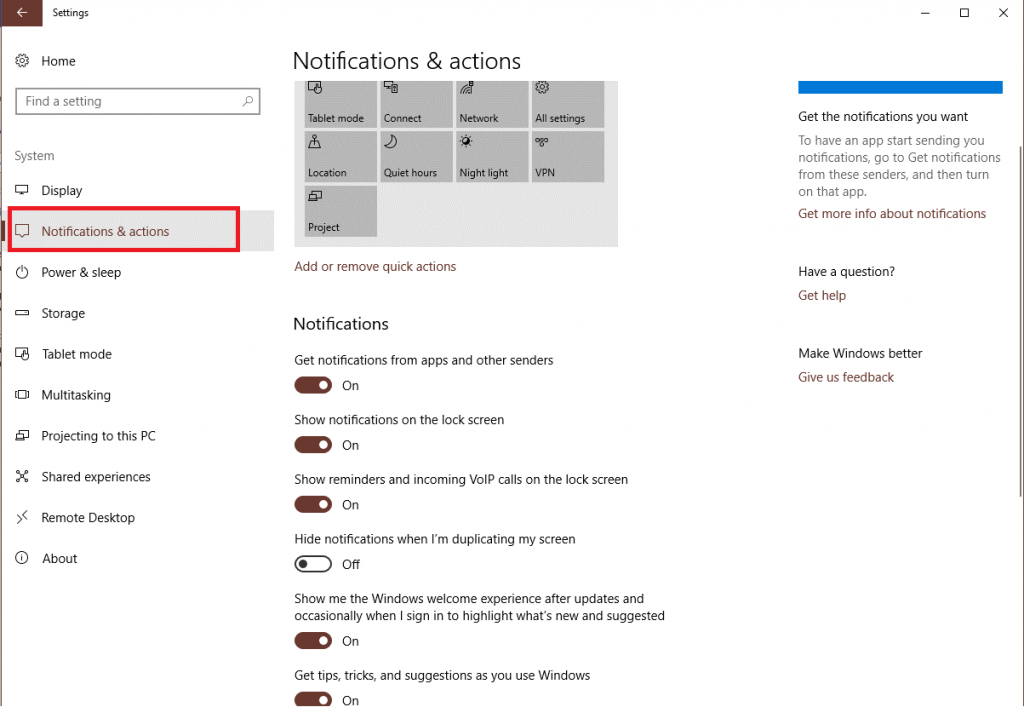
Undoubtedly, getting notifications will update you what’s going on your machine and in the world. However, sometimes it can be frustrating when you get too many of them especially when you’re working on something important. Moreover, it’s a distraction that might hamper your productivity.
In order to limit your notifications, follow these steps:
Step 1: Go to Settings.
Step 2: Select System.
Step 3: Choose Notification and action
Step 4: Now, you need to toggle off all the unwanted notification that is of no use to you.
Protect Your Machine With A PIN Login

It is always recommended to use a strong and alpha-numeric password that is not easy to guess to crack. Please keep in your mind that this PIN password is setup to login to Windows on your machine and PIN won’t be worth to access anything else.
When you switch to a Microsoft account your machine will automatically prompt you to set up a PIN. In case, you missed the prompt then you can do it on your own as well.
Step 1: Go to the Start button.
Step 2: Locate Settings.
Step 3: Click on Accounts and choose Sign-in options.
Step 4: Now, hit add button, which is available below the PIN and perform the given instructions to set up a four-digit PIN password.
Setting up the four-digit PIN to login into your PC is one of the things to do after Windows 10 installation. Don’t you think?
Set Default Apps
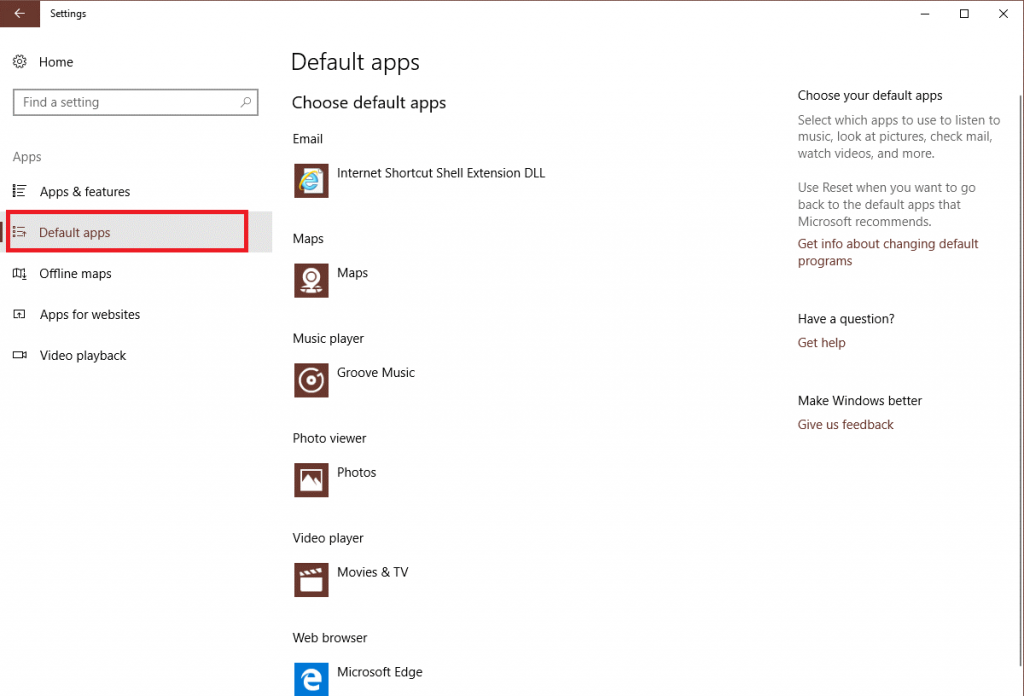
Looking for the app that you need to access to execute your daily task not only kills your valuable time but also distract you from your focus. However, setting the apps as your default app that you access majority of times is convenient for you to access them as well as you don’t put extra efforts when you’re multitasking. Follow the below steps to set your favorite apps as default apps:
Step 1: Go to Settings.
Step 2: Choose System.
Step 3: Click on Default apps. Now, choose the apps that you would like to set as your default apps.
Resize the Start Menu
Windows 10 comes with tons of mind-blowing features and stupefying graphics and displays. Best of all, it always allows you to personalize your Windows 10 as per your preferences. In fact, you can resize your start menu for effective productivity and unique screen appearance. All you need to do is, just hover on the border of the reveal the resize pointer and just drag on your Windows 10 screen to make the changes like taller and wider start menu.
These are some of the things you should do on priority after installing Windows 10. Moreover, with making these changes in your Windows 10, you can personalize and customize your machine as per your requirements to make it work effectively.