
There is a tool built into your Windows PC that can optimize efficiency by cleaning up your hard disk. And this tool/feature of Windows is known as “Storage Sense.” A hard disk with little to no storage space is the very last thing you need. Your computer’s performance will be significantly impacted by a nearly full hard disk, which will surely cause your apps to fail more frequently.
Cleaning up your disk and deleting the biggest items that are consuming up a lot of space is really the only solution, and Microsoft Windows 11 makes it simple to do so. This storage sense on Windows 11 automatically deletes system files, temporary files, and outdated downloads. To ensure that you don’t lose anything crucial in the process, you may customize it to just delete particular files.
Read Also: 10 Best Terminal Emulators for Windows 11/10
What is Storage Sense? How To Use it
With OneDrive, Windows Storage Sense acts as a quiet helper to automatically clear up space by converting locally accessible files that are no longer in use to online-only status. Only accessible online files are stored securely in OneDrive and thus are accessible on your device.
Read Also: How to Disable OneDrive on Windows 11
Free Up Disk Space in Windows 11
Here’s how to utilize Windows 11’s Storage Sense function, which may help you keep your storage space under control:
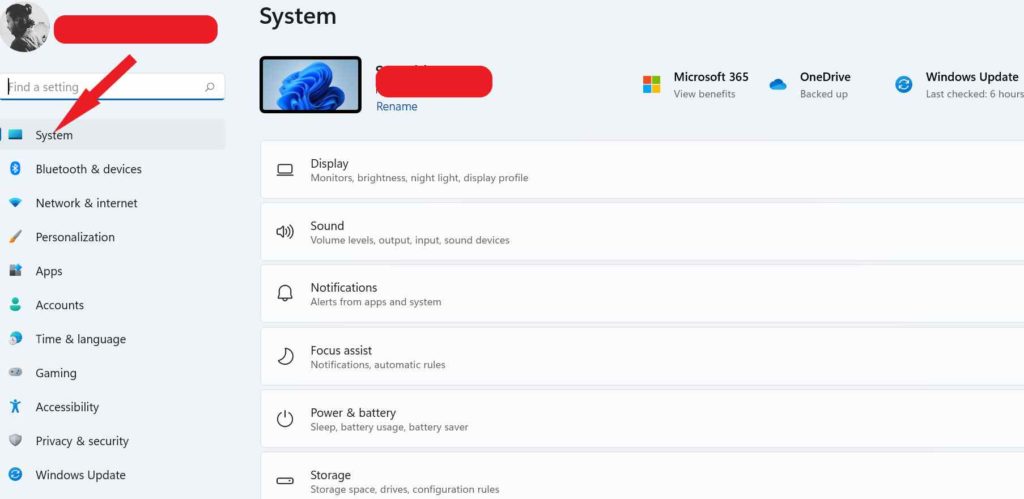
- Press the “Windows” key with the key “I” to open “Windows Settings.”
- Click on the “System” at the top from the left side of the pane.
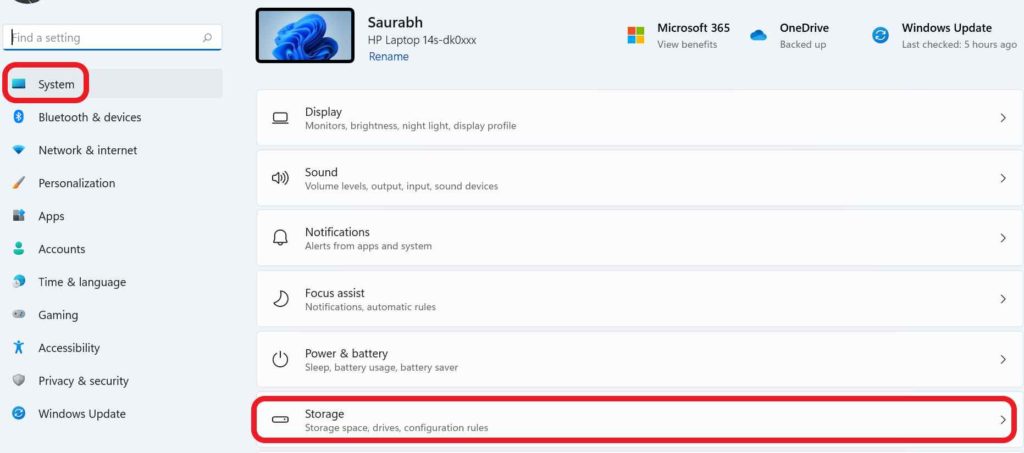
- After selecting System tap on “Storage” from the sidebar.
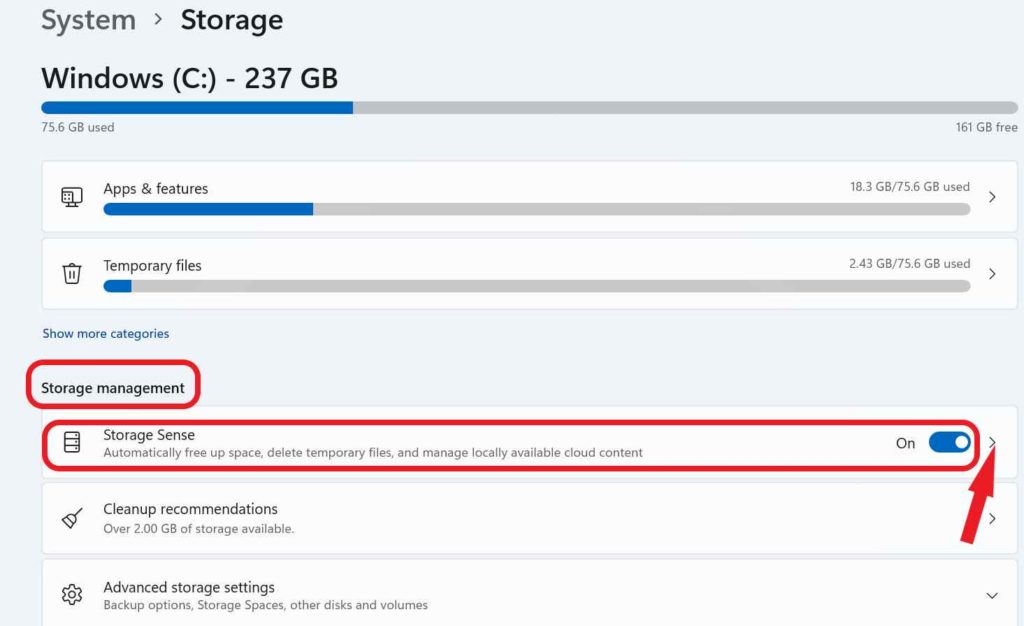
- Look for the “Storage Management” option and to turn “On” Storage Sense, click the toggle button.
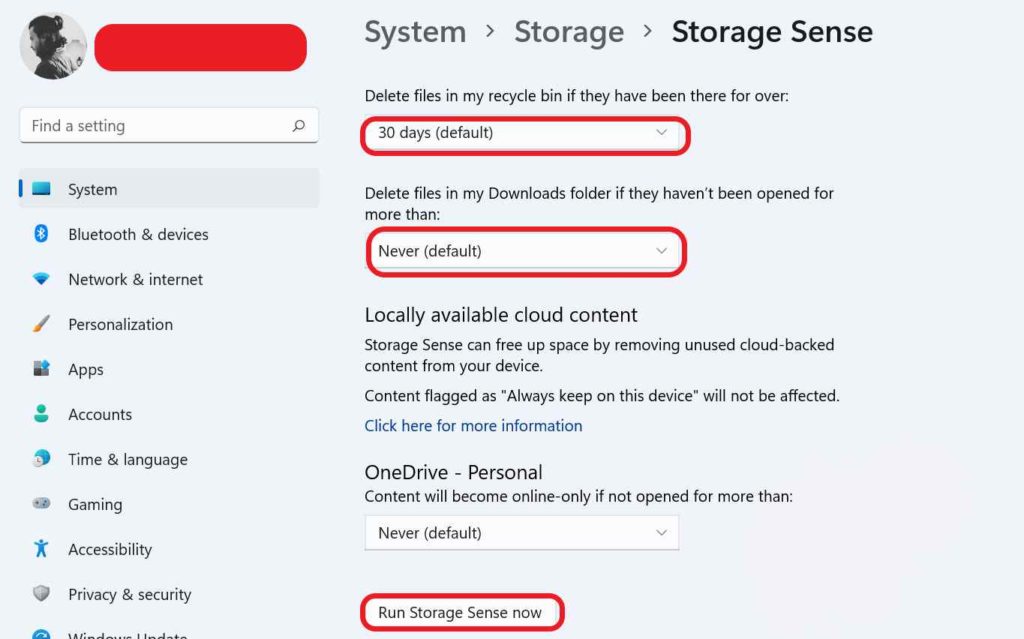
- Enabling Storage Sense, now allows you to create personalized disk space management policies. You may choose how frequently and when Windows should execute Storage Sense in order to clear data from the Downloads folder and recycle bin.
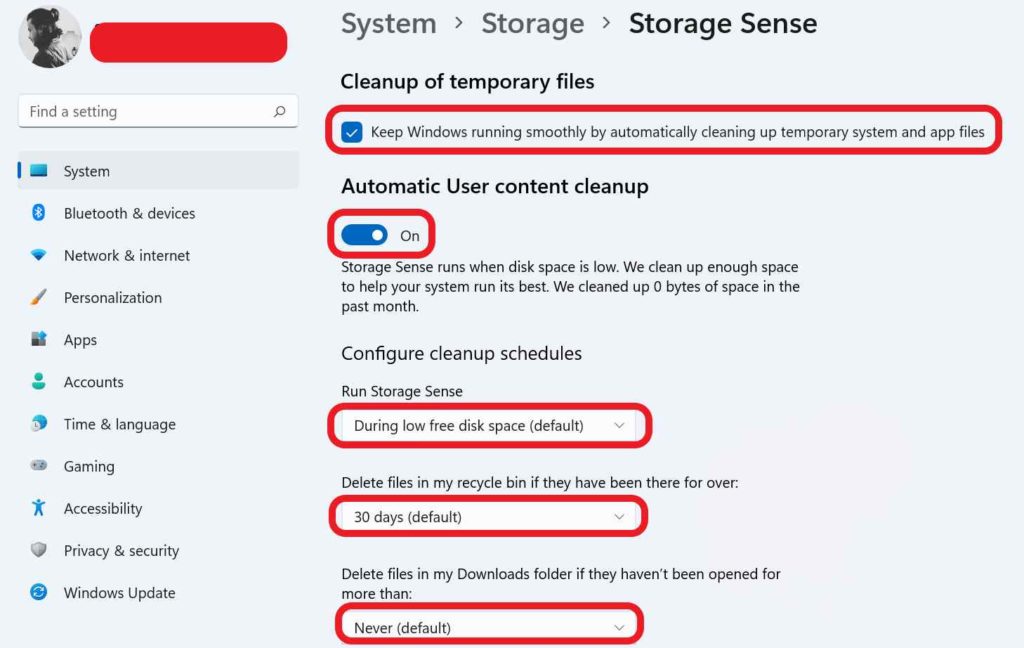
- After choosing your preferred choices, click “Run Storage Sense now.”
Read Also: How To Increase Google Storage Space For Free?
Final Words on How to Use Storage Sense On Windows 11
So, this is how you can manage disk space on Windows 11. And by following this straightforward guide, you can now enable storage sense with only a few clicks if you are unfamiliar with it or how to utilize it. Give it a try and lets us know if you know other cool hidden features of Windows 11.
Follow us on social media – Facebook, Instagram and YouTube.