
Snap layouts not working on Windows 11? Don’t worry! We’ve got you covered. In this post, we have listed a bunch of workarounds that you can use to fix the snap layouts feature on Windows.
Snap Layouts were initially rolled out with Windows 11 offering more power to users to control and access between multiple apps and programs. Working on a desktop becomes efficient with Snap Layouts as you can easily organize your window for more productivity. In simple parlance, snap layouts allows you to run multiple applications at the same time. You can simply divide the desktop screen in the desired layout to multitask while juggling between more than one app simultaneously.
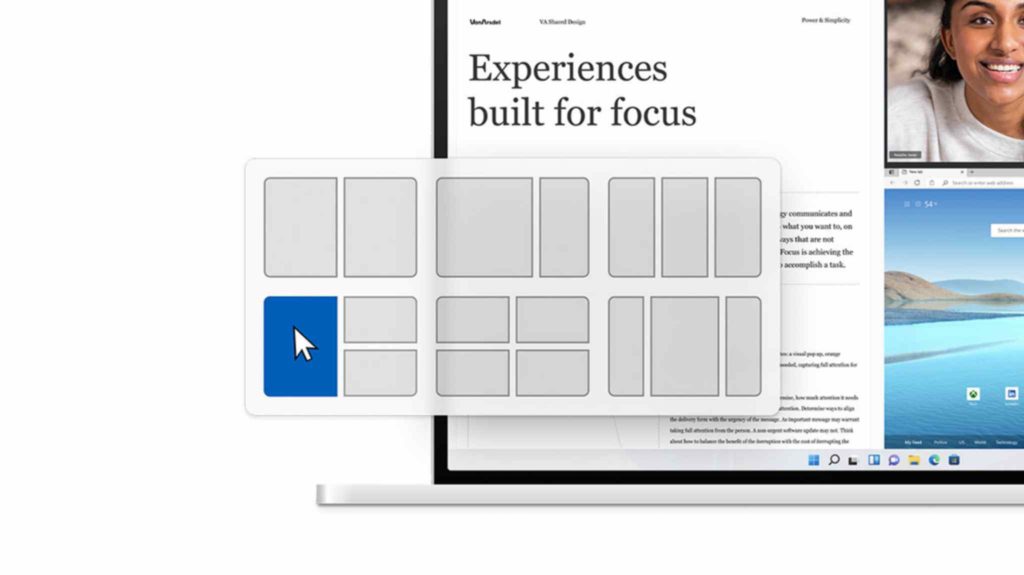
Image source: How to Geek
So, if you haven’t used this feature so far for multitasking or if you’re not able to use Snap Layouts on Windows 11, we’ve got some pretty useful solutions for you.
Also read: Windows 11 – The First Version of a New Era of Windows is Finally Here
How to Use Snap Layout on Windows 11?
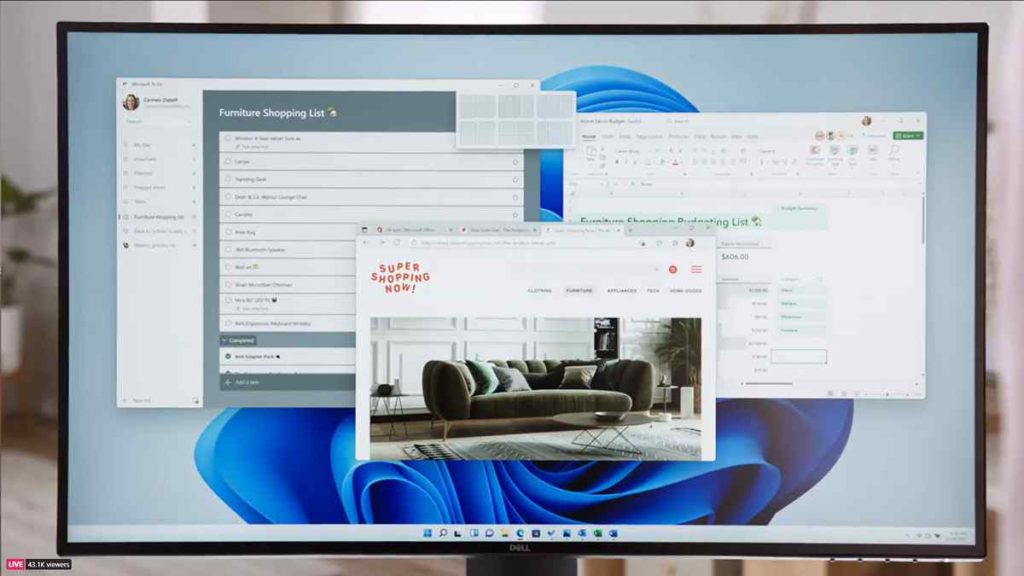
Image source: XDA Developers
Multitasking on Windows, especially on devices with wider displays becomes so much better with Snap Layouts. Before we proceed towards the solutions, let’s quickly learn how to use the snap layout feature on Windows 11.
Press the Windows icon placed on the Taskar, select Settings. Tap on “Multitasking”.
Now, enable the “Snap Windows” option in case it wasn’t already turned on.
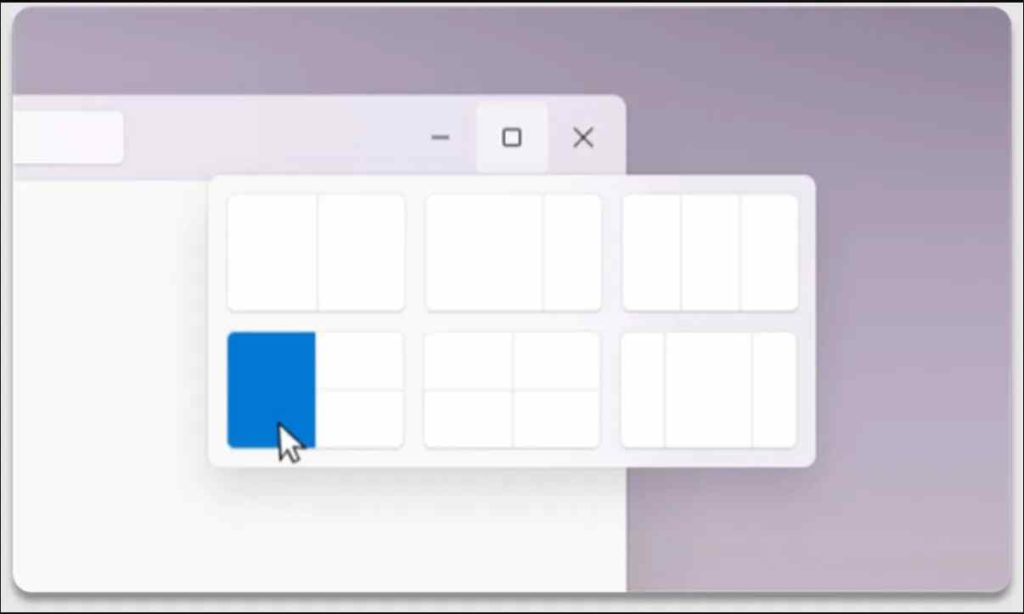
Once this feature is enabled, you can simply press the Windows + Z key combination to launch Snap Layouts. An alternative way to use snap layouts is by hovering the mouse over the “Maximize” icon.
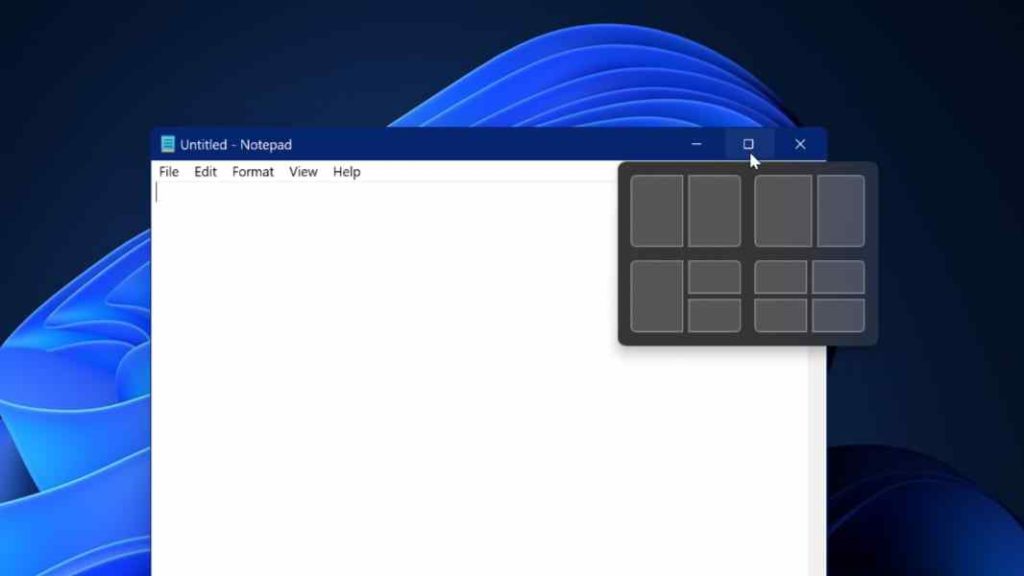
After pressing Windows + Z key combination, you will see a tiny pop-up at the top-right corner of the screen featuring various layouts.
Pick your desired layout and then simply drag and drop your favorite applications and programs in the preview panel to multitask efficiently.
Also read: How to Use Split Screen Multitasking on iPad
How to Fix Snap Layouts Not Working on Windows 11
Snap layouts not working on Windows 11? Well, you can easily fix this issue by following a few workarounds.
1. Manually Enable Snap Layouts via Settings
If the Snap Assist feature is not enabled in Settings, you won’t be able to use Snap Layouts by using the keyboard shortcuts or by hovering the mouse over the maximize icon. To manually enable the Snap Layout feature on Windows 11, here’s what you need to do.
Open the Windows Settings App, switch to the “System” section from the left menu pane. Now, tap on “Multitasking”.
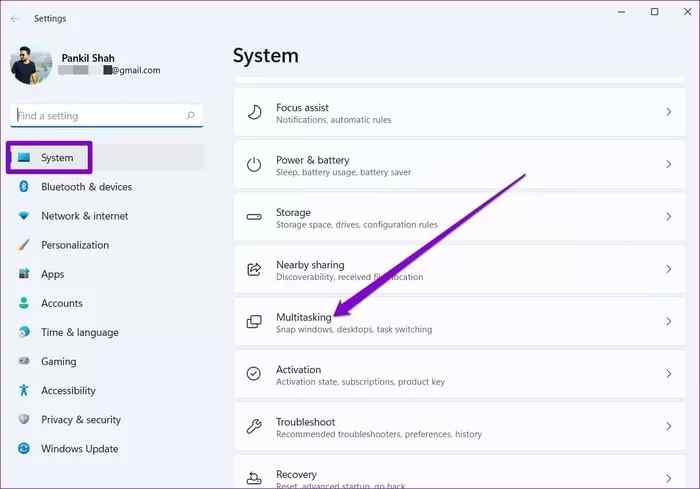
Image source: Guiding Tech
Enable the “Snap Windows” option.

Image source: The Windows Club
After enabling this option, tap on “Snap windows” and then check or uncheck on different options to set preferences.
2. Enable Snap Layouts using Windows Registry
Another way to manually enable the Snap Layouts feature is by using Windows Registry Editor. Follow these quick steps:
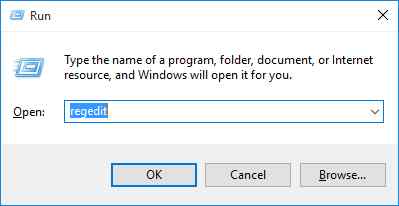
Press the Windows + R key combination to open the Run dialog box. Type “Regedit” and hit Enter to open the Registry Editor.
In the Registry Editor window, navigate to the following folder location:
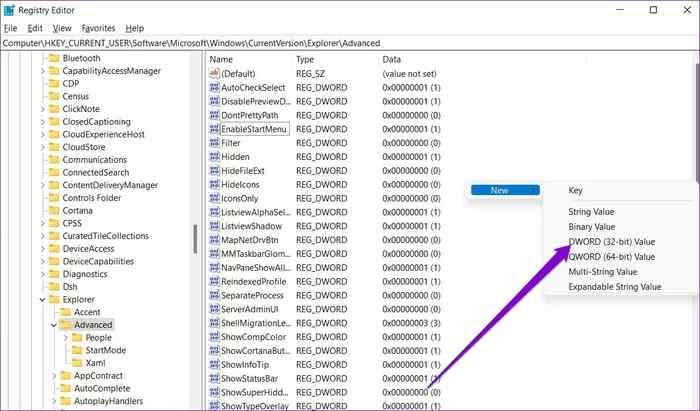
Computer\HKEY_CURRENT_USER\Software\Microsoft\Windows\CurrentVersion\Explorer\Advanced

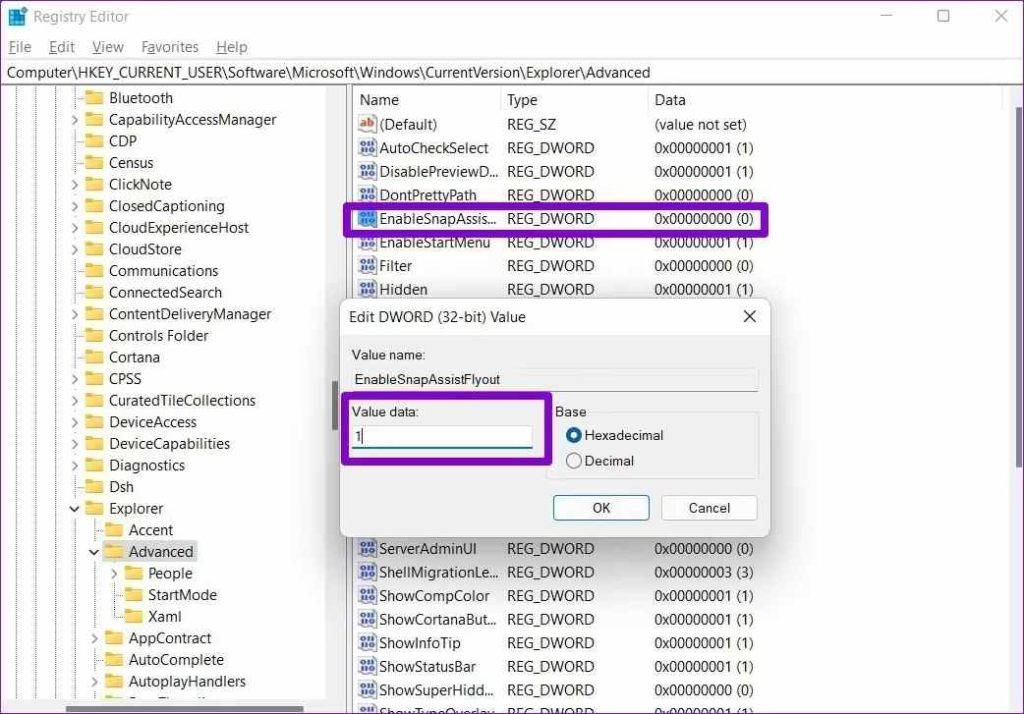
Once you’re in the Advanced Folder, right-click anywhere on the blank space, select New> D-WORD (32-bit). Rename the D-WORD file as “EnableSnapAssistFlyout’ and then save your changes.
After the new file is created, double-tap on it. Type 1 in the Value Data field and hit on OK.
Exit Registry Editor, reboot your machine, and check if it fixed the “Snap Layouts not working” issue.
3. Check App Compatibility
Well, not all apps are compatible with Snap Layouts. Before you dig deep into settings and waste your time, make sure that you check whether a certain app supports the Snap Layout functionality or not. There may be a handful of third-party applications that may not support Snap Layout functionality yet on Windows 11.
4. Update Windows
Is your device running on the latest Windows 11 version? Not sure? Here’s how you can check for available updates via Settings.
Open the Settings app. Switch to the “Windows Update” section from the left menu pane.
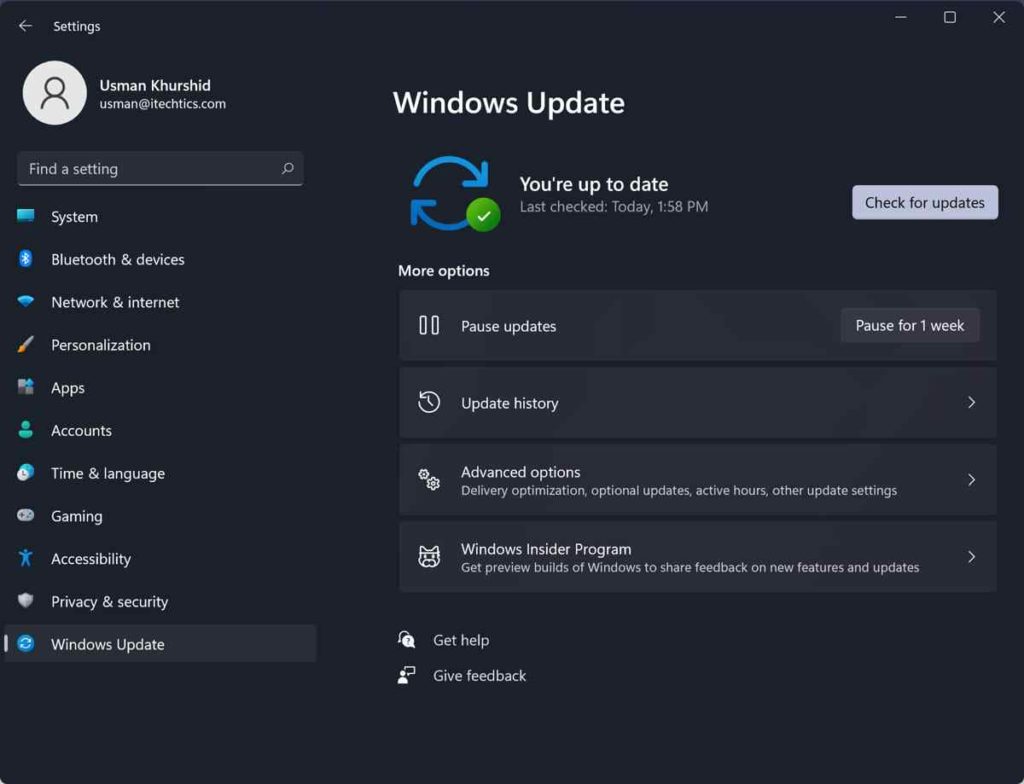
Tap on the “Check for Updates” button.
Wait for a few seconds until Windows checks for available updates. If an update is available, upgrade your device right away.
Also read: How to Split Screen on a Mac in a Few Clicks (2022)
Conclusion
Here were 4 simple solutions that you can use for fixing the “Snap Layouts not Working” issue on Windows 11. We hope the above-listed methods help you in making snap layouts functional again so that you can multitask without breaking a sweat.
How much do you love the Snap Layouts feature on Windows 11? Feel free to drop your thoughts in the comments space. Follow us on social media – Facebook, Instagram and YouTube.
Daniel Trifu
Snap Layouts is bugged in Windows 11. When you change the Scale (System > Display > Scale & Layout) from the implicit value (100) to another value (I set 110 on my system) then the Snap Layouts don’t work anymore.Ole
Kudos to the one before! That was my issue: the scaling in windows settings.