Printer is a device that converts soft copy to hard copy. In other words, it brings out your digital documents on paper. Although the world is turning digital gradually, and until that transformation completes, we might have to use our printer every once in a while. If your printer takes a long time to print, then this guide will help you with the steps on how to fix slow printing issues in Windows PC.
How to Fix Slow Printing in Windows PC
Slow Printing is an issue faced by many and some tips can help you fix this issue. However, the printing speed also depends on the make and model of the printer and the steps mentioned below are only to be followed only if you have observed a change in the printing speed recently.
Method 1: Reset Printer
The first step to take if you are facing printer printing slow issues is to reset the printer which can be done by a simple restart. Printers often follow a mechanism to avoid overheating and reduce the speed to generate less heat. This usually happens when your printer is turned on for a long time. Here are the steps:
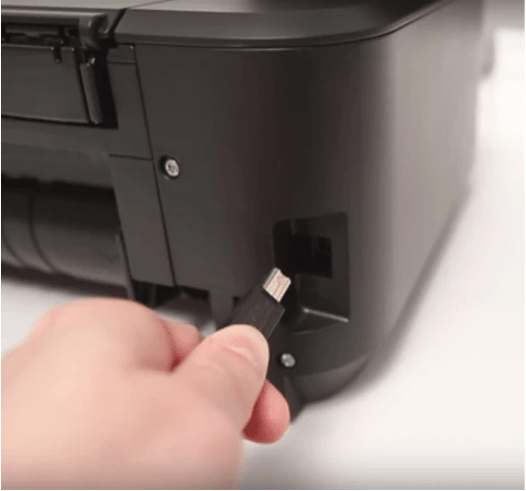
Step 1: Turn off your printer and try to disconnect the power cord.
Step 2: Wait for one minute to ensure that all electric components are completely drained of power and any temporary memory.
Step 3: Reconnect the power cable and turn on the power.
Now you can give any print command to check if the speed of the printer has increased, else move to the next step.
Method 2: Printer Preferences
Printer preferences can also result in printer printing slow issues and this can be fixed by changing the print quality settings from Best to Normal or draft for even faster printouts. However, the quality of a printout is inversely proportional to the print speed which means it will decrease with a faster printing speed. Here are the steps to view and alter your printer settings:
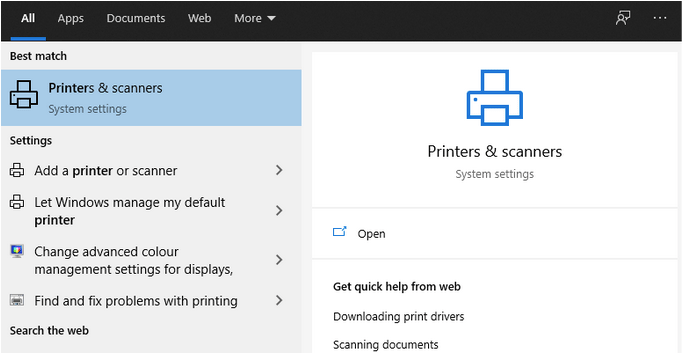
Step 1: Press Windows + S and type the Printer in the search box.
Step 2: Click on Printers & Scanners under System Settings and a new window will open.
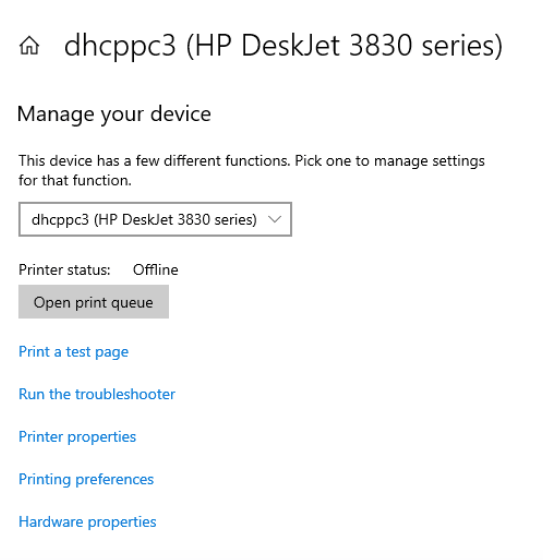
Step 3: Locate your printer and click the Manage button.
Step 4: Now click on Printing Preferences and a new popup window will appear.
Step 5: Click on the Paper/Quality tab and select the Media as Plain Paper.
Step 6: Next, choose the Draft option under Quality Settings.
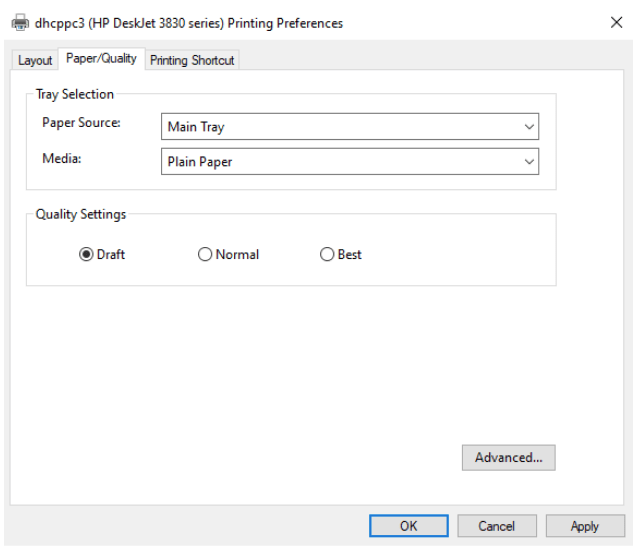
Step 7: Click on Apply and then on OK.
The Printer Speed will now improve after you have changed the quality to Draft. However, the printout quality will be reduced. Also, remember to choose Black & White if you do not want color printouts. This will fix the printer and take a long time to print issues in no time.
Method 3: Restart Printer Spooler
The operating system sends documents to the printer using a Windows Service known as Printer Spooler. This service manages all print jobs and tends to develop slow responses if a lot of data gets clogged together. In this case, you can restart the printer spooler service by following these steps:
Step 1: Press Windows + R to invoke the RUN box and type Services.msc in the text space.
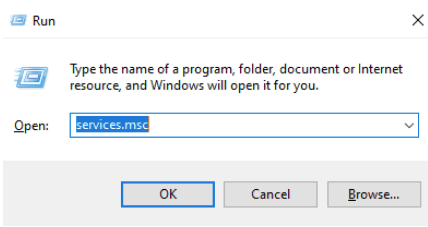
Step 2: Click on the OK button or hit the enter key to open the Services window.
Step 3: Locate the Printer Spooler service in the alphabetically-listed list of services and make a right-click to reveal the context menu.
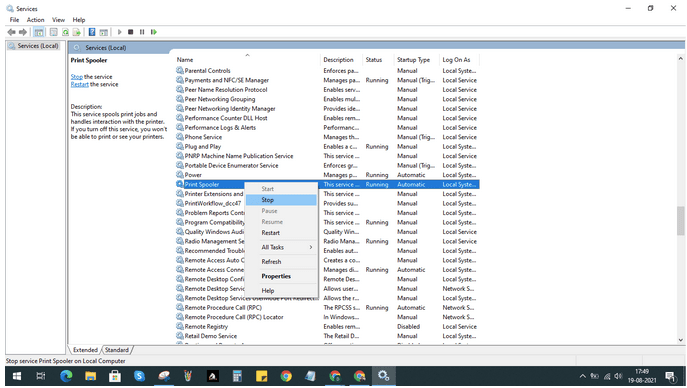
Step 4: Click on Stop and minimize the Services window.
Step 5: Now open the RUN box again by pressing Windows + R and type Spool followed by Enter key.
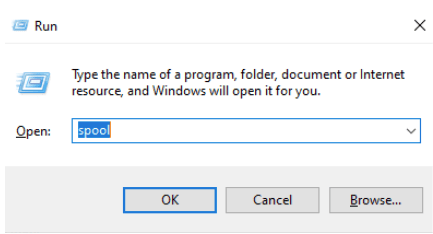
Step 6: A folder will open in the File Explorer where you have to double click on the PRINTERS folder.
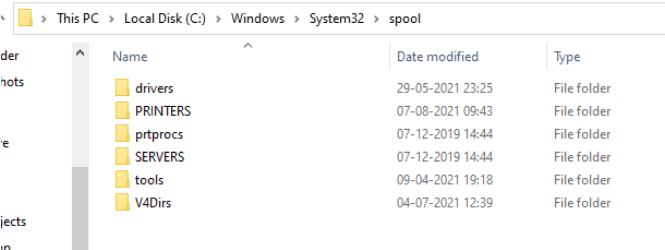
Step 7: Delete all the files in this folder to clear the Print Queue.
Step 8: Maximize the Services window and right-click on the Print Spooler again, only to choose Start this time.
Step 9: Give a fresh Print command and check the speed of your printer. This is one of the most important steps on how to fix slow printing and can be used as a first step also.
Method 4: Network Connection
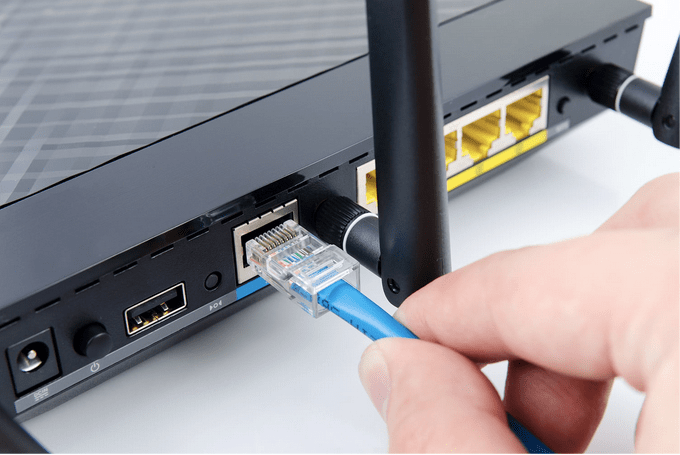
Another important factor in printer speed is the network used to send commands to the printer. If you are using a wired or wireless connection it is a good practice to reboot your network once in 24 hours. Apart from a simple reboot of your router, you can also physically check the ethernet cable in the case of wired printers and close bandwidth-hogging apps in the case of a WI-Fi printer.
Method 5: Update Firmware

The next step to fix the printer takes a long time to print issues is by updating the firmware of your printer. In the case of wireless printers, the manufacturers often push out updates when released and your printer displays a prompt asking for updates when it connects to Wi-Fi. But for wired printers, you will have to download the firmware update from the manufacturer’s website and then install it by carrying out the on-screen instructions.
Method 6: Update Drivers
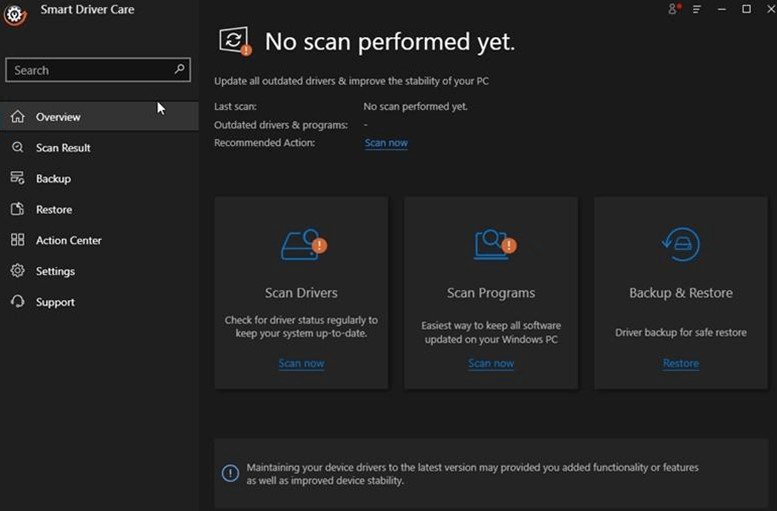
The final method to fix slow printing issues is to update the printer driver which can be manually done by downloading the required file from the OEM website. Alternatively, you can use an easier method and save time and effort by using Smart Driver Care. This third-party driver updater software can scan your PC, identify the driver anomalies, and download/install the latest and most compatible drivers for your PC. Here are the steps to use Smart Driver Care:
Step 1: Download the application from the official link provided below.

Step 2: Install the application by executing the file downloaded in Step 1.
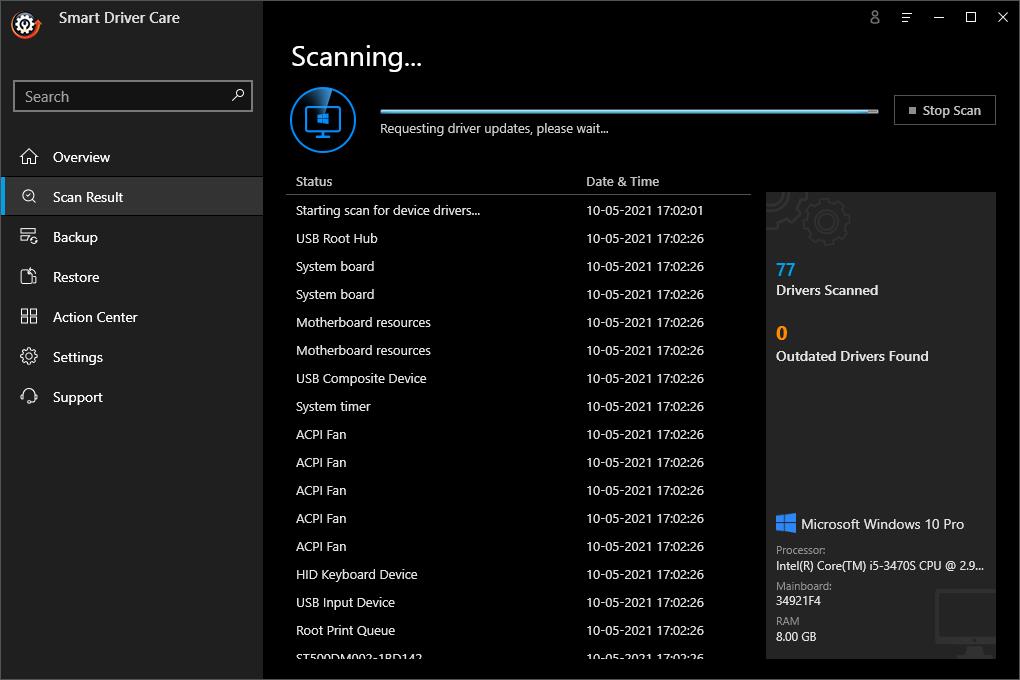
Step 3: Open the application and click on the Scan Now option under the Drivers section.
Step 4: After the scan completes, a list of driver anomalies will be displayed.
Step 5: Click on the Update Driver link next to the printer driver and let the app update the driver for you.
Step 6: Restart the computer and check if you are still facing the slow printing problem.
The Final Word On Tips on How to fix Slow Printing in Windows PC
The above steps have been compiled from various technical troubleshooting forums and will help if your printer takes a long time to print. You can try out each step and mention it in the comments section below to let us know which step worked for you. If you know of any other method on how to fix slow printing issues in Windows PC then do make a note of that too.