Skype installs automatically each time you open Windows? We’ve got you covered. This post covers a few simple resolutions that you can use for fixing this issue.
Released back in 2003, Skype has changed the whole way of office communication. No matter where we are, we can easily communicate, conduct meetings and video conferences from any corner of the world.

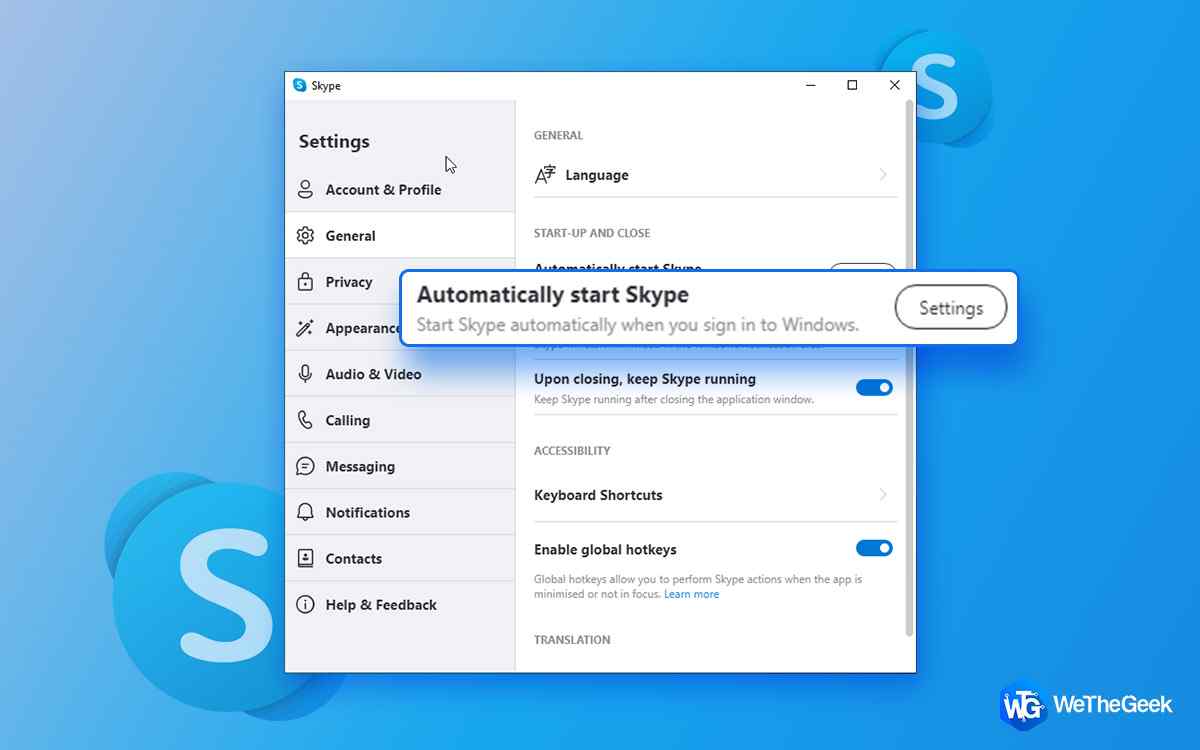
Image source: Skype Support
Skype and Zoom are the two most popular video conferencing apps that proved out to be super useful during the Covid-19 pandemic phase. Skype has always been a go-to application to communicate digitally from sending expressive emojis to calling your friends and colleagues.
Quick fact: Did you know Skype was initially named as “Skype Peer to Peer” and then later changed to “Skyper”? Well, yes, due to some domain name conflict issues, the “r” was altered, and then it was known as “Skype”. Also, in 2011, Microsoft acquired Skype and all its technologies to gain possession of this popular telecommunication service.

Image source: NDTV Gadgets 360
Does Skype automatically start installing each time you open Windows? Seeing the “Skype ready to install” alert on screen whenever you restart your device? Well, here are a few fixes that you can use for troubleshooting this issue.
Let’s get started.
Also read: Skype Not Working On Mac (2021) – Here’s How to Fix
Skype Installs Automatically Every time I Open it? Here’s the Fix!
Some of the most common reasons that may trigger this issue on your device include:
- Corrupt installation file.
- Outdated version of Skype.
- Interference of a third-party app or antivirus software.
- The installation process could not be completed successfully.
Here are 3 simple solutions that you can use to get rid of the annoying “Skype installation” alert on Windows 11 and 10 devices.
#1 Reset the App
One of the most effective workarounds for dealing with this issue is by resetting the app. To reset Skype on Windows 11/10, follow these quick steps:
Tap on the Windows icon placed on the Taskbar, select “Settings”.
Tap on “Apps and Features”.
In the list of applications, scroll down and look for “Skype”.
Tap on “Advanced Options”.
In the Reset section, you will see two options: Repair and Reset. If you choose Repair, the app’s data won’t be erased or affected. If you hit on the Reset button, all the app data, cache files will be erased and the application will load to its default settings.
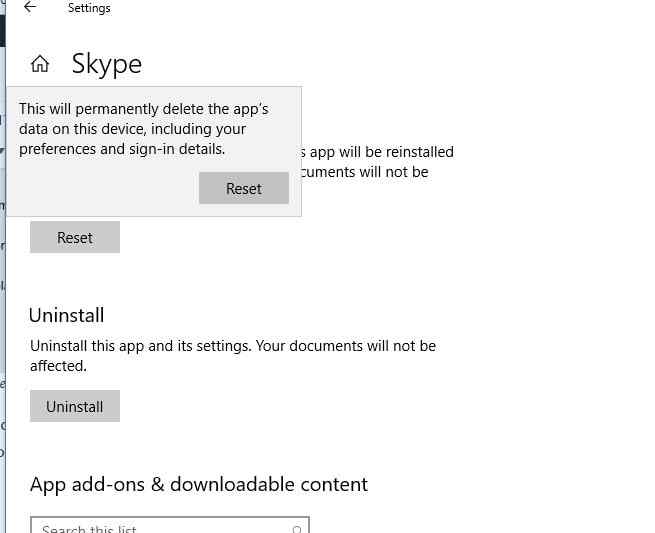
Pick your option and then follow the on-screen instructions to reset Skype on Windows 11/10.
After resetting the app, reboot your device and check if you’re still experiencing the “Skype install automatically” issue.
Also read: How To Stop Skype From Automatically Starting In Windows 10
#2 Uninstall and Reinstall the App
Solution #1 did not help? Well, let’s try the other way round. We will now remove Skype from your device and completely install all of its elements. After uninstalling the app, reinstall it from the Microsoft Store to start afresh. Here’s what you need to do.
Tap the search icon placed on the Taskbar, type “Control Panel” and hit Enter.
Tap on “Uninstall a Program”.
Locate Skype from the list and then uninstall the application from your device.
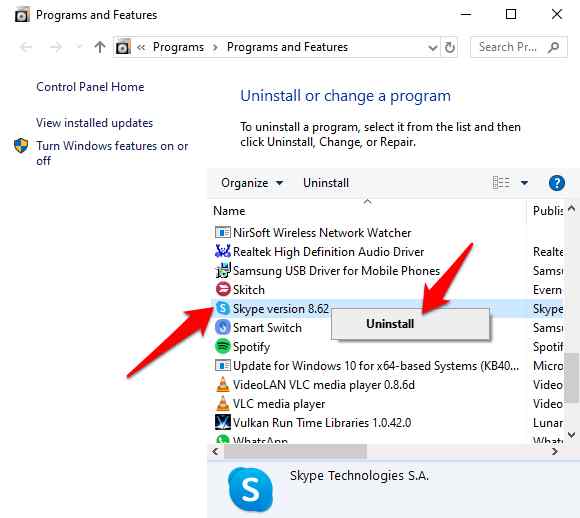
Now to reinstall Skype, head on to Microsoft’s official website, download the setup file, and then complete the installation process.
Also read: How To Quickly Uninstall Skype From Your Mac
#3 Delete Temp Files and App data
The next resolution to fix the “Skype installs automatically when device restarts” issue is by deleting the temp files and app data related to the application. Follow these quick steps:
Press the Windows + R key combination to open the Run dialog box. Type “%appdata%” and hit Enter.
After executing this command, relaunch the Run box and type “%temp%” and hit Enter to erase the temp files.

Reboot your device and check if the issue persists.
Also read: Fix: Skype Keeps Crashing on Windows 10
Conclusion
You can use any of these solutions to fix the “Skype installs automatically” issue on Windows 11 and 10 devices. A few days ago some rumors speculated stating that Skype will no longer be supported on Windows 11. Well, that’s not the case. As claimed by Microsoft, Skype will still be working on Windows 11 and future updates. So, yes, you can freely use your favorite app on Windows without any worries.
Was this post helpful? Feel free to share your thoughts in the comments section.
varun
nice and an informative post.Krishan Vijay
Thank you for appreciation.