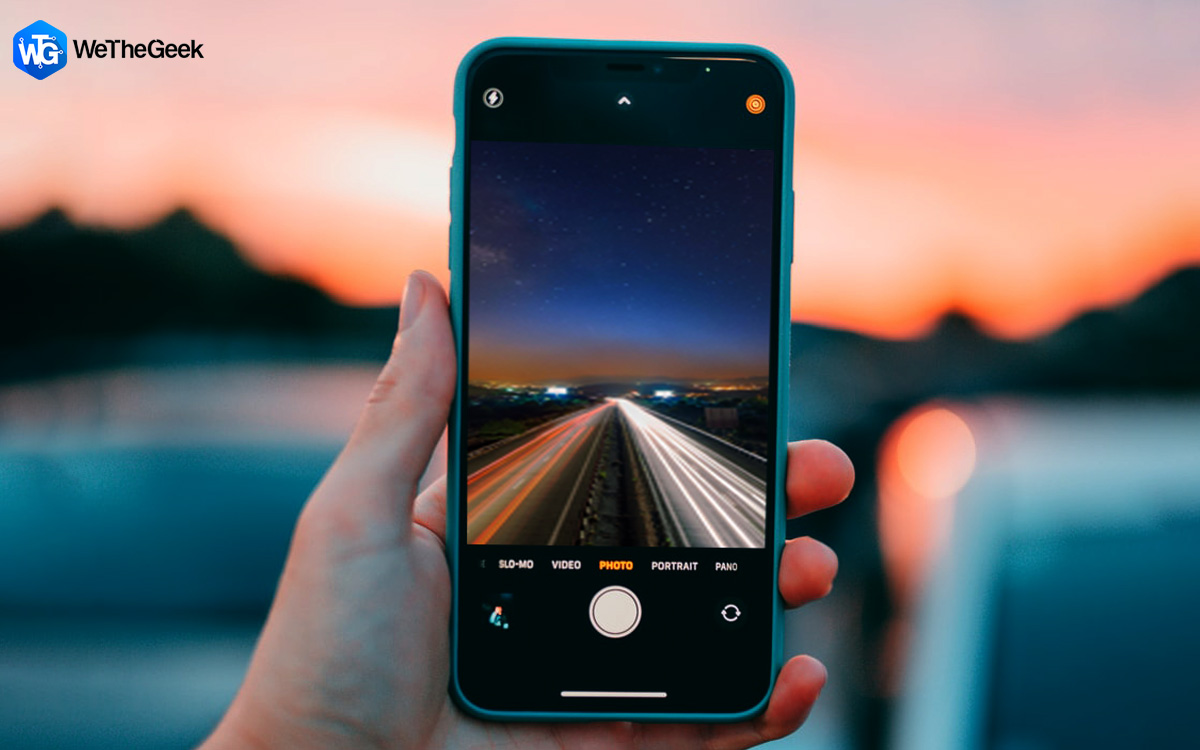
If you’re constantly giving a thought on how to take long exposure photos on an iPhone, we’re here to offer some rest to your perplexed state of mind. The long exposure technique is quite fascinating! It allows photographers to focus on the stationary elements of the frame by adjusting the shutter speeds of the camera. Long exposure photography tends to use a much longer shutter speed as it tries to trace the pattern and renders the objects in a unique perspective.
Professional photographers use long exposure photography on frames where the primary focus is in the movement like running water in the stream, moving cars or people, city hustle, light trails, starry nights, and so on.
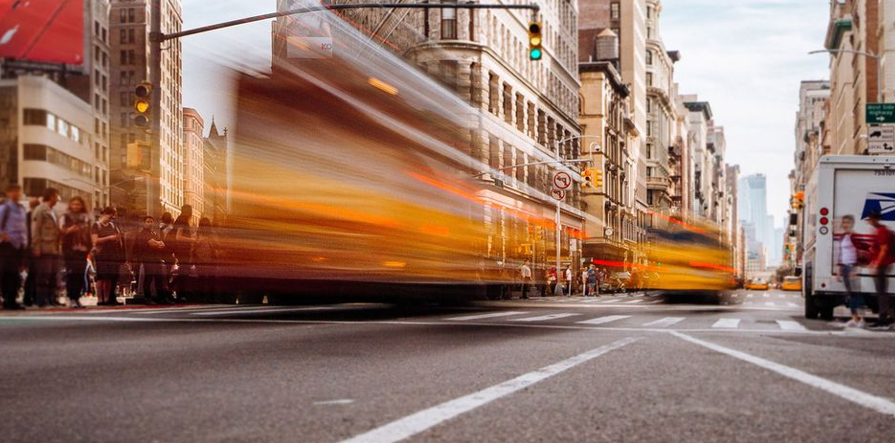
If talking about a regular DSLR camera, then capturing long exposure shots requires a shutter speed of about 5-6 seconds. So, the idea is if any movement is captured within this duration, it gets blurred away creating a stunning effect.
Hence, long exposure shots depict the image as a “Passage of time” capturing the movement or transitions of anything that is non-stationary.
Ways to Take Long-Exposure Photos on an iPhone?
Well, your iPhone is not equipped with the right amount of hardware that allows you to capture long-exposure images as you cannot set the shutter speed manually. But yes, there are still a few workarounds that you can adopt to click stunning images from your device that will appear exactly as long-exposure images.
There are two ways you can take long-exposure shots on an iOS device.
- you can either click a live image and then convert it into a gorgeous long exposure shot.
- Or you can simply use a myriad of third-party photography apps to create a similar effect and results.
Let’s discuss both these hacks so you can master yourself for clicking the best long exposure shots from your iPhone.
Method 1: Convert LIVE Images to Long Exposure Shots
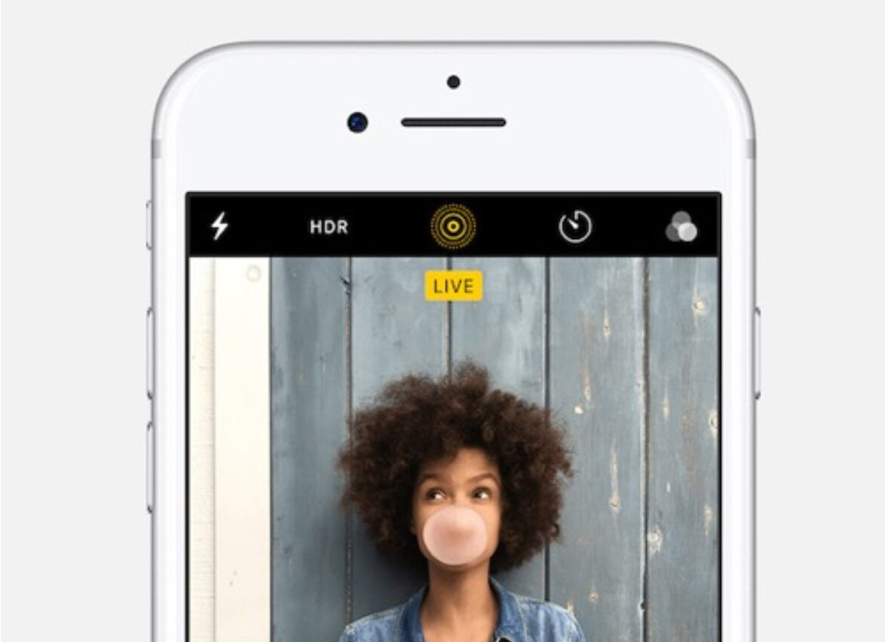
Live Photos is a unique photography feature on iOS devices that allows you to add an element of life to your images. So, rather than clicking a freezing shot, a live photo captures a 3-second video to get more from the moment. Live photos are clicked just like regular photos, but they also record the movement and sound making your moments more lively and cheerful.
Also read: Live Photos On iOS: All New Features Explained!
So, let’s quickly learn how to convert live images to long-exposure shots on an iPhone. Grab your device and follow these quick steps:
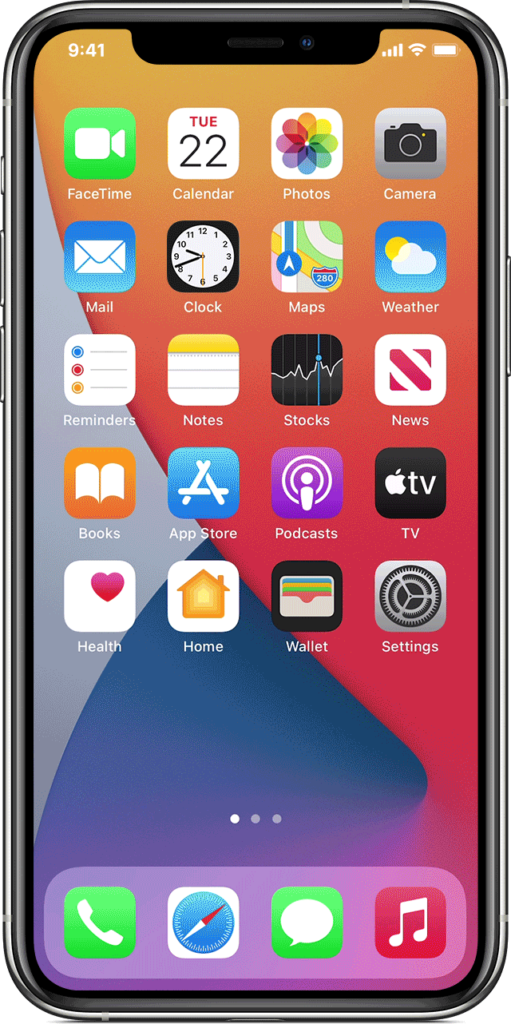
Step 1 : Launch the Camera app on your iOS device
Step 2: Tap the circle-icon on the top-right corner to enable the Live photo mode on your iPhone.
Step 3: Once the Live photo mode is enabled, now we need to set a self-timer to capture the image. You can set the timer duration somewhere between 4-10 seconds. Make sure that your hand is not too shaky and try keeping the iPhone on a tripod that reduces the blurriness.
Step 4: Position your shot, fix the frame, and get ready to shoot. Hit the shutter button once you find the frame of your dreams.
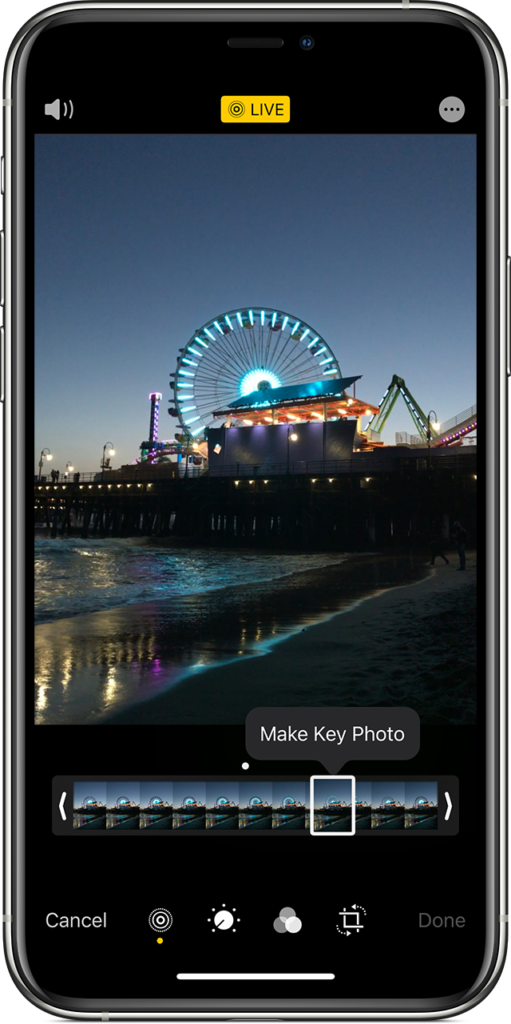
Step 5: Once the live shot is captured in the self-timer mode, head back to the Photos app on your iPhone.
Step 6: Open the image that you need to convert into a long exposure shot. Once you see the image on the screen, swipe up to see more options.
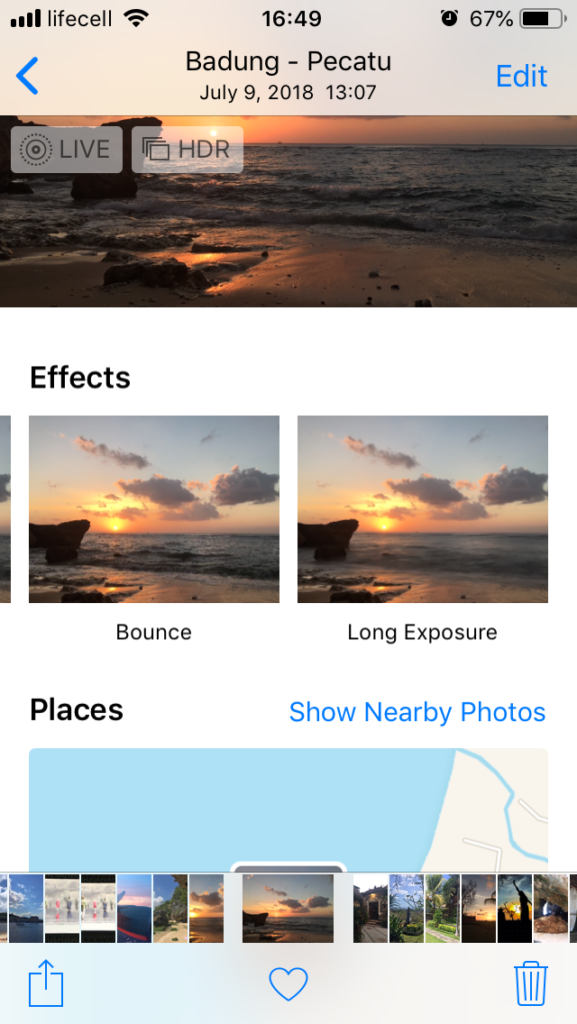
Final Step: Now you can add a variety of effects to your image including Bounce, Loop, Live, and Long Exposure. Select “Long Exposure” to convert the live image into a long exposure shot.
And voila, it’s done!
Also read: 10 Best Photoshop Plugins For Photographers
Method 2: Use Third-Party Long Exposure Photo Apps for iPhone
If you love experimenting with your photography skills, you can also download and install a third-party photography app to click long exposure photos on your iPhone. A plethora of apps are available online that will allow you to create long exposure effects, capture shots at slow shutter speed, and create the most fascinating shots from your smartphone without spending a penny.
So, you can either use the above-mentioned hack and convert a live image to a long exposure shot or simply use a photography app to get the job done involving a minimal set of steps.
Best Long Exposure Photo Apps for iOS
1. Slow Shutter Cam

If you’re crazy about clicking long exposure shots from your iOS device, the Slow Shutter Cam can be the perfect app for photo buffs. The Slow Shutter Cam application can add life to your images and allows you to use a variety of photo effects to revamp your original shot into something stunning.
2. Pro Cam 8
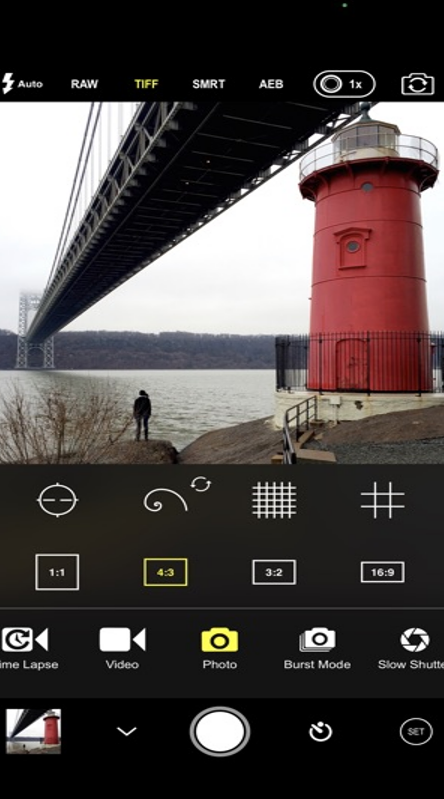
Another useful app that can add wonders to your dull shots is the Pro Cam 8. The app is available for iOS, iPad, and Apple Watch. Pro Cam 8 offers you various shooting modes including burst mode, slow shutter, time-lapse, 3D photo, and more. You can capture the best long exposure photos on iPhone using the Pro Cam 8 application and be amazed by the results.
3. Camera+ 2
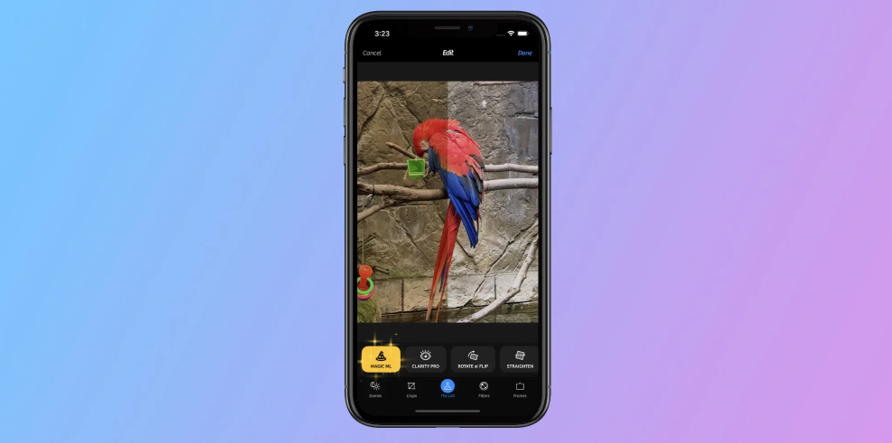
If you’re a fan of photo editing and capturing stunning on-the-go shots from your phone, Camera+ 2 app can be your companion. It offers the most powerful editing features that will allow you to click long exposure shots from your device.
Conclusion
So folks, this wraps up our guide on how to take long exposure photos on an iPhone. Your iPhone may not be equipped with the right hardware that slows down the shutter speed. But you can easily use any of the above-mentioned hacks for creating the best long exposure.
Which is your favorite photography app for iOS? Feel free to share your suggestions in the comments space.