
Announced in 2011, iTunes is the most popular media hub in the world. Yet you might want to uninstall iTunes to fix data sync, reset iTunes, or maybe to free up some disk space. Whatever the reason be, in this guide, we will explain how to remove iTunes from Mac completely. In addition to this, we will also cover how to clean up junk files, optimize, and clean Mac.
Are you ready? So, let’s read ahead.
Additional Information: Latest macOS Catalina 10.15 marks the official end of iTunes. Now iTunes media library is available in the Apple Music app, Apple TV app, Apple Books app, and Apple Podcasts app.
How to Remove iTunes from Mac
Have you ever seen the error message as shown in the screenshot below?
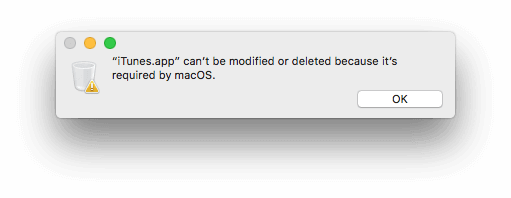
If you’ve tried moving iTunes to Trash surely, you have seen the message “iTunes.app” can’t be modified or deleted because macOS require it.
This is because Apple restricts you from deleting default apps. But if you want to uninstall iTunes, don’t worry! Systweak, as always, has a solution. They know how to uninstall a default Apple app. So, here’s how to delete iTunes and its corresponding files from Mac.
Method 1 – Uninstalling iTunes Manually
Note: Completely uninstalling iTunes means your user settings, playlists, etc. will also be deleted.
So, you are ready to uninstall iTunes, the pre-installed app from Apple?
For this, we will have to disable Apple System Integrity Protection (SIP) as this service will restrict you from deleting iTunes.
To disable Apple SIP and remove iTunes, follow these steps:
1. Restart Mac and press & hold Command +R when restart is in progress
2. This will bring up recovery mode
3. Here, click the menu bar Utilities > Terminal
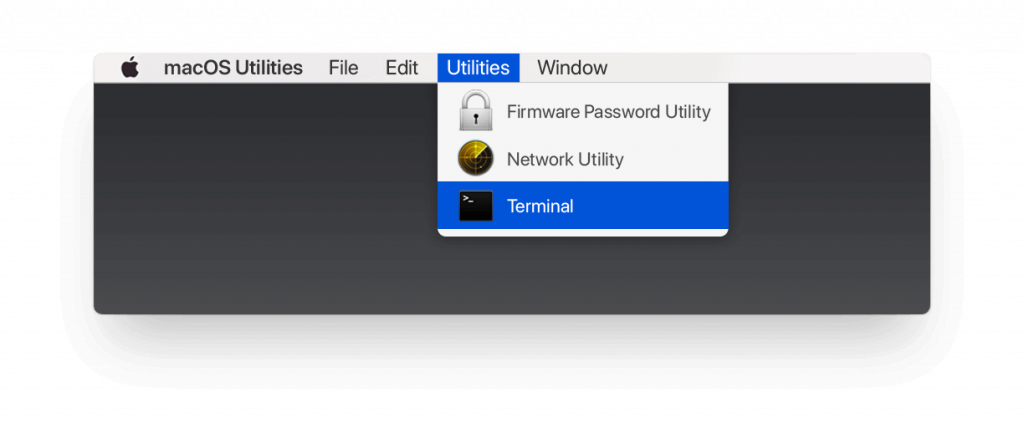
4. Now, in the Terminal windows copy paste – csrutil disable command and press Enter. This will disable Apple System Integrity Protection.

5. Afterward, restart Mac and log in using the admin account. To remove pre-installed apps logging via admin account is required.
6. Once logged in as through administrator account type in the Terminal window type – cd/Applications/ and press Enter. This will show the application directory.
7. Next, use the command – sudo mount -uw/System/Applications and press Enter. This will give Read & Write permission.
8. Now, to delete default Apple application type – sudo rm -rf iTunes.app/ and press Enter.
This will remove iTunes from your Mac. But remember since we are using Terminal commands to delete iTunes it will not ask system configurations; iTunes will be removed instantly.
Note: After deleting iTunes remember to enable System Integrity Protection. This will prevent you from accidentally deleting any important app. For this, restart Mac > press Command +R > this will open system recovery mode > Utilities > Terminal and here type csrutil enable
Method 2 – Moving iTunes to Trash/Bin
1. Drag iTunes icon to Trash. If you receive an error message, move to step 2. However, if everything goes well skip to step 6
2. Head to the Application folder and Right click iTunes.app file > Get Info
3. Click the Padlock icon and enter Admin Password
4. Click Sharing & Permissions and set “everyone” to Read & Write
5. Exit and retry moving iTunes to Trash
6. Into Spotlight type Activity Monitor
7. Look for iTunes Helper and delete it.

8. Move to Library > Preferences
9. Search for files written com.apple.itunes, select and remove them
10. Reboot Mac
This should remove iTunes from Mac.
Well, all this sounds complicated, and we do not recommend uninstalling iTunes unless necessary. If you are deleting it to fix some issues, we suggest cleaning iTunes Junk. As it will help fix all the problems and will make iTunes run perfectly. For this, you can try out TuneUpMyMac, the specialist in junk cleaning and the best Mac optimizer. You will be shocked to see the space iTunes broken downloads, junk files, old backups take. All this can be quickly sorted by using this best Mac optimizer and junk cleaner.
How to Clean iTunes Junk and Reset iTunes
Speaking of cleaning junk files and caches, you need to run a dedicated Mac Cleaner & Optimizer like Cleanup My System. The utility will thoroughly scan your Mac and will show all the potential junk data, trash items, caches & logs that get accumulated over time and needs to be cleaned to reclaim storage space and speed up performance.
To initiate comprehensive cleaning, follow the steps below:
Download and install Cleanup My System on your Mac. Hit the black button provided below to get your hands on the latest version.

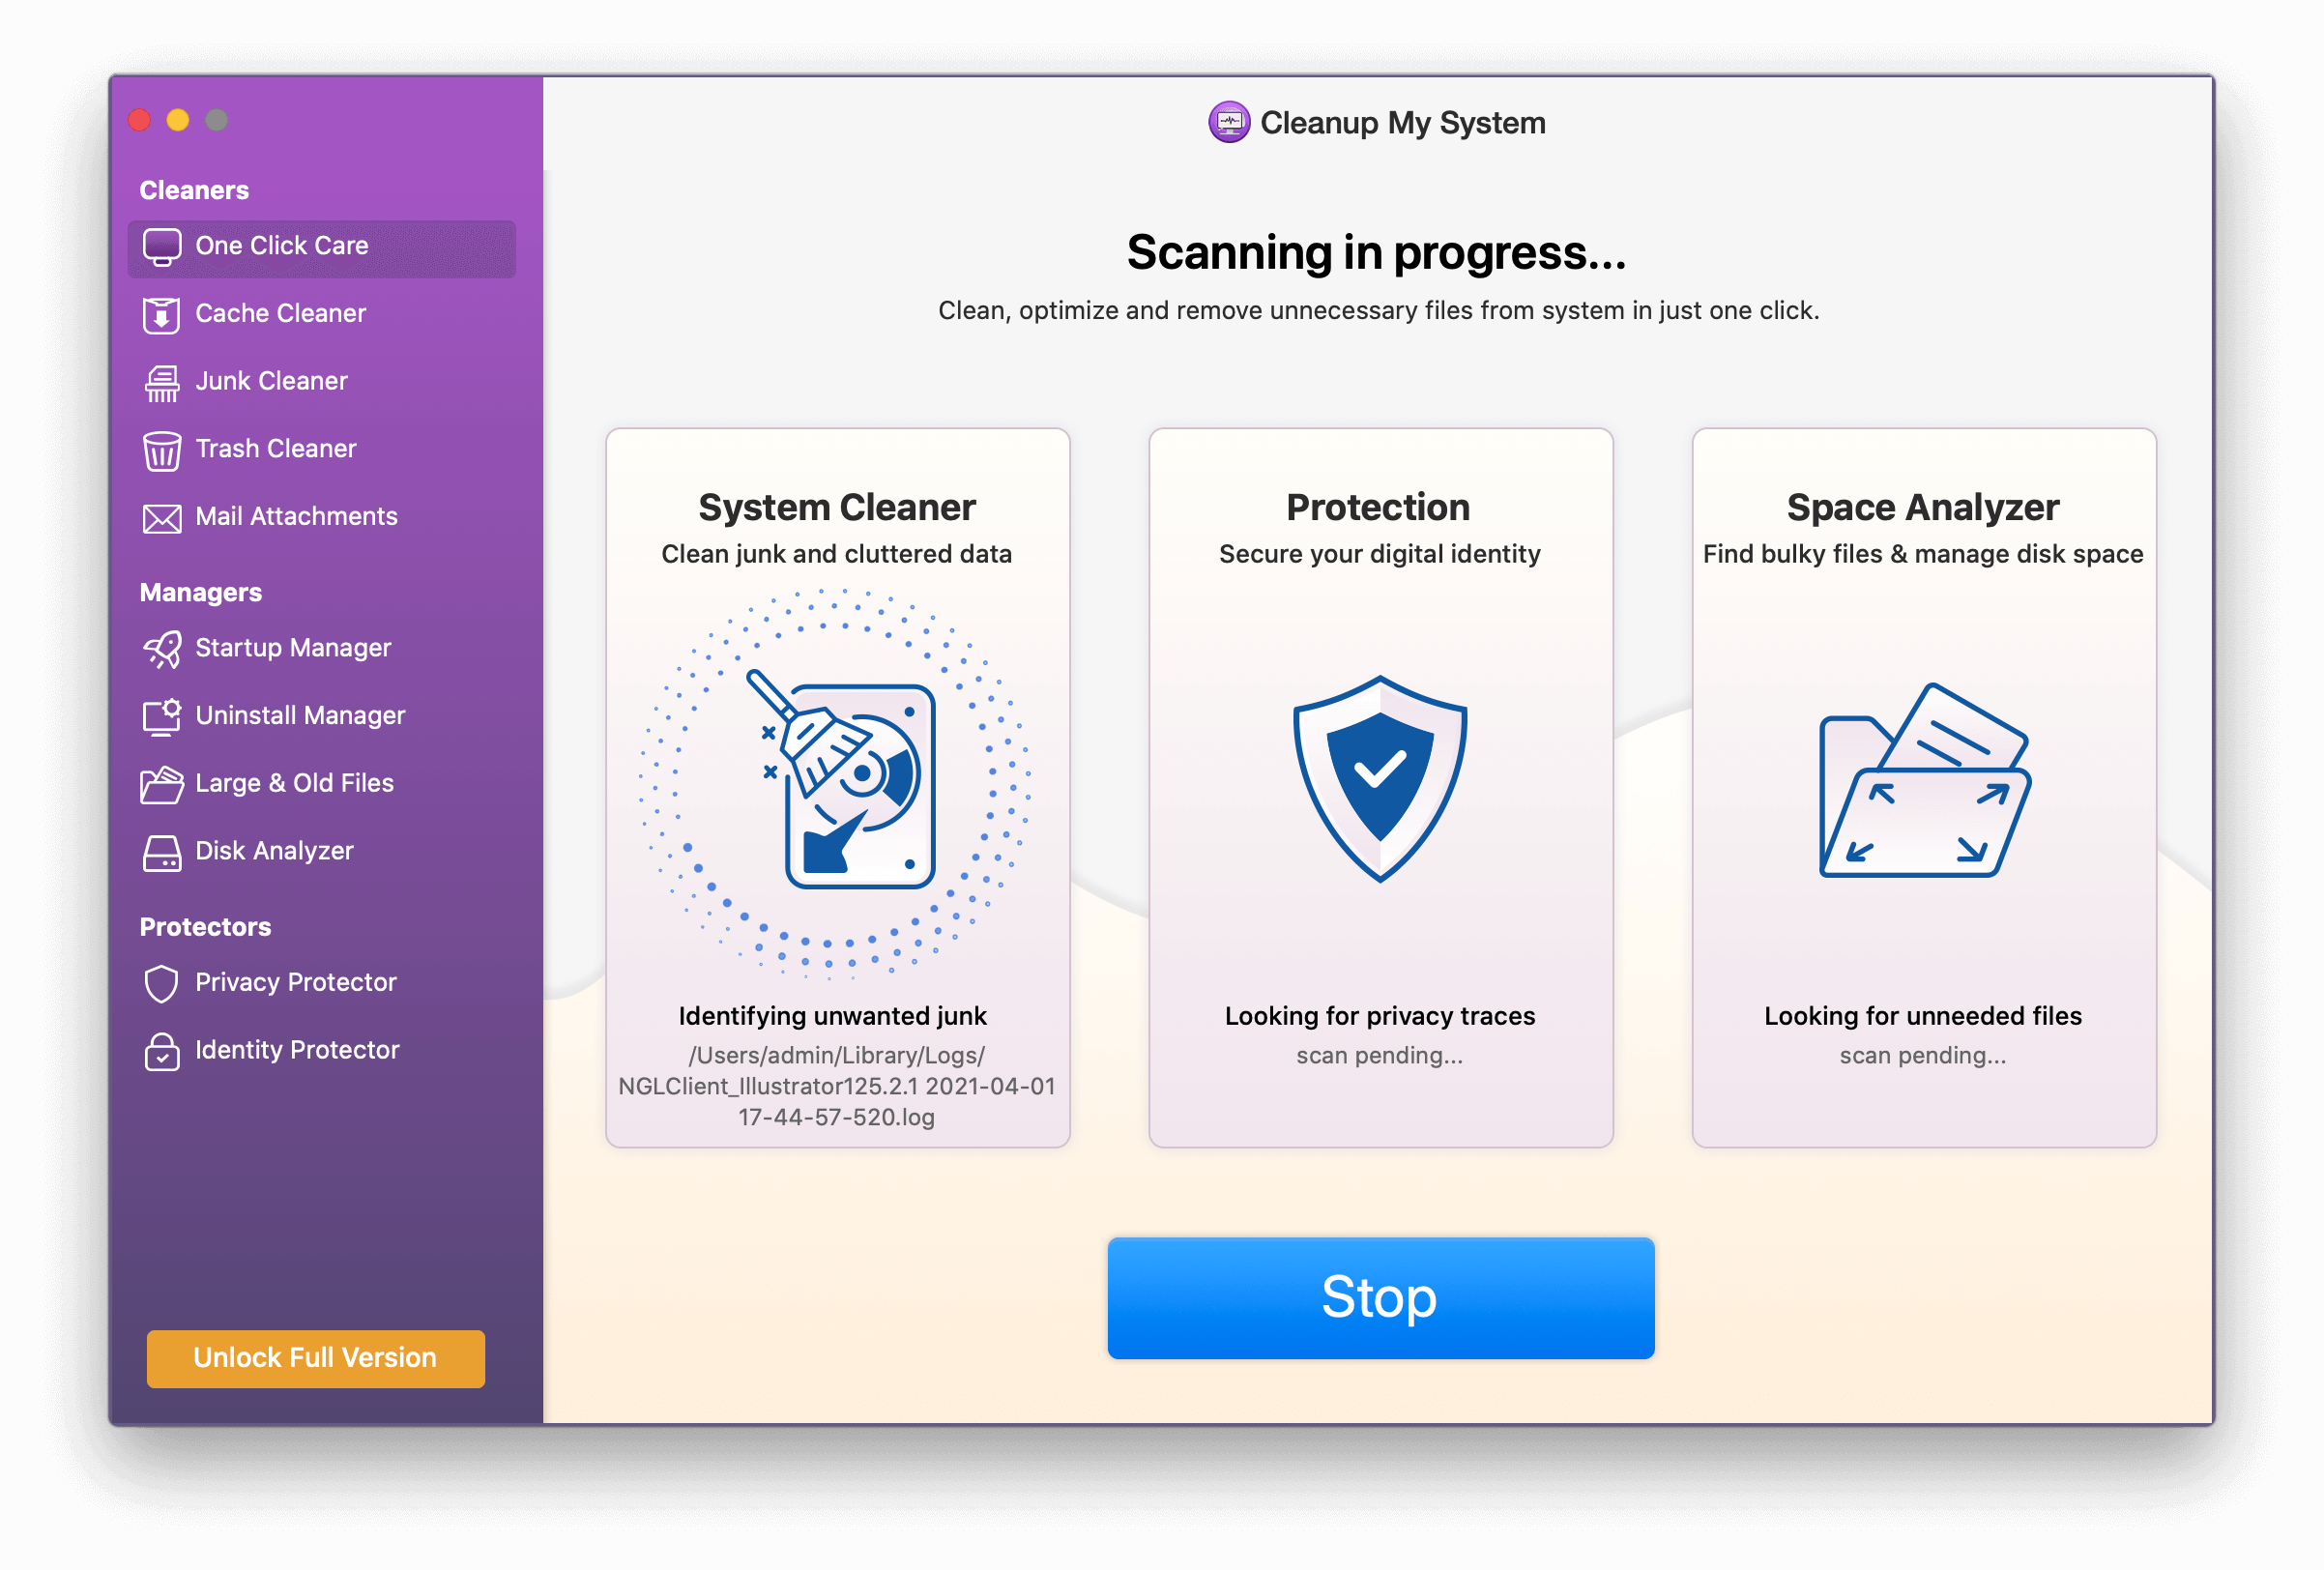
2. After the installation, launch the utility and under the One-Click module, click on the Start Scan button.
3. A thorough scan will be conducted and Cleanup My System will list all the potential unwanted traces and files that are responsible for making your Mac run super-slow and sluggish.
4. Once you have the scan results, you can mark the items you want to get rid of and hit the Clean Now button. You will be surprised to see the amount of storage space that has been reclaimed.
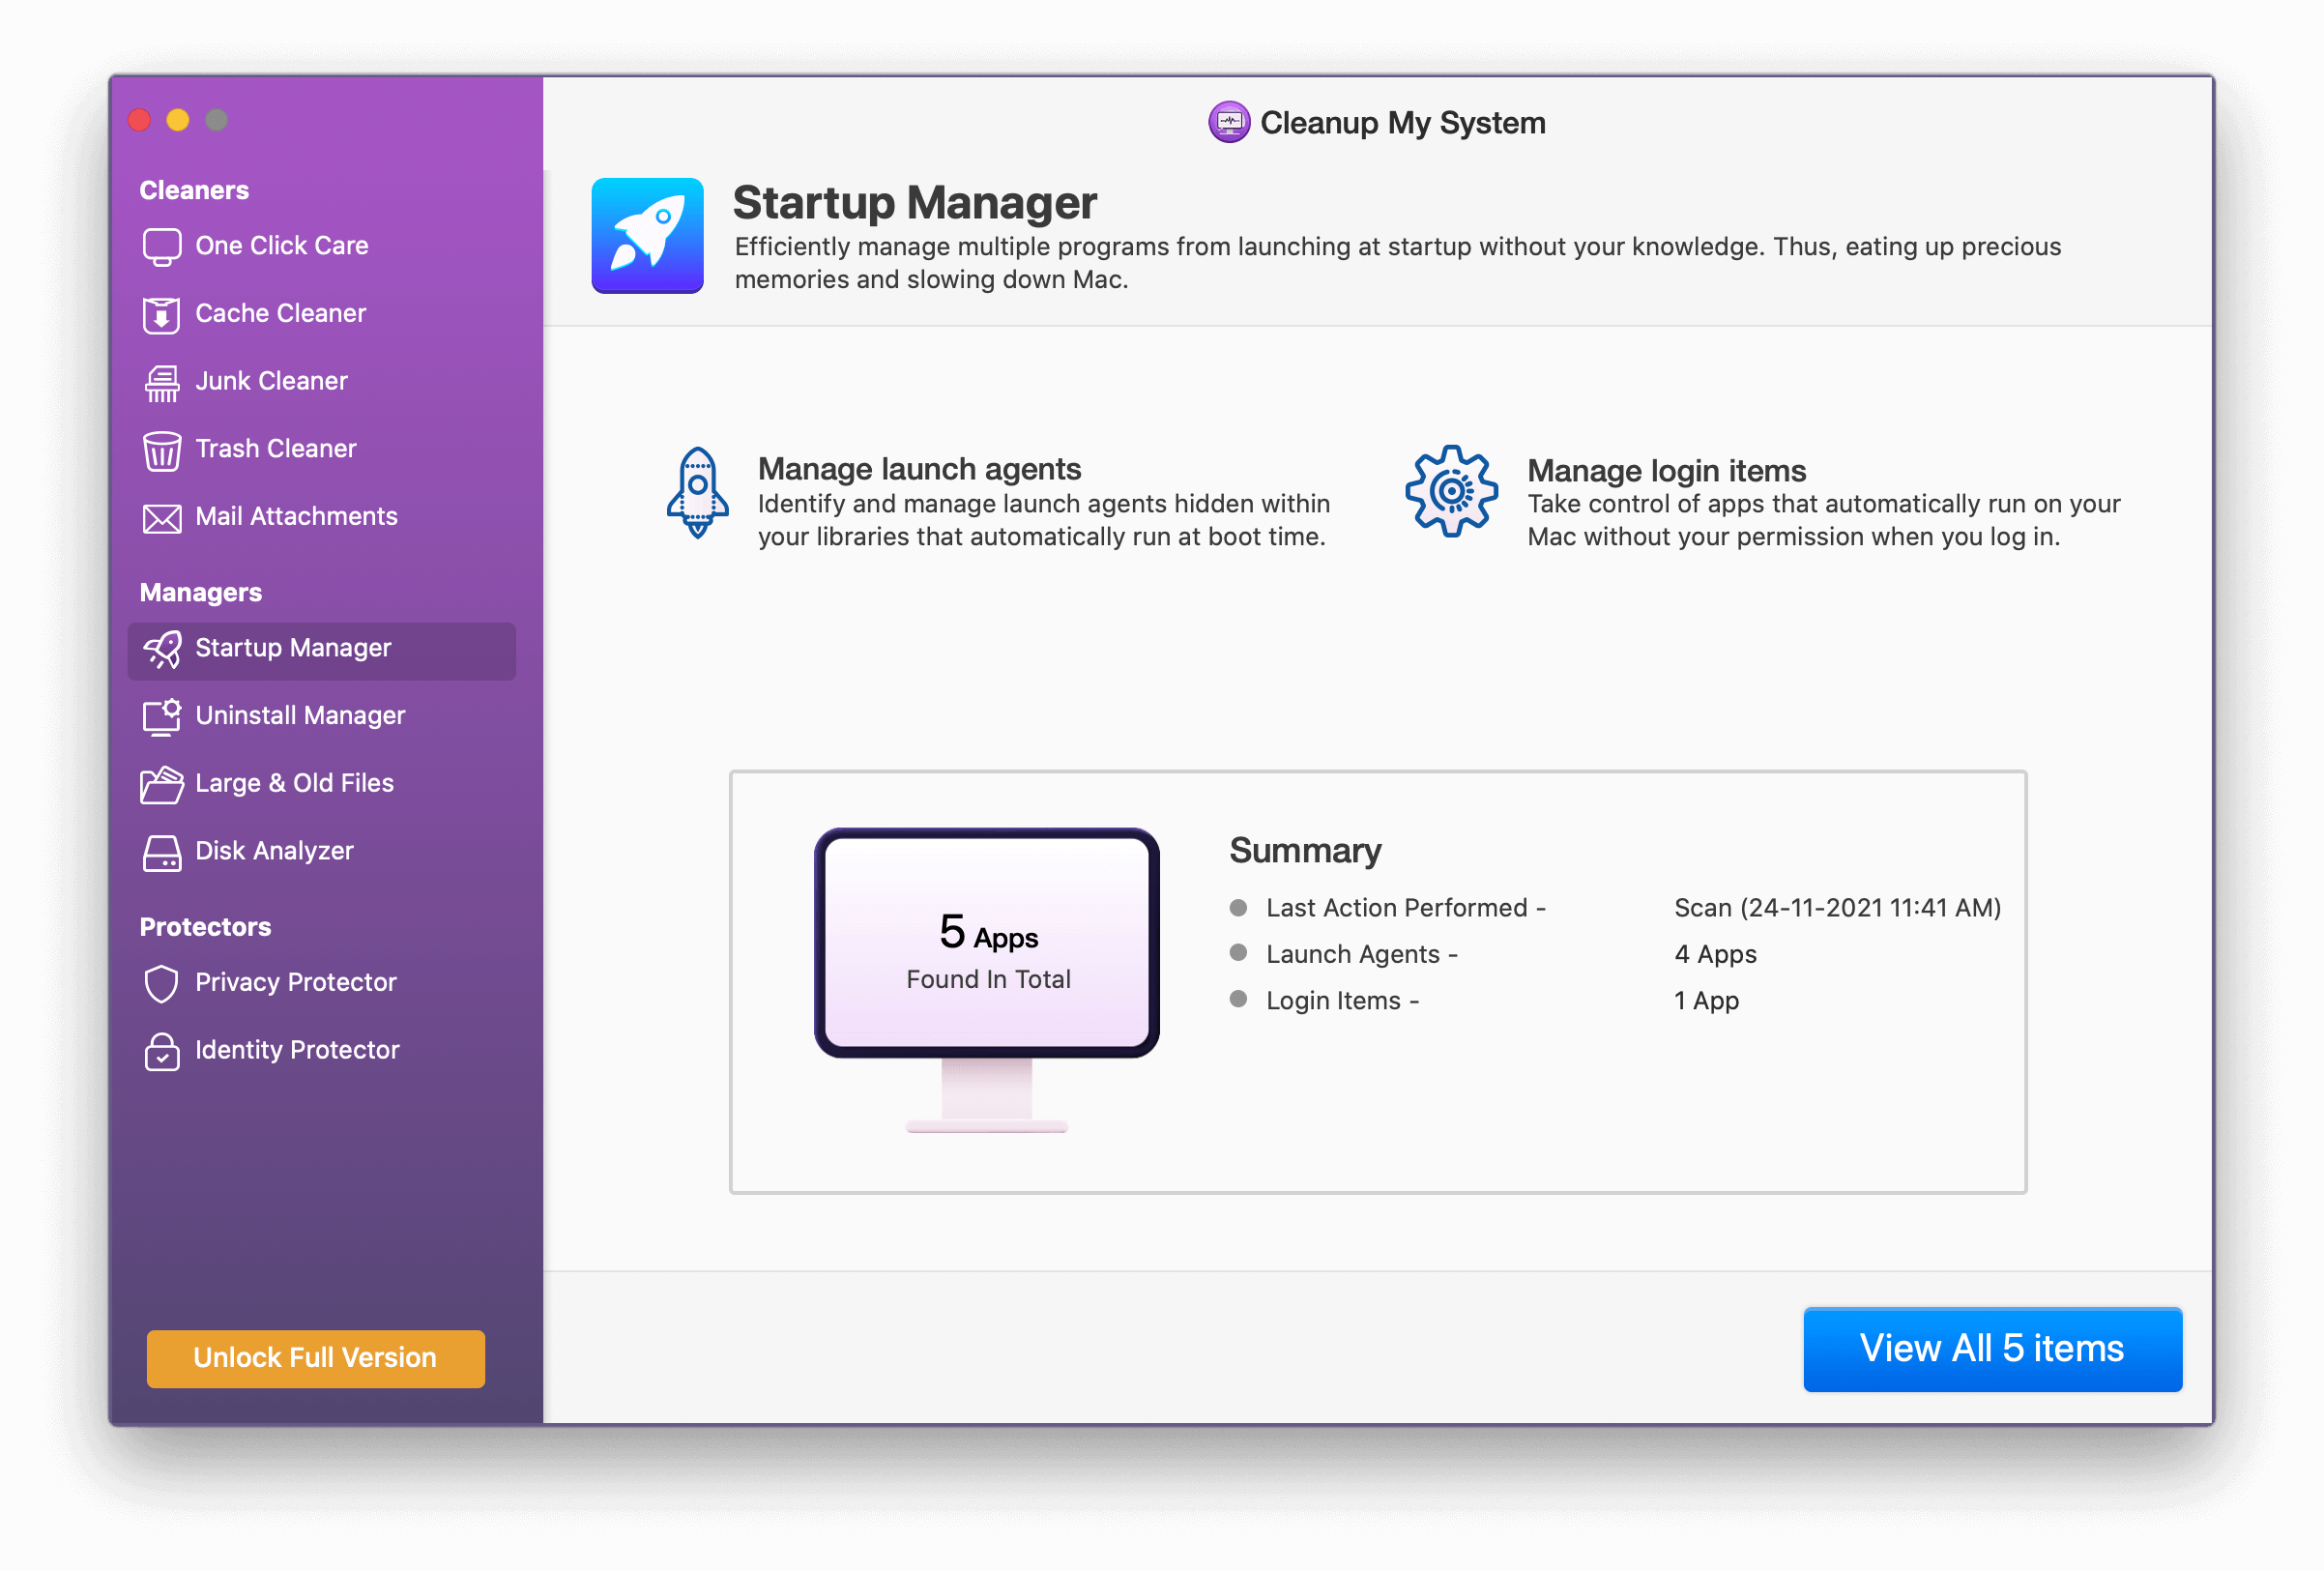
Note: Cleanup My System also provides an Uninstall Manager module, using which you can easily remove multiple apps along with associated files that unnecessarily eat up space. You can also utilize the Startup Manager tool to manage launch agents and login items that are responsible for reducing the boot time of your MacBook.
Bottom Line
This is all for now! We hope this guide helped you delete iTunes and understand why removing junk files is necessary.
We highly recommend using Cleanup My System to keep your Mac in good shape for a longer duration. If you have any queries related to the product, do let us know in the comments section below or you can write an email to us at [email protected]
Do let us know how did you find the article and did it help in the comments.
Camila Saunders
Hi, Is there any alternate app or software which I can use to listen music on iTunes?