
Flash files are often vulnerable to malware and other attacks. Therefore, HTML is preferred as it is better than Flash in most of the things. Google Chrome comes with inbuilt Flash, but it is not enabled by default.
However, you can’t abandon the Flash files, till they are available on websites you need to access to. Therefore, sometimes you need to enable Flash permissions for various websites.
In this post, we have listed steps to manage Flash permissions in Chrome. With this, you can allow, block or make the website seek permission to open the Flash file as per your wish.
This will not only stop Flash files from auto-playing eating up your data but also minimize the chances of malicious code executing. So. let’s get started!

Steps to Activate Flash Player in Google Chrome
Follow these to get Flash Player in Chrome:
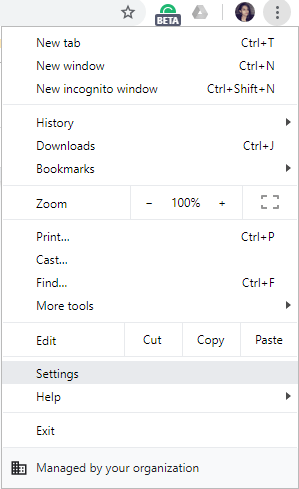
Step 1: Click on the three-dot menu and choose Settings.
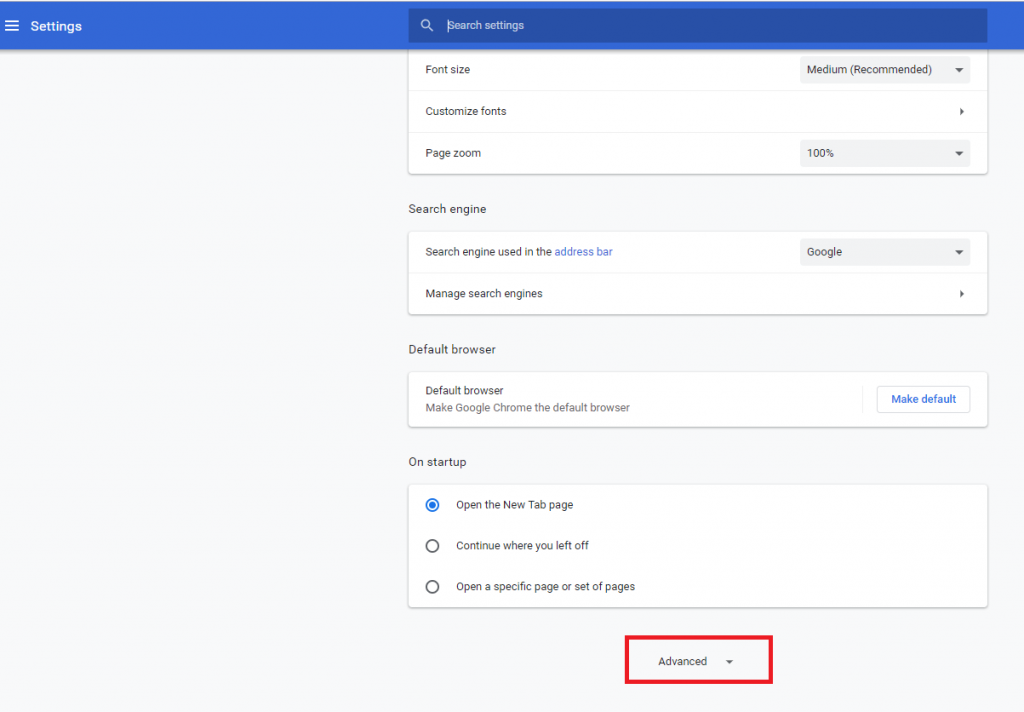
Step 2: Scroll till the bottom of the page to find Advanced.
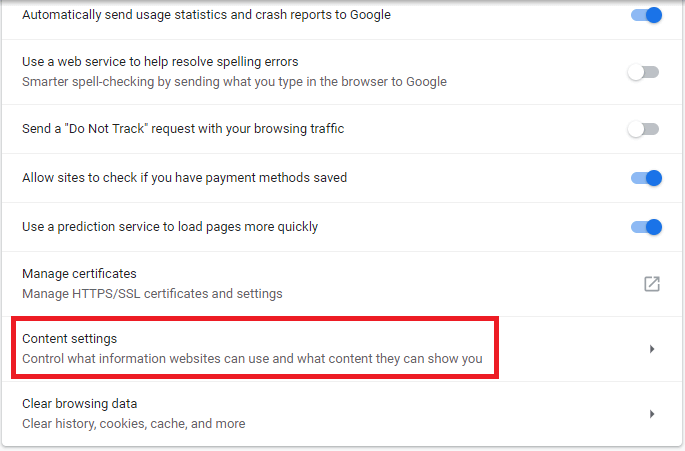
Step 3: Under Privacy and Security, select Content Settings.
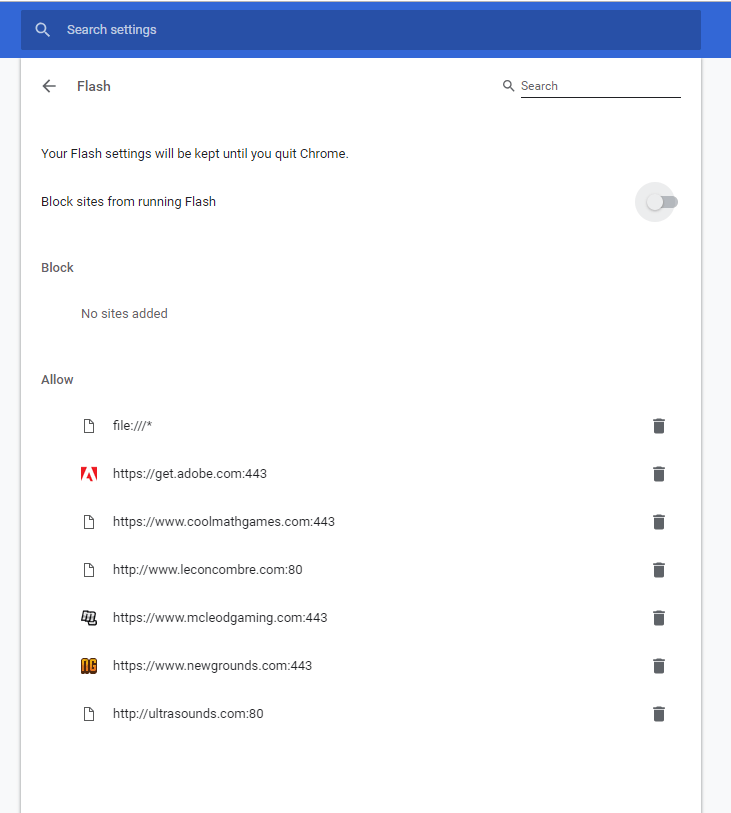
Step 4: Under Content Settings, locate and click Flash.

Step 5: Toggle the switch beside Ask first (recommended) to turn it on.
Steps To Play Flash Content in Google Chrome
In Google Chrome, if you want to watch a flash content, you need to click on the Flash Player to initiate. Well, it can be time wasting if you work on a lot of websites with Flash media, but trust us, it is to keep you safe.
As soon as you click on the Adobe Player, you will get a pop-up asking whether you want to allow or block Flash for the website you are on. If you want to run it, click Allow.
The page will reload and now the Flash file will play.
Steps to Change Flash Permissions in Google Chrome
If you want to change the settings of a website related to Flash, then you can do it anytime you want. You can change the settings at any time you want. You can change the Flash permissions by two methods in Chrome.
Way 1: Use the Padlock
Steps To Change Flash Permissions For A Particular Website:
Step 1: Go to the website which has Flash content.

Step 2: Click on the lock or icon with I inside the circle (left of the address bar) to get options.
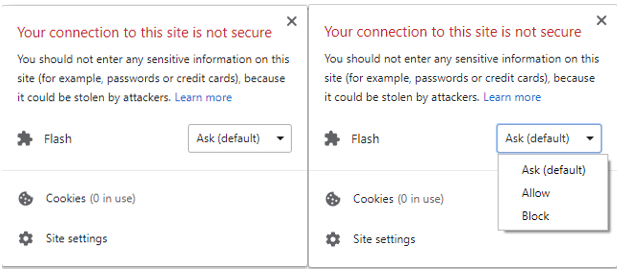
Step 3: Click the dropdown menu beside Flash.
Step 4: Choose the permission you want among Ask First, Allow and Block
Step 5: Now click Reload to let the permissions come into effect.
Way 2: Settings Tab
Step 1: Click the three-dots located on the right-hand side of the browser and choose Settings.

Step 2: Scroll till the bottom of the page to find Advanced.
Step 3: Under Privacy and Security, select Content Settings.
Step 4: Under Content Settings, locate and click Flash.
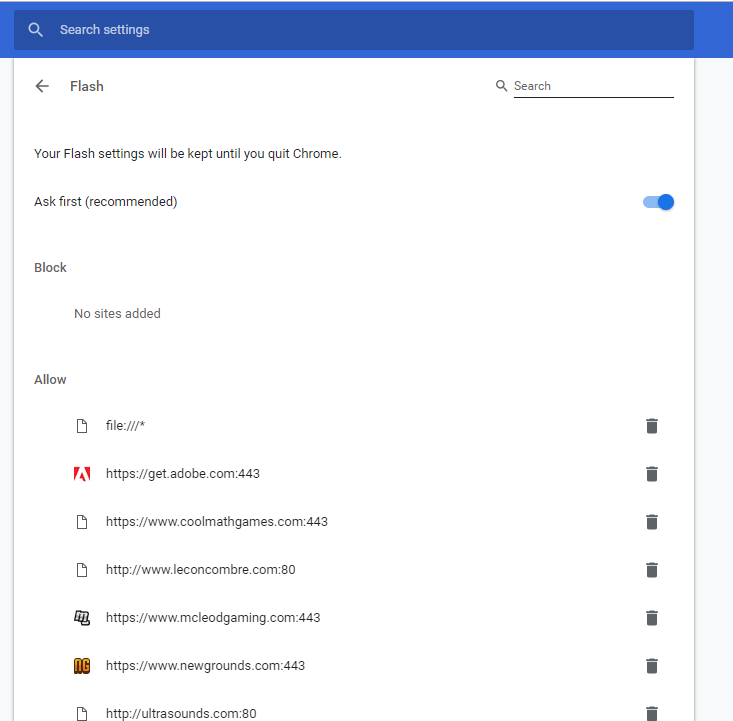
Step 5: Under Allow or Block Section, find the website, click on trash icon to remove it from either the list.
So, in this way, you can manage Flash permissions in Chrome. You can also choose different flash permission of a particular website as per your wish.
Liked the article? Please share your thoughts in the comments section below. If you want to learn more troubleshooting tips, then watch this space!