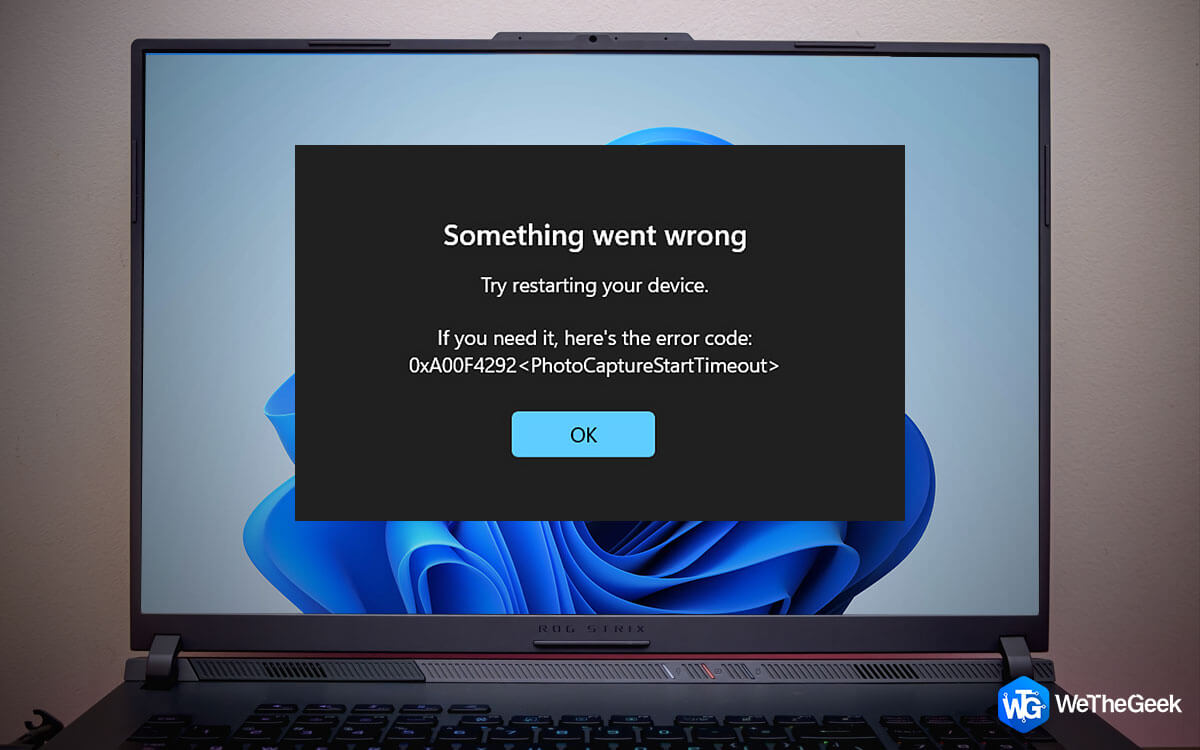
Imagine this scenario – You are all set for an important online office call. And, just when you fire up your video conferencing app, you run into error code 0xa00f4292 stating PhotoCaptureStartTimeout on your Windows 11/10 PC. If you are wondering what this error is and more importantly, if you are looking for ways to fix the issue, you have come to the right place. Here are some of the best ways you can resolve error 0xa00f4292 PhotoCaptureStartTimeout on your Windows 11/10 PC.
What Happens When You Get Error Code 0xa00f4292 PhotoCaptureStartTimeout
When you receive the Error Code 0xa00f4292 PhotoCaptureStartTimeout, you mostly see the error code with a blank screen. Here we’ll try and fix all the issues that can lead to this error.
Solution No. 1 – Check Camera Settings
The first thing you can do is check if you have given enough permissions to the apps on your PC, especially those that use your webcam. To do that, follow the steps mentioned below –
Step 1 – Open Settings by pressing Windows + I.
Step 2 – Head to Privacy & security, scroll down, and click on Camera under App permissions.

Step 3 – Toggle on the switch next to Camera access and Let apps access your camera.

Solution No. 2 – Update Drivers
The error code 0xa00f4292 PhotoCaptureStartTimeout can arise if your webcam driver is outdated. Here’s how you can update drivers manually. However, a much easier and safer way is to use a third-party tool that doesn’t just let you update drivers but also offers a host of other features.
For example, here’s how you can update drivers using Advanced Driver Updater –
Step 1 – Download, run, and install Advanced Driver Updater.

Step 2 – Click on the Start Scan Now button.
Step 3 – Select the outdated webcam driver from the scan results, click on the Update Driver button, and follow the on-screen instructions.

Host of Features Offered By Advanced Driver Updater
- Backup drivers
- Restore backed-up drivers
- Schedule driver scans
- Update multiple drivers at once
- Exclude drivers from the scan
To know more about Advanced Driver Updater, you can check out this review.
Pricing – Free trial available. Pricing starts at $39.95
Solution No. 3 – Run Hardware and Device Troubleshooter
The error code 0xa00f4292 can be attributed to hardware-related issues. Windows has an inbuilt hardware and device troubleshooter with which you might be able to fix the issue at hand –
Step 1 – Open Settings.
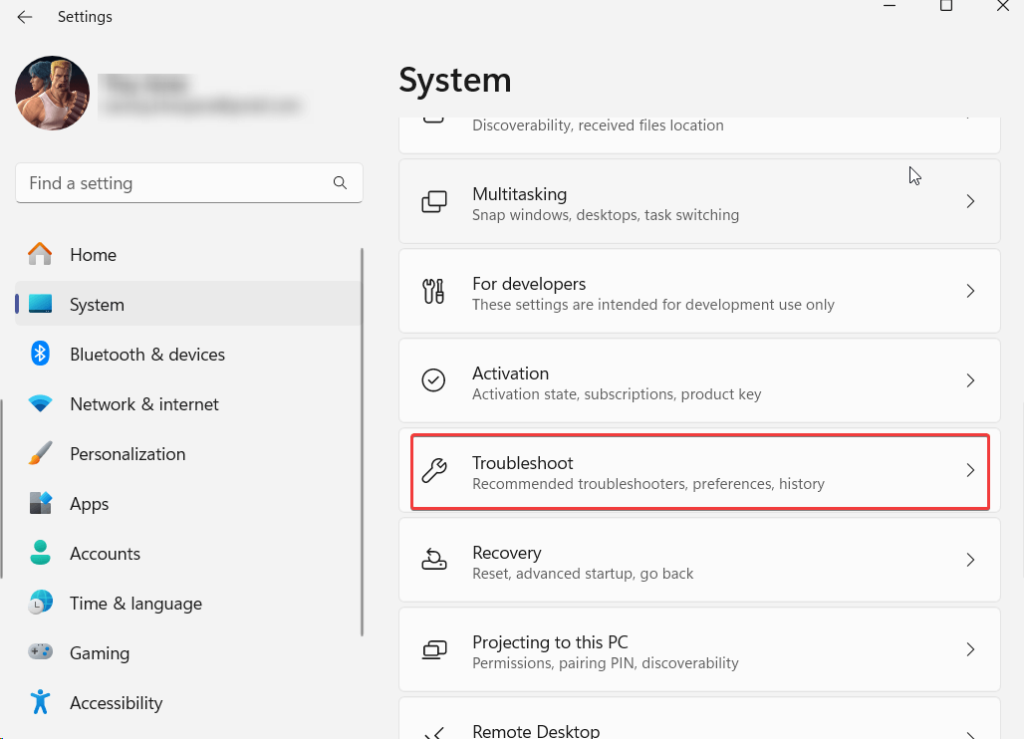
Step 2 – Click on System if not already open by default. From the right, scroll down and click on Troubleshoot.
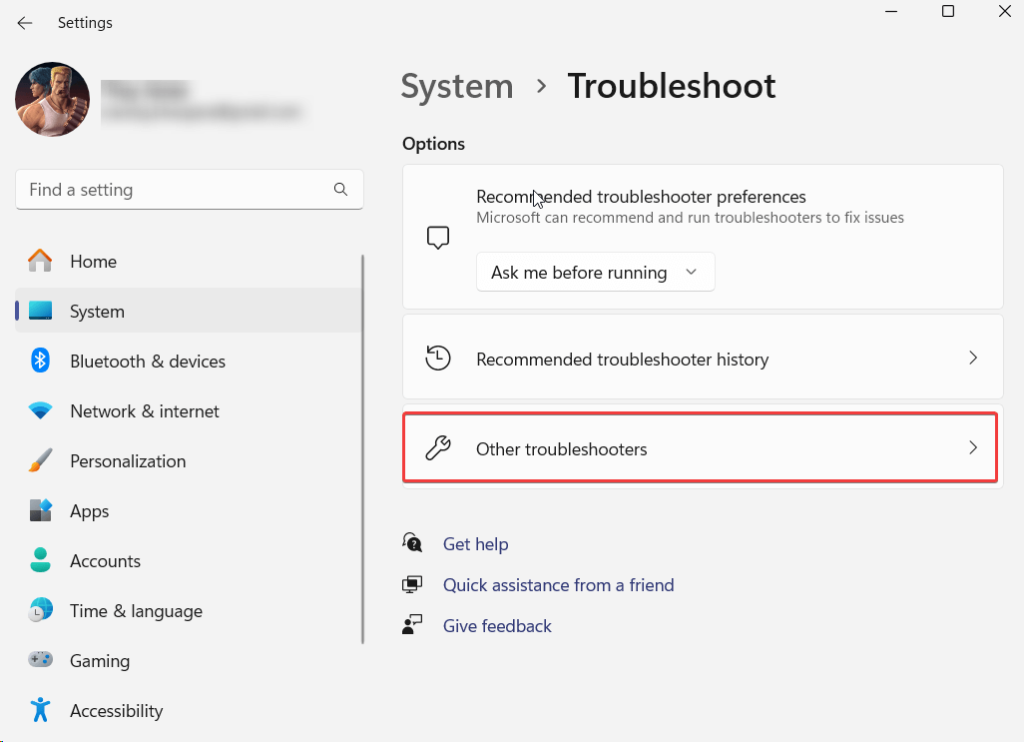
Step 3 – Click on Other troubleshooters.
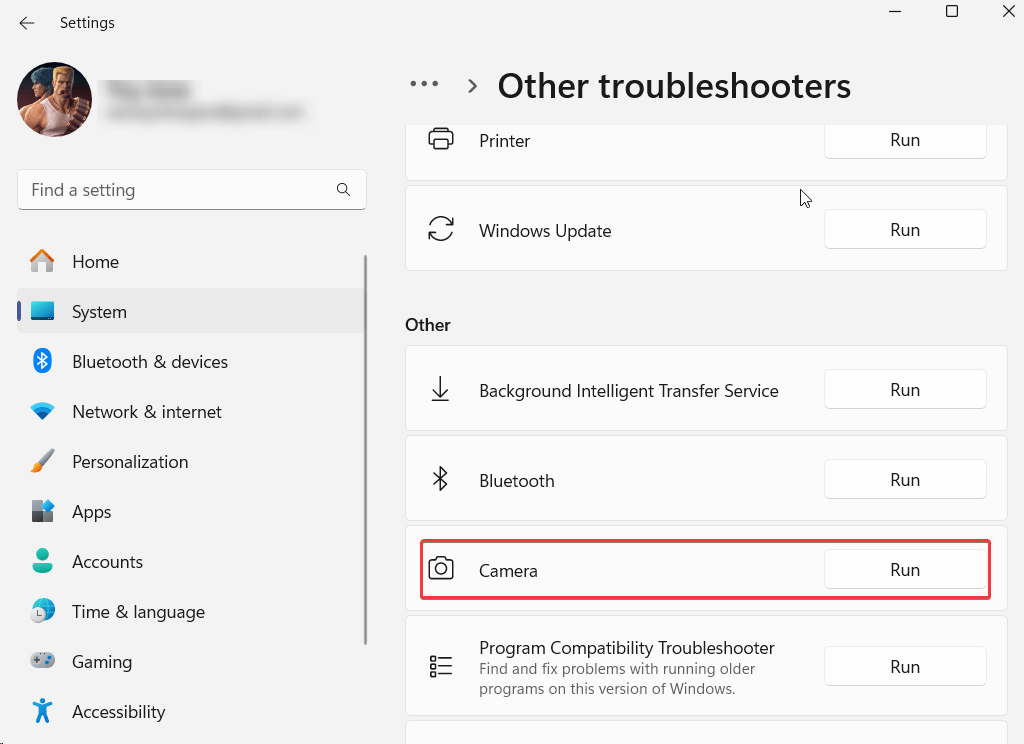
Step 4 – Under Other troubleshooters, click on Run next to Camera.
Alternatively,
Step 1 – Fire up the Administrative Command Prompt by typing cmd in the Windows search bar and clicking on Run as administrator from the right-hand side.
Step 2 – When the Command Prompt opens, type msdt.exe -id DeviceDiagnostic and press Enter.
Step 3 – Click on Next when the Hardware and Devices window pops up.
Solution No. 4 – Close Background Apps
In case there are multiple apps that are utilizing your webcam, the error code in question can occur. It is advisable that you close all those background apps that you are not using at the moment. To do that –
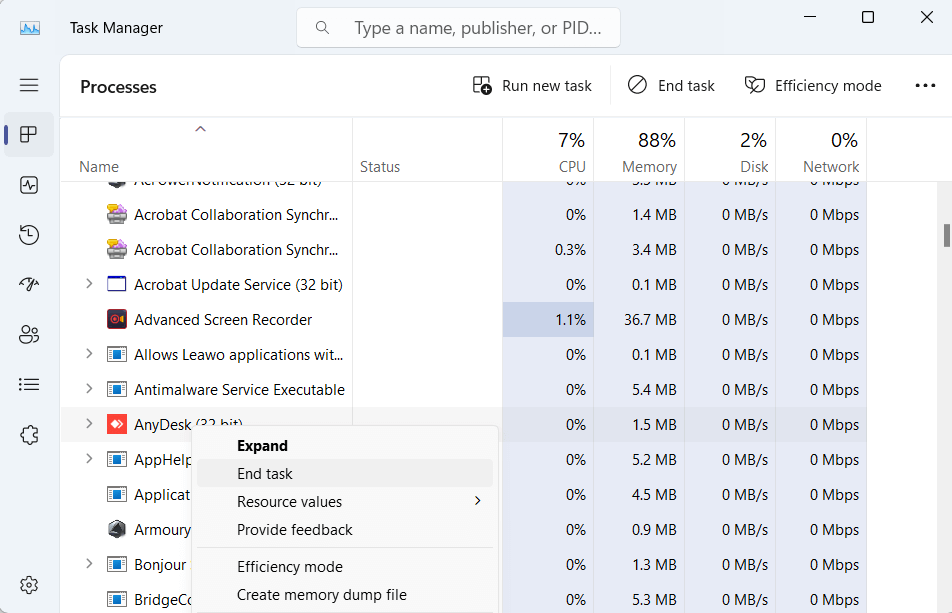
Step 1 – Press Shift + Ctrl + Esc to open the Task Manager.
Step 2 – Locate the apps that could be using the Webcam.
Step 3 – Select the apps that you don’t want to use the webcam, right-click on them, and hit the End task option.
Solution No. 5 – Allow The Camera Through Windows Defender Firewall
Sometimes, Windows Firewall blocks your webcam for security reasons. However, for once, you can try and allow your camera through Windows Defender Firewall and check if the issue persists or not –
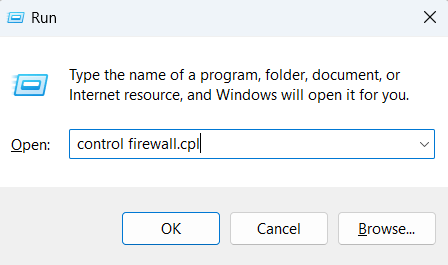
Step 1 – Open the Run dialog box by pressing Windows + R keys.
Step 2 – Type control firewall.cpl and hit Enter.
Step 3 – From the left, click on Allow an app or feature through Windows Defender Firewall.
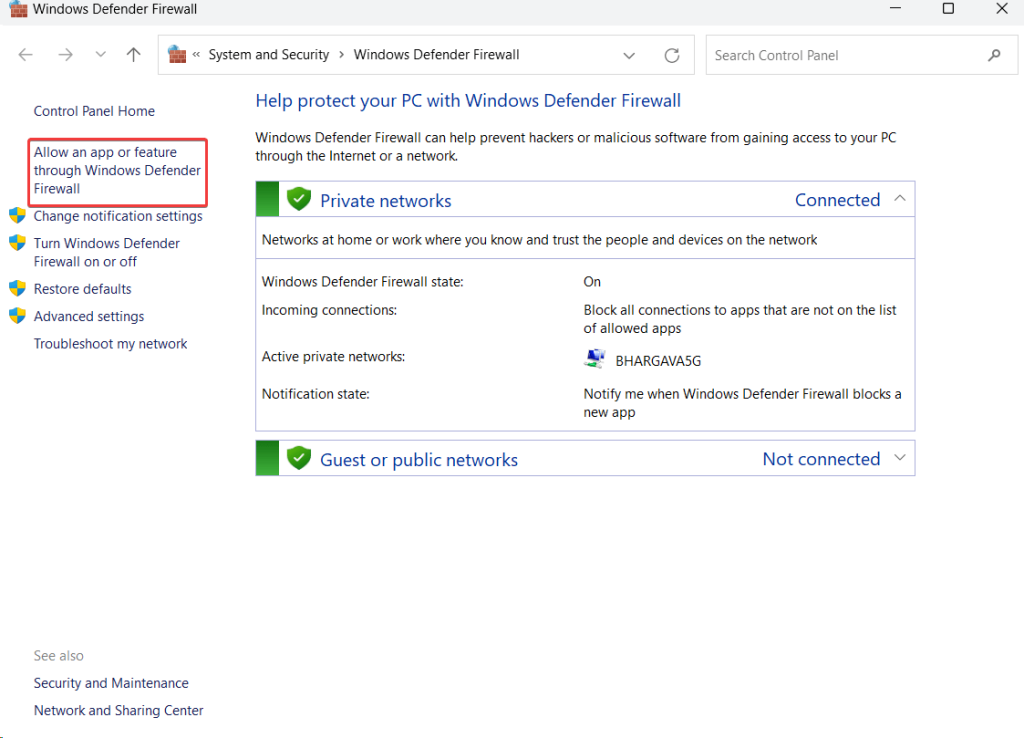
Step 4 – Click on Change settings.

Step 5 – Ensure that next to Windows Camera, Private, and Public checkboxes are checked.
Solution No. 6 – Reinstall Camera App
A corrupted camera app can be the root cause behind the error code 0xa00f4292. Since there is no dedicated option to uninstall the app, here is how you can use the administrative Command Prompt to fix the issue –
Step 1 – Open Administrative PowerShell. For that type Windows PowerShell and click on Run as administrator.
Step 2 – When the Windows PowerShell opens type Get-AppxPackage *windowscamera* | Remove-AppxPackage and press Enter.
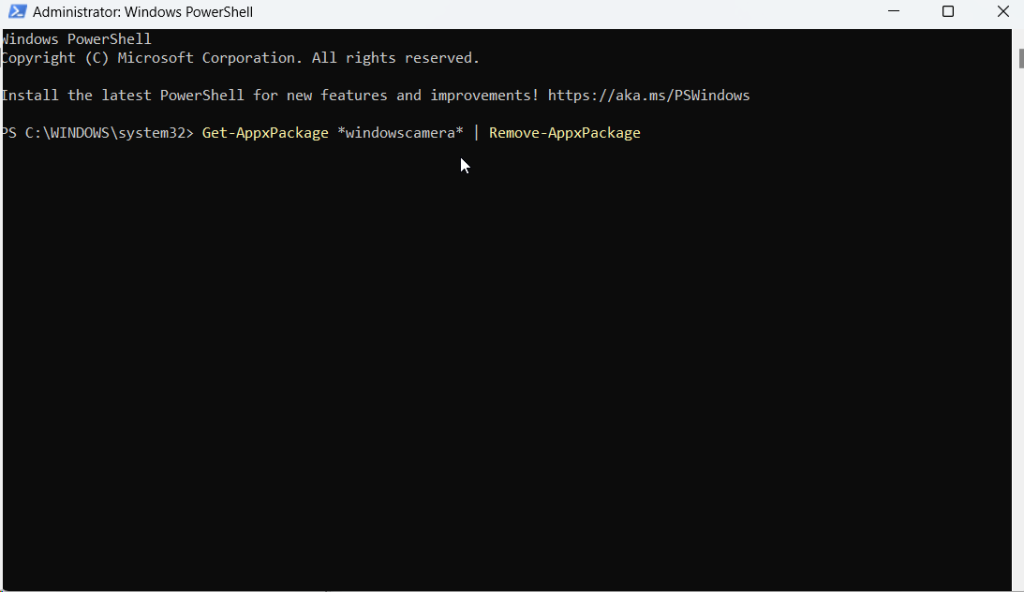
Step 3 – Once the command is executed, exit PowerShell.
Step 4 – Open the Microsoft Store and search for Windows Camera.
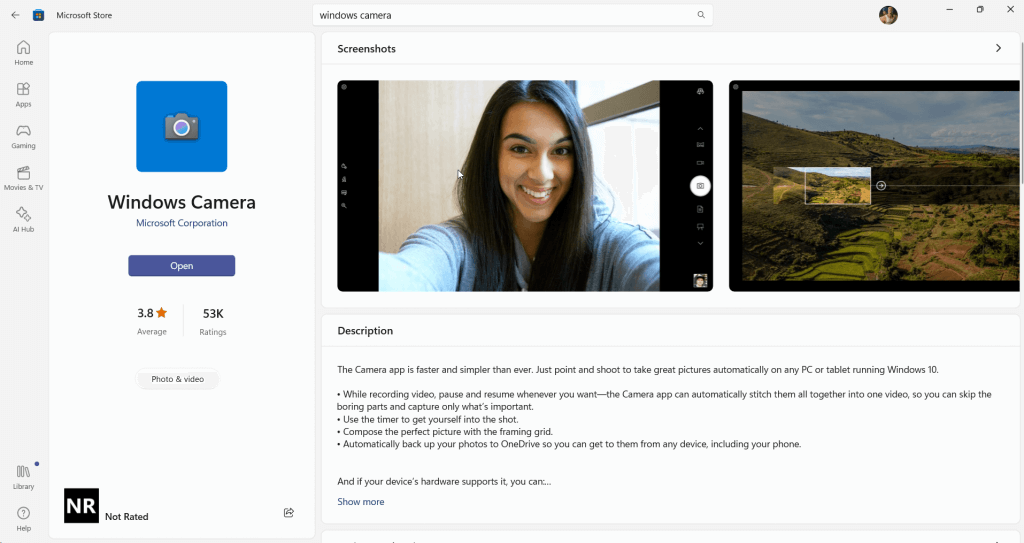
Step 5 – Click on the Get in Store app.
Solution No. 7 – Reset Camera
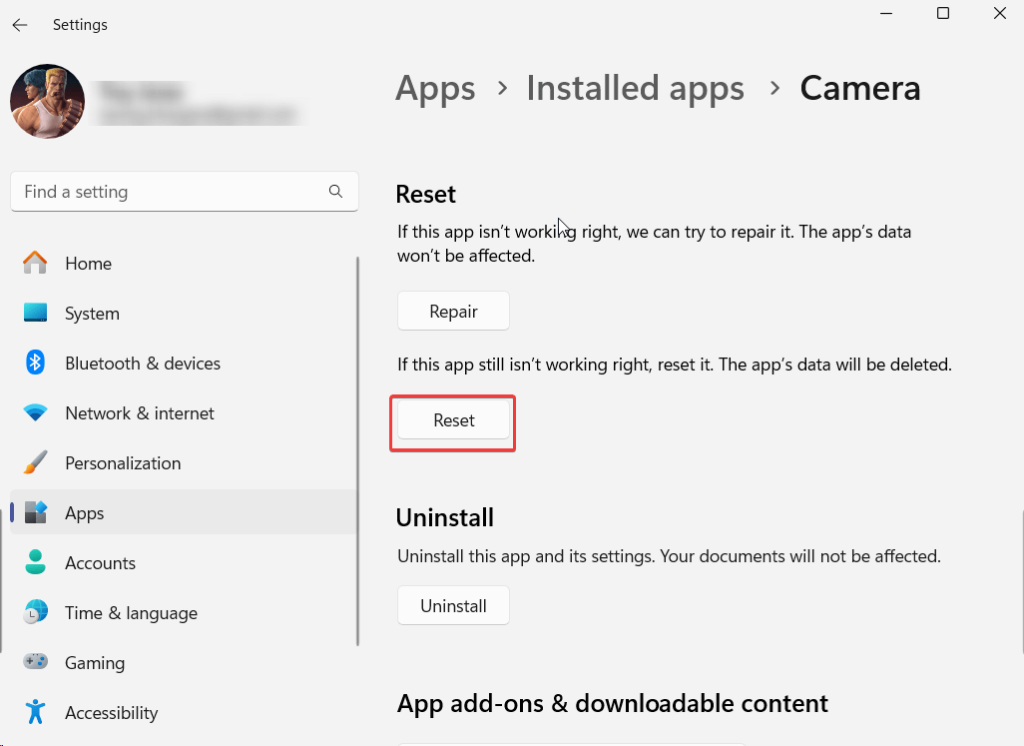
You can even try and reset your camera settings as well. This will erase all the app data but in most cases, it has proven effective and might just fix the issue for you.
Step 1 – Open Settings as shown above.
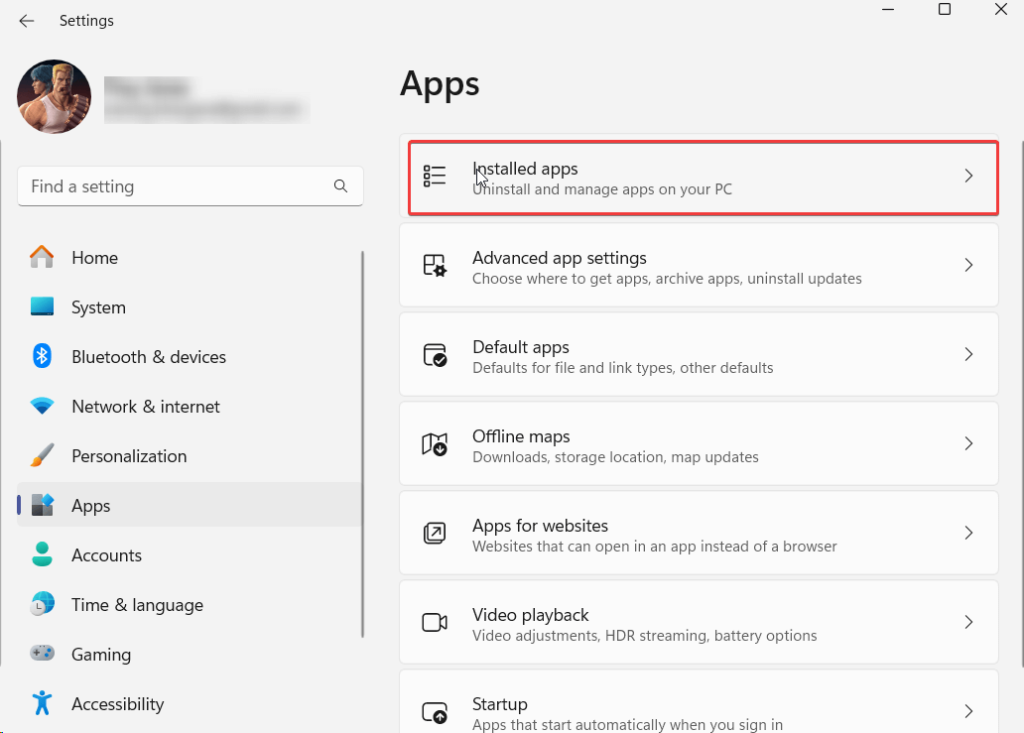
Step 2 – Click on Apps.
Step 3 – Click on Installed apps.
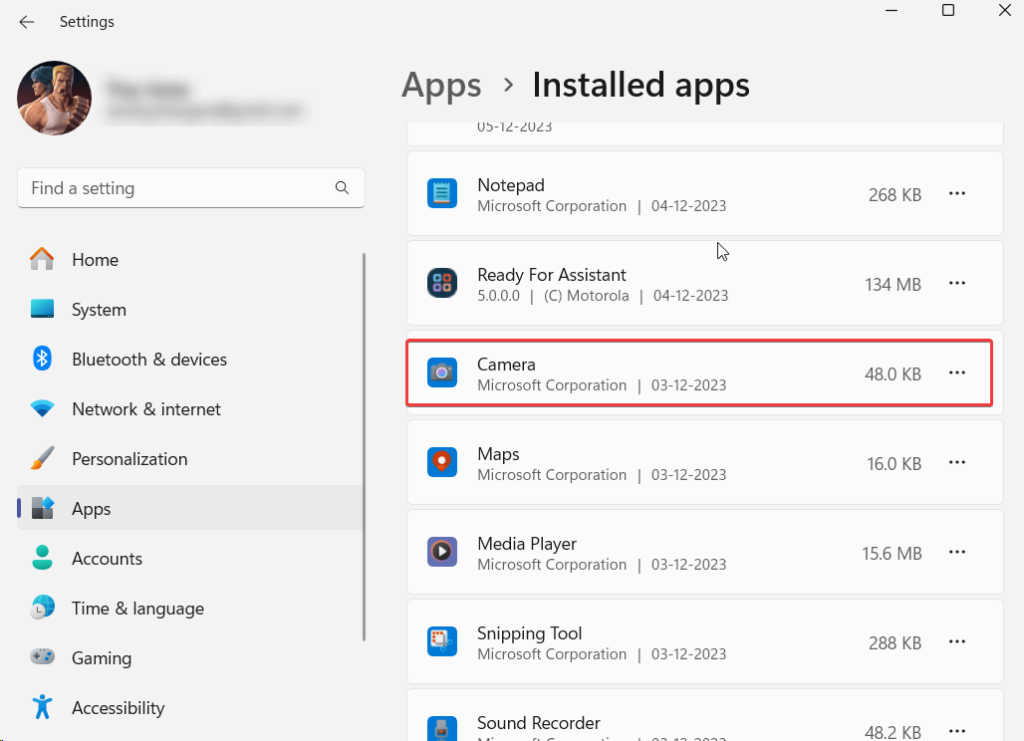
Step 4 – Scroll down, locate Camera, and click on the three dots next to the app’s name.
Step 5 – Again scroll down and click on Reset.
Solution No. 8 – Clear Camera Roll Folder
Step 1 – Open Windows Explorer. The short key for the same is Windows + E.
Step 2 – Go to This PC > Pictures > Camera Roll.
Step 3 – Select all pictures in this folder and delete them using the shift + delete operation.
Step 4 – Restart your PC and check whether the error persists.
Windows Woes: Troubleshooting Error 0xa00f4292 PhotoCaptureStartTimeout
Experiencing Error 0xa00f4292 on your Windows PC can be frustrating, especially during crucial moments like online meetings. In this post, we have enlisted solutions ranging from checking camera settings to updating drivers and running troubleshooters.
If you have been able to successfully resolve PhotoCaptureStartTimeout, do let us know in the comments section below. We also urge you to keep tools like Advanced Driver Updater, that can simplify driver updates, offering a hassle-free way to enhance overall system performance. Follow us on social media – Facebook, Instagram and YouTube.