Whether in the form of friends or family, but we do love having some company around, right? Isn’t it a great feeling having to know somebody is out there who will gladly listen to all our talks and insane thoughts without passing judgment? Yes, deep down, we all crave to experience this!
And just like how our life is incomplete without our friends and near ones, digital assistants fill this space by acting as our most loved companion to hang around. Digital voice assistants like Siri, Alexa and Google Home are surprisingly a crucial part of our lives who not just entertain us 24×7, but also help us in getting things done faster and in a smarter way of course.
We can ask almost anything to Siri, whether it’s about the current weather update, score from last night’s baseball match, list of top ten Chinese restaurants in your nearest range to almost anything. With the help of our voice commands, you can get answers to everything without touching the phone screen.
Why Do Digital Assistants Store Our Conversations?
Be it Siri or any other digital assistant, but all the queries or voice commands or the things that you say are stored at a secure location. Apple uses this data for further assessment and a better understanding so that they can improve our experience of using voice assistants. Apple uses this data to evaluate and interpret voice commands, requests and all sorts of things that we ask Siri as a quality control measure.

Luckily, all your Siri recordings are securely stored on Apple servers and this private information cannot be accessed by any third-party marketers or for promotional purposes.
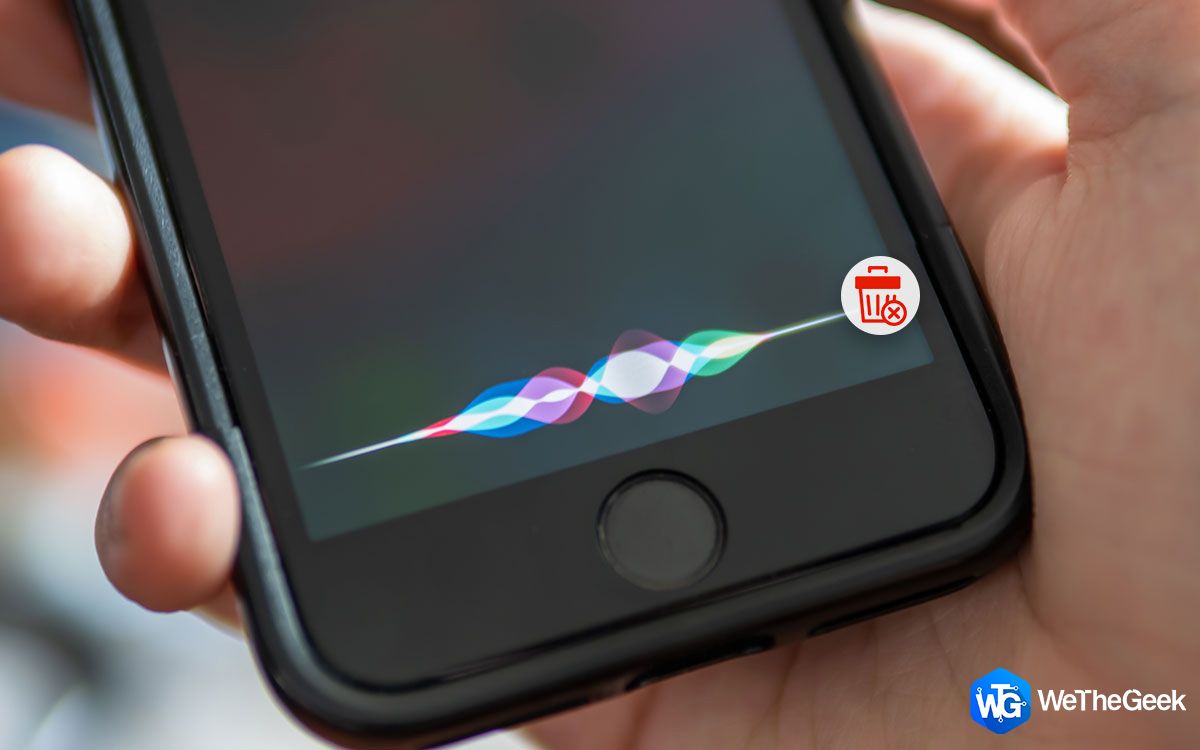
But glad enough, iOS 13.2 which happens to be the latest version of iOS allows you to delete all your Siri recordings from iPhone, iPad, Mac and Apple TV from Apple servers. So, precisely iOS 13.2, iPadOS 13.2, tvOS 13.2, and macOS Catalina 10.15.1 and later offers us an option where we can delete Siri recordings and dictation interaction history from Apple servers.
Read More: Tap this link to know more about what’s new in iOS 13.2 update for Siri.
Let’s learn how to delete Siri history from iPhone, iPad, Mac, Apple TV, and HomePod.
How to Delete Siri History from Apple Servers
As iOS 13 makes it easier for deleting our Siri conversations and dictations, follow these quick steps on Apple devices to erase all your data from the past six months.
iPhone and iPad (iOS 13.2)
Head on to Settings>Privacy> Analytics and Improvement.
Now toggle off the option “Improve Siri and Dictation”.
Navigate back to Settings> Siri and Search
Select “Siri and Dictation History”.

Tap on the “Delete Siri and Dictation history” option.
Apple will prompt you whether you want to erase your Siri recordings and dictation commands, tap on ok to confirm your action.
Once you decide on erasing your Siri recordings, Apple won’t store any of your personal data on servers.
Mac
To erase all your Siri history and conversations from macOS 10.15.1, follow these quick steps:
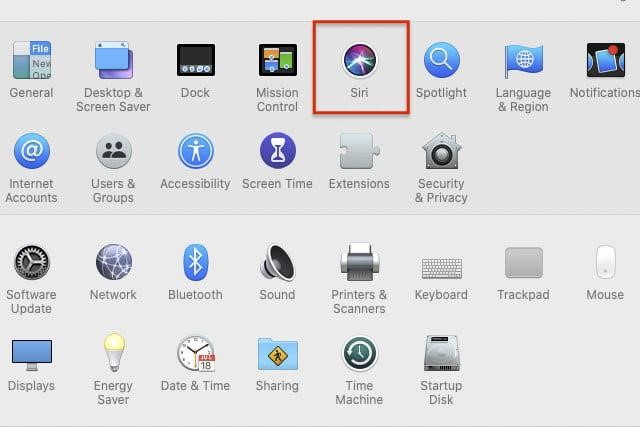
Tap Apple icon on the top left corner of the main screen and select “System Preferences”.
Select “Siri”.

Now uncheck the “Enable Ask Siri” option that appears on the left menu pane.
Head back to System Preferences> Keyboard.
Switch to the “Dictations” tab and set it as “Off” to disable it.
Apple TV
Head on to Settings> General> Siri History> Siri Dictation and History.
Tap on the “Delete Siri Dictation and History” option to delete all your Siri data history from Apple TV.
HomePod
Head on to HomePod Settings> Siri History and select the “Delete Siri Dictation and History” option.
So fellas, here was a complete guide on how to delete Siri history from iPhone, iPad, Mac, Apple TV, and HomePod. Thanks to Apple for finally offering this option along with iOS 13 and macOS Catalina’s latest update. If you don’t find this option, first update your devices to the latest iOS, iPadOS and macOS versions and then follow the above-mentioned steps.
Good luck!