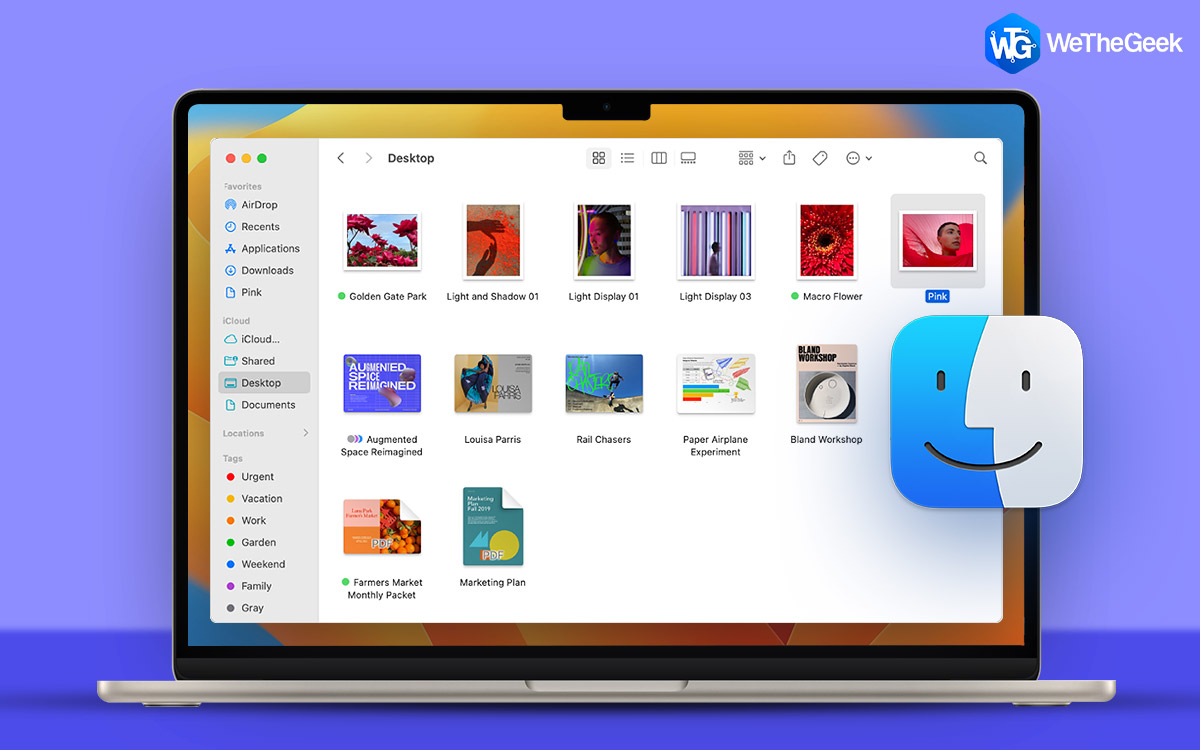
If you’re an Apple enthusiast, you know that one of the most appealing aspects of MacBooks and the Apple ecosystem is their versatility and ability to be tailored to your preferences. Today, we’re diving into one of the hidden gems of macOS customization: the Finder’s Toolbar. By unlocking the potential of this powerful feature, you can streamline your workflow, save time, and create a truly personalized Mac experience. In this guide, we’ll walk you through the steps to customize Finder’s Toolbar on Mac like a pro.
Customizing Finder’s toolbar allows you to create shortcuts to your frequently used applications and folders, as well as add handy buttons for quick access. With a personalized toolbar, everything you need will be conveniently located in one place, saving you time and effort.
So, grab your MacBook, and let’s get started!
Customize Finder Toolbar on Mac in 2023
The Finder’s Toolbar resides at the top of every Finder window, offering a range of useful icons and functions. To begin customizing, follow these simple steps:
1. How to Add Applications and Folders to The Toolbar
Imagine having all your favorite folders and apps at your fingertips within the Finder’s toolbar. With a few simple steps, you can customize it to your liking. To begin, open Finder on your Mac, which you can easily find on your Dock or by using the handy Spotlight Search on your Mac.

- Once you’ve located the folder or app you wish to include in your toolbar, simply hold down the Command key.
- With the Command key held down, effortlessly drag the folder/apps toward the top of the Finder’s window where the toolbar resides.
- As you do so, keep an eye out for a green plus icon to appear. Once you see it, release the folder or app, and it will be seamlessly added to your customized toolbar.
![]()
2. How to Rearrange Items in the Toolbar
Have the freedom to organize your toolbar to suit your preferences by rearranging its items. To do this, hold down the Command key, then drag the app or folder on your toolbar towards the left or right side. As you move it, feel free to position it exactly where you desire. Once it’s in the perfect spot, release the app or folder, and voila! Your customized toolbar is now tailored to your liking.
Whenever you rearrange an item in the sidebar, the other items adjust themselves to accommodate the change you’re making.
Read Also: 10 Lesser-Known & Hidden Features Of MacBook You Should Try (2023)
3. How to Remove Apps/Folders from the Sidebar on Mac
Just like the desktop, the Finder sidebar can sometimes get cluttered. But don’t worry, tidying things up is a breeze. If you want to remove a folder, disk, or application that you’ve added, simply grab its icon in the sidebar and drag it out. As you do so, watch as it magically disappears, leaving your sidebar clean and organized.
Read Also: How to Find and Remove Duplicate Files on Mac
4. How to Modify the Toolbar Buttons in Finder
Adding to the flexibility of customization, you have the ability to modify the action buttons displayed at the top of the Finder. To make these changes, follow these steps:
- Open a new Finder
- Tap on the View and then click on Customize Toolbar.
- Now from the bottom left of the window, simply select Show from the dropdown menu that appears.
- Choose from ‘Icon and Text,’ ‘Icon Only,’ or ‘Text Only,’ depending on your preference.
- Witness the transformation as the icons and labels adjust accordingly.
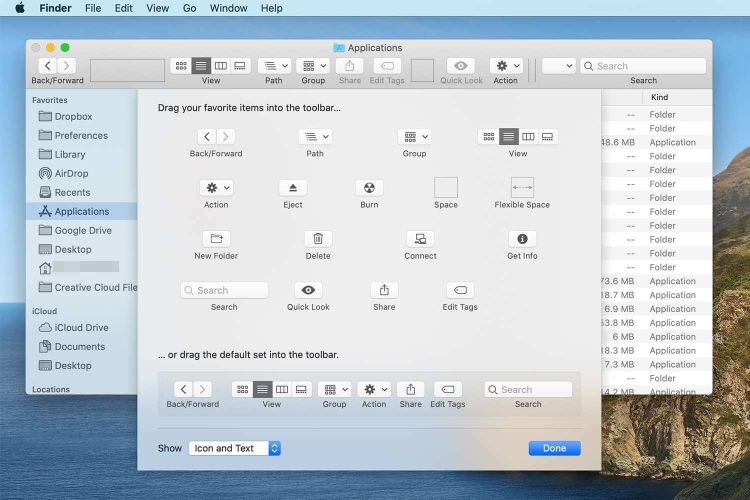
With just a few clicks, you can effortlessly personalize the appearance of icons and labels in the Finder window, creating a visual experience that matches your style and preference.
Read Also: How to Customize Your Mac and Make it Appear the Way you Want
Customize the FInder’s Toolbar on Your Mac
Congratulations on unlocking the power of customizing your Finder’s Toolbar on your Mac! By tailoring it to your needs, you can create shortcuts to your most-used apps and folders, or add useful buttons, keeping everything you need within reach. So go ahead, and unleash your Mac’s potential.
For more such troubleshooting guides, listicles, and tips & tricks related to Windows, Android, iOS, and macOS, follow us on Facebook, Instagram, Twitter, YouTube, and Pinterest.
Next Read: How To Refresh MacBook Air (2023 Guide)