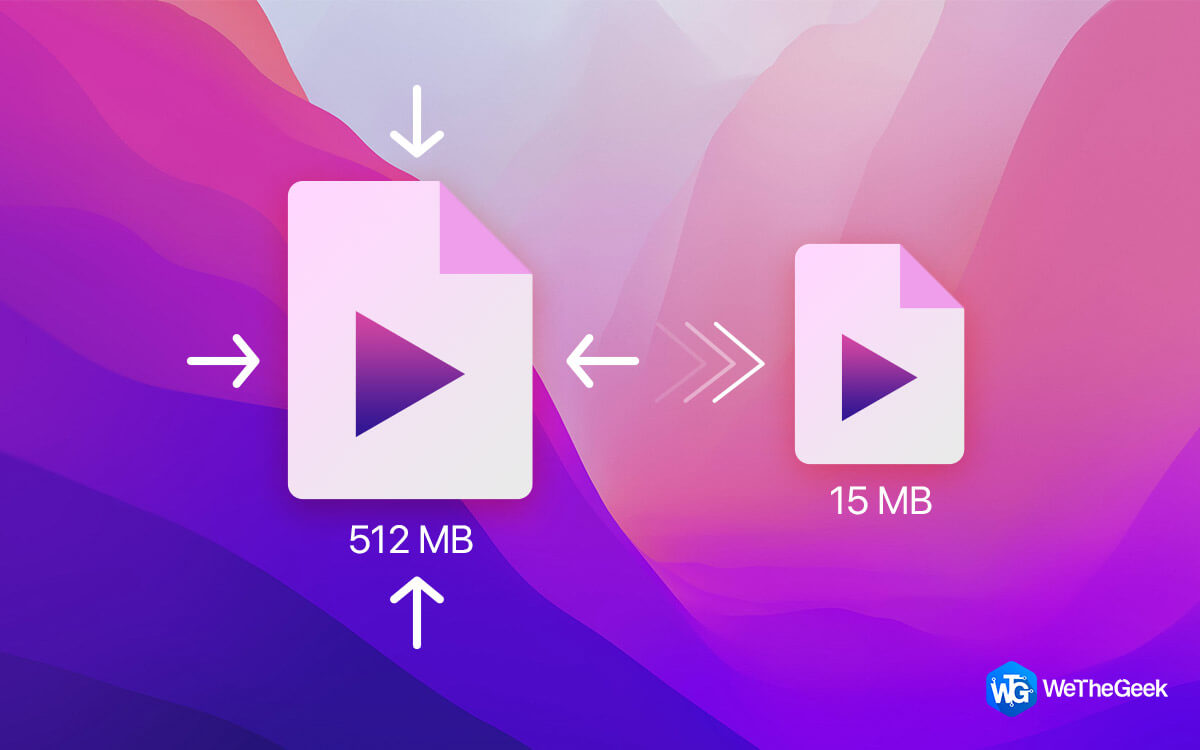
With the development of 4K or UHD recording devices and camcorders, it is getting harder to save and share your recordings. High-resolution videos or big video clips can also be challenging to manage, and if your Mac is out of space, they become even more challenging to move.
And if you are facing this problem too, you should become familiar with how to compress videos on Mac. There are various tools and apps available that can assist you in reducing video files on Mac. But today, we are going to discuss two video compression tools that come in-built with your Mac.
Read Also: How to Check Your Mac’s CPU Usage
How To Compress A Video On Mac
You can compress a video on Mac using built-in tools like Quick Time Player & iMovie. This is convenient because we don’t need to install or buy them, even though their use may be slightly limited.
And if you want more than the basics, you can always look for third-party solutions available in the market. However, if basic is what you are looking for, then let’s see how you can easily compress video files on Mac.
Read Also: 6 Mac Finder Settings That Can Improve Your Mac
Method 1: By Using iMovie
You can utilize the well-liked Mac built-in program iMovie for both general video editing and video compression. With the help of iMovie, you can easily compress video files on Mac, and that too without spending a single penny.
To reduce video file size on Mac, just follow the steps below:
- Launch the iMovie application on your Mac and tap on the “Create New” icon to start.
- Drag & drop your videos directly into the application or click on the “File” menu to upload a video.
- Select “Share” from the File menu to compress the video.
- Choose one of the various alternatives based on your objectives.
- Tap on “File” and compress video files according to the “Resolution & Quality.”

- When you are satisfied with the video settings, click “Next” to save it.
Method 2: By Using QuickTime Player
As the name suggests, QuickTime Player is a multi-media player that lets you play videos on your Mac in a variety of formats. Nevertheless, it is another great built-in solution for reducing the size of your videos.
Follow these instructions to compress a video file using QuickTime Player:
- Launch the QuickTime Player application on your Mac.
- Now tap on “File” to upload the original video.

- Choose File and then find and tap on “Export.” You have a wide range of options here, including the ability to export video files in UHD (4K), FullHD (1080p), SD (720p), SD (480p), or just as audio.
- After choosing the required quality, click on “Export As.”
- Now, select the location file folder where the completed video will be stored, give the compressed video a name, then click “Save.”


Read Also: 5 Apps to Help You Automate Your Mac (2022)
To Wrap This Up
So, this is how you can easily compress video files on Mac. Your Mac will have more room for other crucial files and applications if you compress your videos. Also, you can send them to anyone that too without any slow down problem. So, what’s going to be your favorite method to reduce the size of video files on Mac? Let us know.