Hide your sensitive videos and photos from prying eyes in a Locked Folder within your Google Photos application.
Have any private videos and images on your smartphone? Want to lock them away but don’t wanna use any third-party apps or software? We’ve got you covered my friend. If you are an Android user and use the Google Photos app, you don’t have to worry anymore. You can store private images and movies in a ‘Locked Folder’ using the Google Photos application. And the best part is that you don’t have to install or download a thing on your smartphone.
Read Also: How To Transfer Google Photos From One Account to Another
Google Photos’ built-in ‘Locked Folder’ function can be used to hide your photos from other people when you give your phone to use them. It enables you to store your images and media in a secure location. By doing this, you’ll be able to prevent anyone from viewing the photos and videos you’ve saved to Google Photos.
Additionally, you can transfer your current photos to Google Photos’ locked folder to make them screen lock-protected.
Read Also: Google Photos Now Allows Direct Album Sharing
What is this Google’s Locked Folder?
Locked Folder in Google’s Photos app is an in-built utility feature that allows you to hide your personal images & videos. This feature is accessible only to Android 6 and later-powered smartphones. With the help of this, you can move your media/photos/videos to a specific folder that can only be opened after entering the phone’s passcode.
Both iOS and Android users can access Google Photos, although the capability has only lately become available for Android devices.
Read Also: Best Free Google Photos Alternatives To Enjoy Unlimited Storage
Note: Of course, there is a catch to using Google Photos locked folder. That folder’s contents, including any images or videos, are not saved up to your cloud storage. Decide carefully which images or movies you wish to lock up.
How to Enable and Use the Google Photos Locked folder
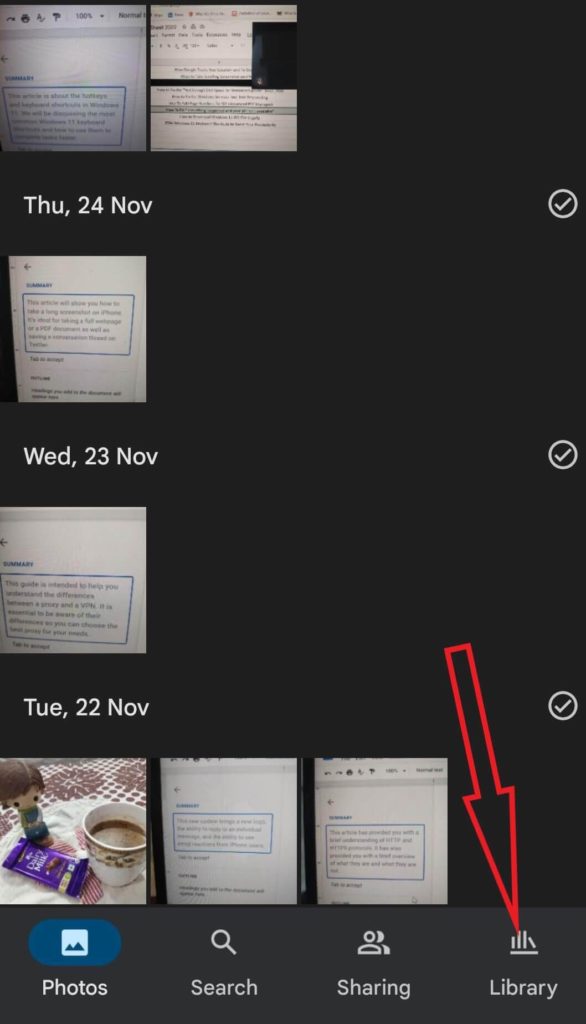
- Open the Google Photos app and tap on the ‘Library’ option from the bottom right corner of the screen.

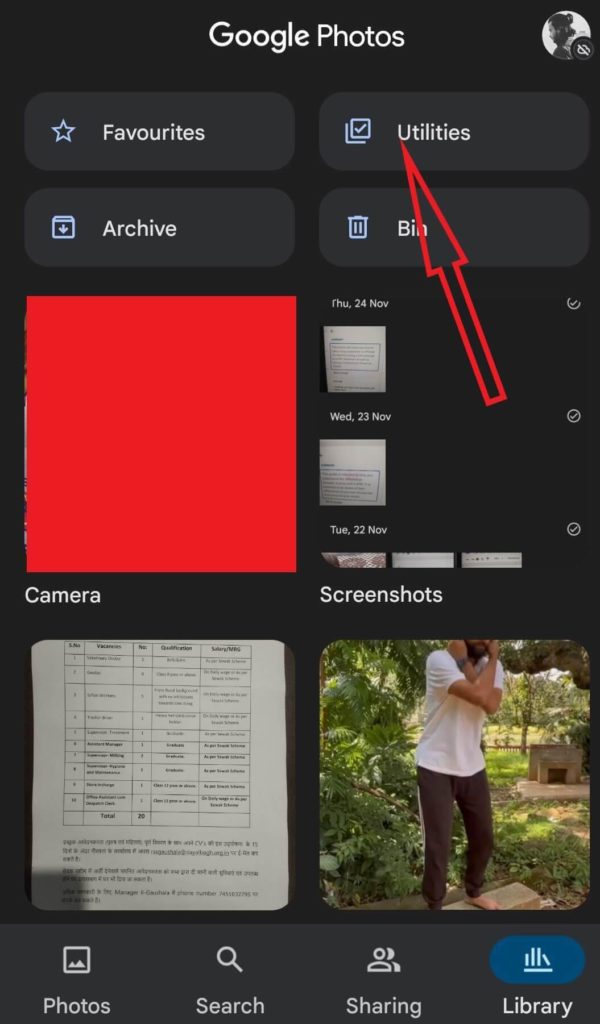
- On the next screen, tap on the ‘Utilities’ option.
- Now tap on ‘Get started’ under the ‘Set up Locked Folder’ option and enable the Google photos Locked folder by entering your device’s passcode.
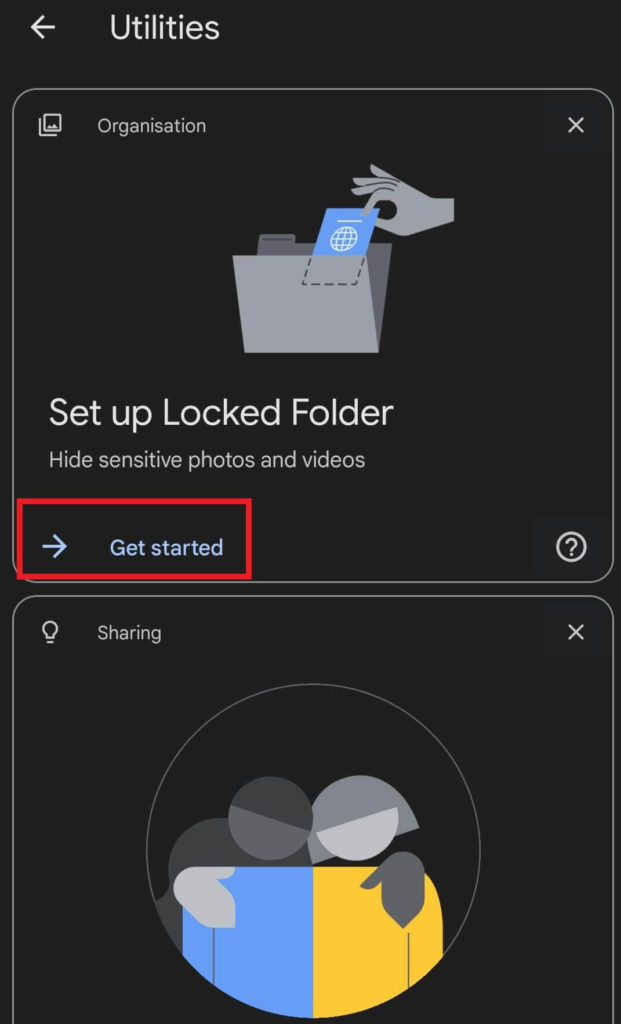
After completing this step, click the ‘Move items’ button to begin transferring your personal images and videos to the newly formed folder.
Read Also: How To Recover Deleted Photos From Google Photos
- Once again go to the Utilities and scroll down to the ‘Locked Folder’ tap on it and enter your passcode to open it.
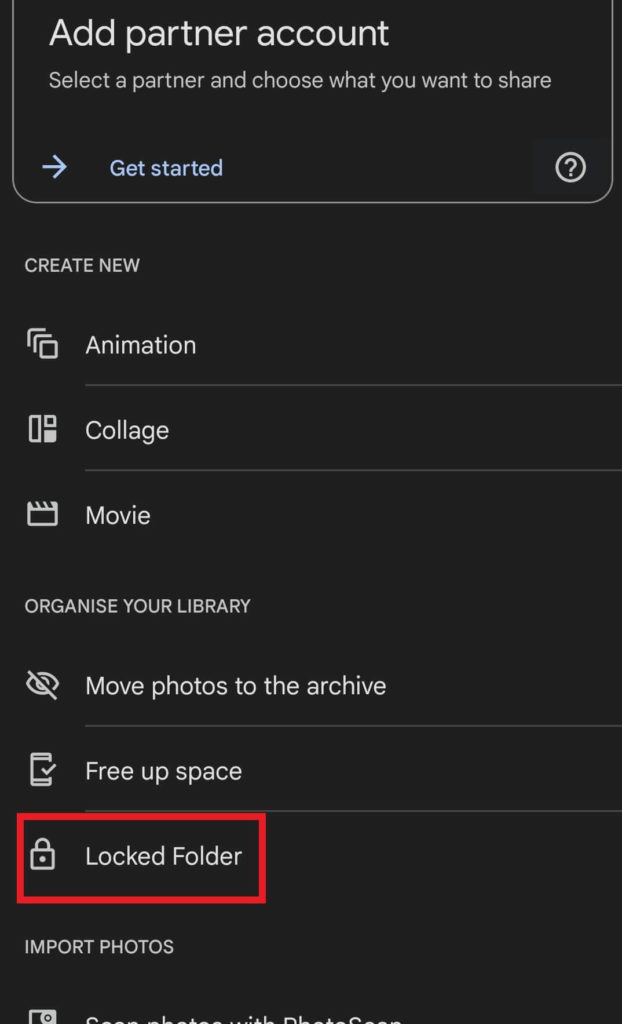
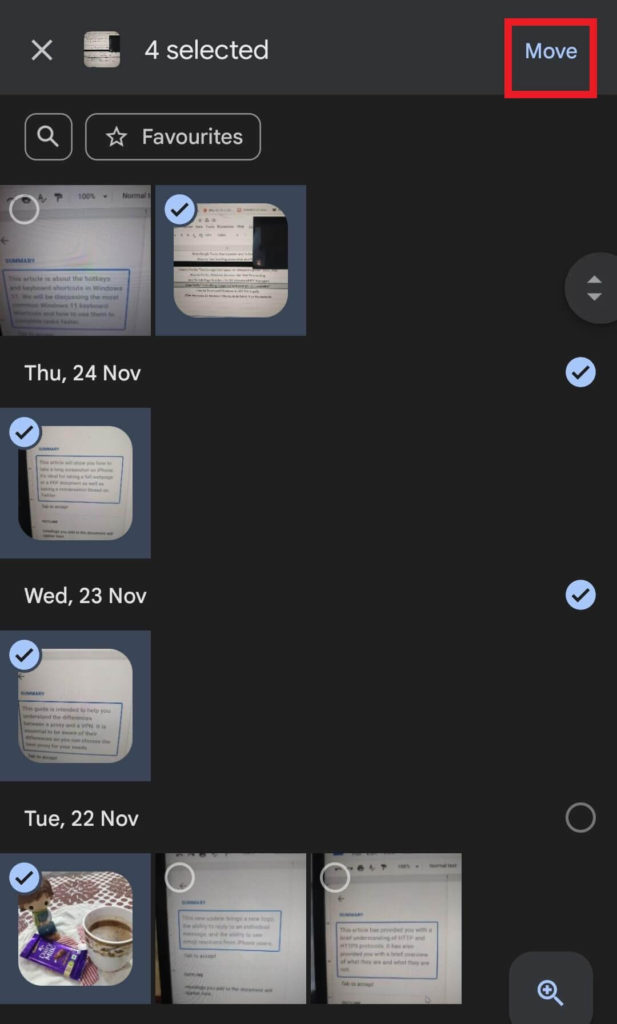
- Once opened tap on ‘Move items’ and just choose the photos and videos you want to lock and tap on the ‘Move’ option from the bottom right corner of the screen.
- It will ask you for the passcode to make the transfer.
- Once you’ve entered the passcode your images and videos will be moved to the Locked folder.
Read Also: Four Different Ways To Delete Duplicates In Google Photos
To Wrap This Up
So, this is how you can enable and use the Google Photos Locked folder to hide your personal images and videos. If you are someone like me who doesn’t trust third-party apps that much, this is a life savior option. So are you using it or going to use it from now onwards? What are your thoughts about the same tell us in the comments below.
And for more such troubleshooting guides and tips & tricks related to (Windows, Android, iOS, and macOS) follow us on Facebook, Instagram, and YouTube.