
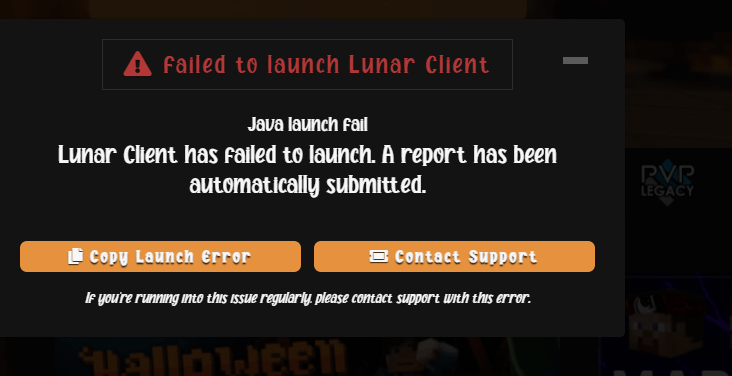
Do you receive the error message “Failed to launch Lunar Client: Java launch failed” when launching the Minecraft Lunar Client? Inadequate RAM allocation in the settings of Lunar Client or a missing or damaged Java Runtime Environment (JRE) is the main cause of this problem.
Stacks of cache folders or your antivirus program preventing the client’s processing are some additional potential culprits. This article reviews various methods to remedy the problem and successfully start Lunar Client.
How To Fix The “Failed To Launch Lunar Client” Error On Windows
Carry Out A Few Preliminary Inspections
Do the following basic examinations first:
- After closing the Lunar Client, reopen it.
- Close any applications that are already running in resemblance with Lunar Client to prevent interference.
- Make sure the device is online and that the network connection is strong.
- Apply the remaining fixes if the aforementioned checks fail to resolve the issue.
Method 1: Launch The Lunar Client In Administrator Mode
In the event that Lunar Client is denied access to specific system files, you can experience the mentioned error. Run the client as an administrator to make sure that the problem isn’t being caused by restricted access. To execute Lunar Client as an administrator, adhere to the following steps:
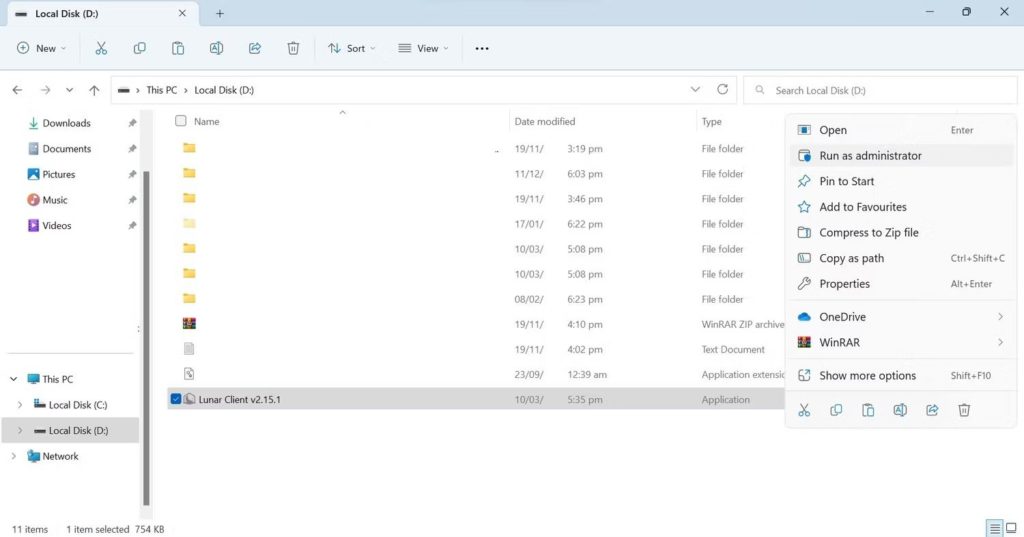
Step 1: Go to the directory where Lunar Client is set up.
Step 2: The main file that you use to start the client may be found here.
Step 3: Click the context menu when you right-click the EXE file for Lunar Client and choose Run as administrator.
Step 4: If the issue is resolved by running Lunar Client in administrator mode, this suggests that the operating system limitations are at blame.
Also Read: How To Fix Run as Administrator Option not Showing up on Windows 11
Method 2: Remove The Cache Folders For The Lunar Client
Lunar Client maintains caches of game data in cache folders like the majority of gaming launchers do. As a result, the client’s performance is enhanced by retrieving the needed data from various places more quickly. Unfortunately, occasionally the accumulated cache obstructs the client’s processing, resulting in unforeseen problems. You should clear all cache folders to make sure that cache interference isn’t the source of the current problem. Adhere to the following steps:
Step 1: Get to the following location by navigation
C:\Users\<username>\AppData\Roaming
Step 2: Locate and open the lunarclient folder.
Step 3: Remove three folders from this location namely Cache, Code Cache, and GPUCache.
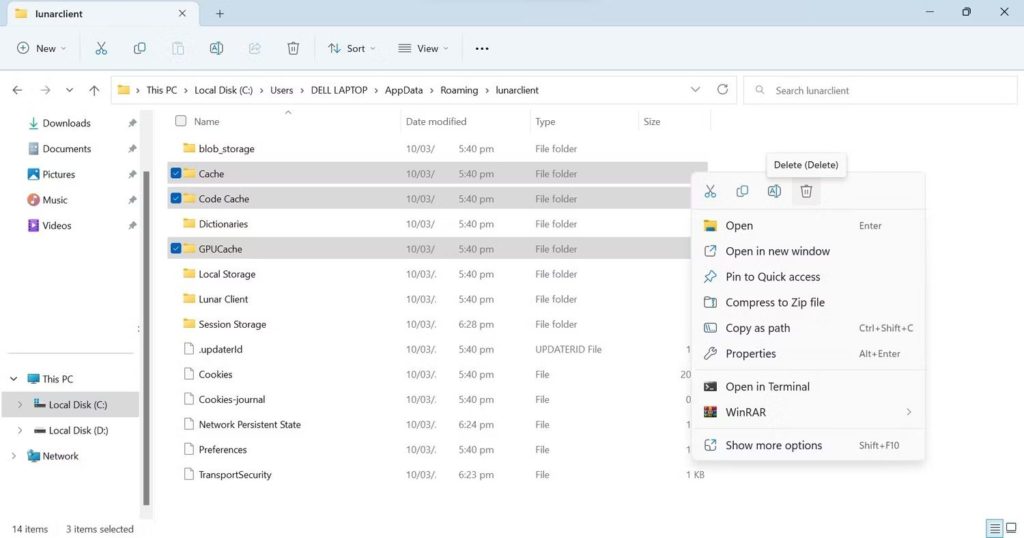
Step 4: Right-click on the chosen folders and choose Delete.
Step 5: After erasing the cache directories, restart the Lunar Client.
Also Read: How to Clear Cache in Windows 11?
Method 3: Modify The Lunar Client’s Settings To ModifyThe Allocated Memory
Thanks to Lunar Client, users have complete control over the amount of memory the client must have. It eases the load on the user’s hardware and aids in efficient resource management. The problem we’re talking about is probably going to happen if you assign less RAM in the client’s settings, that isn’t enough to meet the client’s needs. Follow these procedures to modify the RAM allocation for the Lunar Client:
Step 1: Activate Lunar Client.
Step 2: At the top, select the Settings menu.
Step 3: Drag the slider under Allocated Memory to alter the memory allocation.
Also Read: How to Fix Reallocated Sector Count Warning
Method 4: Activate Java Runtime Environment Again
Java Runtime Environment is necessary for Lunar Client to operate correctly. You might get Java-related problems like the one described in this article when it is not installed correctly, when some files become corrupted. To install it, stick to these steps:
Step 1: Visit the Java web page.
Step 2: Click on Java Download.
Step 3: On the following page, click on Download Java again.
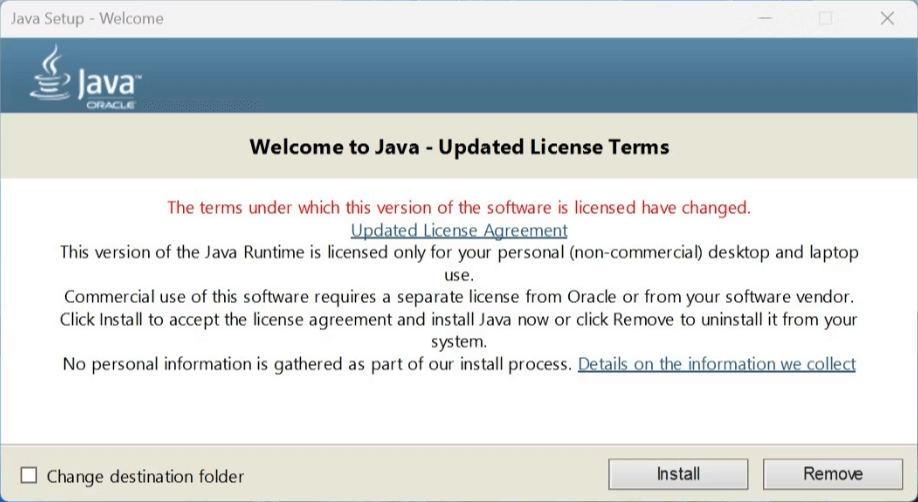
Step 4: After downloading the file, run it and select Yes on the UAC(User Account Control) box.
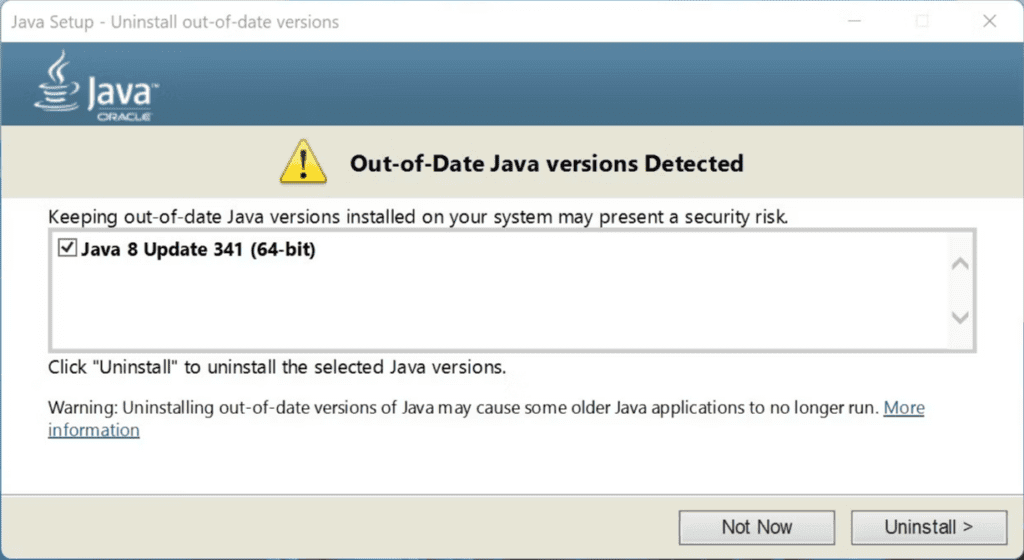
Step 5: Next, select Install button.
Note: If by any chance, the installation process detects an outdated Java version, click Uninstall to remove it.
The Final Word On How To Fix The “Failed To Launch Lunar Client” Error On Windows
It can be annoying to launch Lunar Client only to experience unexpected issues. The changes mentioned above ought to assist you in identifying and resolving the “Failed to launch Lunar Client: Java launch failed” error. You might need to delete Lunar Client and reinstall it if neither of the fixes works to address the problem.
Please let us know in the comments below if you have any questions or recommendations. We would be delighted to provide you with a resolution. We frequently publish advice, tricks, and solutions to common tech-related problems. You can also find us on Facebook, Twitter, YouTube, Instagram, Flipboard, and Pinterest.