Over a wireless connection, an Ethernet connection has many benefits. However, when it stops functioning, diagnosing and resolving the Ethernet not working issue in Windows 11 can be a little challenging. While the built-in troubleshooter can help you identify and resolve network issues, there may be other underlying problems that are causing your Ethernet connection to malfunction.
Here, we’ll show you the typical causes of Ethernet connection failure in Windows 11 and how to fix them so you can reconnect.
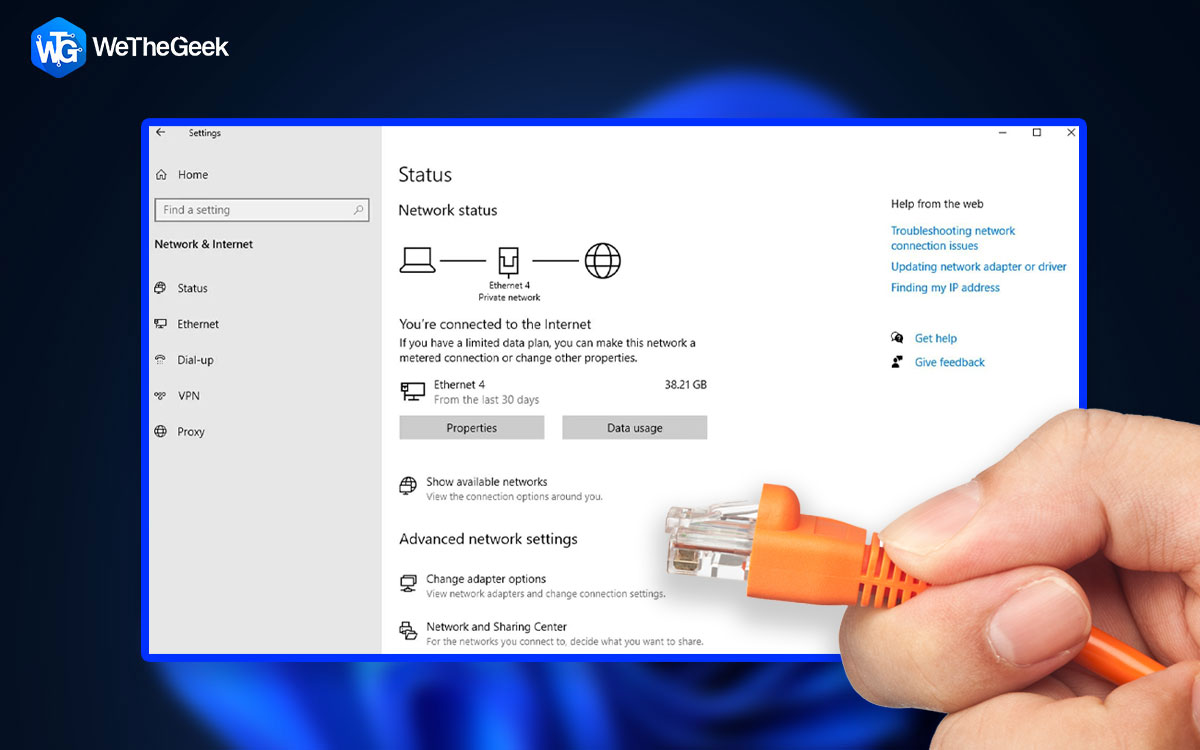
How To Fix Your Ethernet Connection Not Working On Windows 11?
1. Activate The Network Adapter Troubleshooter
The built-in troubleshooter in Windows 11 allows you to resolve the majority of PC problems. To identify and resolve any problems with the network devices, utilize the Internet Connection and Network Adapter troubleshooter. Here are the steps:
Step 1: To launch the Settings panel, press Win + I.
Step 2: Scroll to the bottom of the System tab and select Troubleshoot.
Step 3: After that, select Other troubleshooters.

Step 4: For Internet Connections, click Run to start the troubleshooter.

Step 5: Select Check my Internet connection for issues. The troubleshooter will try to pinpoint the issue and make appropriate recommendations for repairs.
Step 6: To check if the problem has been fixed, apply the solutions and then exit the troubleshooter.
Note: If the problem still exists, use the Network Adapter troubleshooter this time.
Step 1: Go to System > Troubleshoot > Other troubleshooters in Settings after opening it.
Step 2: Scroll down in the right pane and choose the Network Adapter’s Run button.

Step 3: Select Ethernet in the Network Adapter troubleshooter box.
Step 4: Choose Next. Windows will search for any problems and, if necessary, suggest remedies.
You can try the actions listed below to troubleshoot and fix the issue manually if Windows doesn’t discover any issues.
2. Check The Ethernet Cable, Port, And Connection

If you receive the No Internet access warning, your PC or router’s Ethernet connection may be unreliable. Take the cable out of the port on your router and computer. Reconnect the cable after that, making sure it is securely attached by listening for a click. You can also try using a different Ethernet cable and then try to connect. This will enable you to decide whether the cable is the problem or something else. Try using a different Ethernet port on your router as well. If it functions, you might have a defective port that needs repair.
3. Reset The Power On Your Router

By doing a brief power reset, you can establish a fresh connection. Keep in mind that while the power is being reset, your Internet will be briefly unavailable. Any activity that depends on an active Internet connection should be put on hold.
Step 1: Remove the power brick for the router from the outlet.
Step 2: Give the network devices a few minutes to rest.
Step 3: After some time, plug in the router’s power adapter.
Step 4: It can take some time for the router to fully turn on. Watch for the lights to quit blinking one by one.
Step 5: Check your PC after that to determine if the Ethernet connection has been restored.
4. Reset Network Connection
To resolve networking issues, Windows 11 comes with a number of helpful instructions to reset network devices and the network stack. To correctly reset your network settings, execute the following commands in the sequence specified.
Step 1: To access Windows search, use Win + S.
Step 2: Enter cmd, then choose Run as Administrator from the context menu of the Command Prompt.
Step 3: Enter each of the following commands one at a time followed by the Enter key.
netsh winsock reset
netsh int ip reset
ipconfig /release
ipconfig /renew
ipconfig /flushdns

Step 4: To apply the modifications, shut the Command Prompt after it has been properly run and restart your computer.
5. Toggle The Ethernet Adapter’s Switch
Wi-Fi, Ethernet, and Bluetooth network adapters can all be individually disabled in Windows 11’s Settings. According to reports, problems with the Ethernet connection have been resolved by turning off and turning on the Ethernet adapter.
Step 1: For Settings to open, press Win + I.
Step 2: Select the Network & Internet tab from the left pane.
Step 3: At the bottom of the page, scroll down and select Advanced network options.
Step 4: Under Network adapters, select Ethernet by clicking the Disable button.

Step 5: The Ethernet icon will vanish from your taskbar, as you will see. After a brief delay, select Ethernet by clicking the Enable button.

Step 6: Check to see whether you can connect to the Internet via Ethernet when the
6. Uninstall The Ethernet Adapter Drivers
The adapter may not function properly if its Ethernet adapter drivers are outdated or faulty. Remove the adapter driver from the Device Manager to resolve the problem. Upon restart, your computer will reinstall the driver automatically.
Step 1: Open Run by pressing Win + R.
Step 2: Click OK after entering devmgmt.msc to launch Device Manager.

Step 3: A new window will open.
Step 4: Expand the area for network adapters.

Step 5: Uninstall the device by performing right-clicking on the Ethernet adapter entry.
Step 6: Confirm your choice by clicking Uninstall.

Step 7: Restart your computer when finished. Windows will automatically recognise connected devices and install the Ethernet adapter’s missing driver.
Note: You can also choose to use a third-party driver-updated application like Advanced Driver Updater to update all your drivers without consuming much time and effort.
7. Update The Firmware On Your Router

Performance and security patches are frequently added to router firmware updates. They might, however, also include bug fixes for your Ethernet connectivity problems. Some routers include the option to automatically install new updates.
The Final Word On How to Fix Your Ethernet Connection Not Working on Windows 11
The Ethernet connection’s plug-and-play design can make it challenging to identify problems when it stops functioning. However, a quick disconnect and reconnect of the wires, a power reset, and a Windows network reset usually serve to resolve the issue for the majority of people.
Please let us know in the comments below if you have any questions or recommendations. We would be delighted to provide you with a resolution. We frequently publish advice, tricks, and solutions to common tech-related problems. You can also find us on Facebook, Twitter, YouTube, Instagram, Flipboard, and Pinterest.