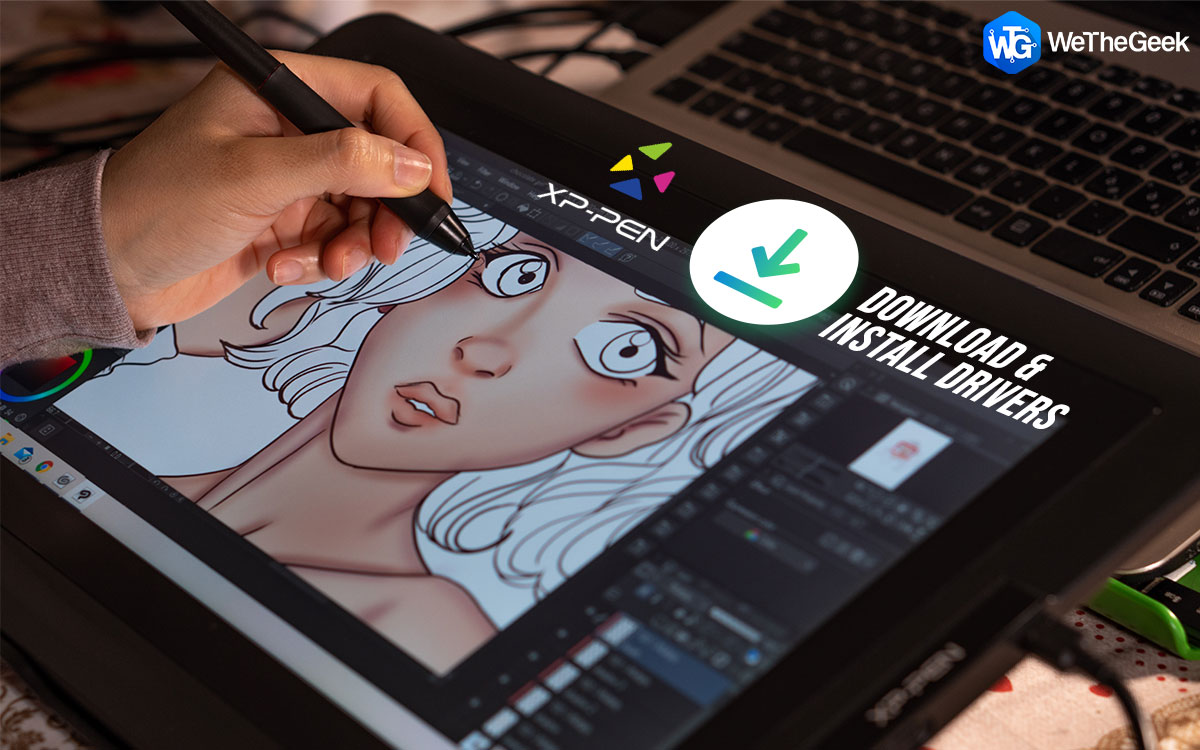
Have an XP-Pen device but unable to use it? Here’s how to download and install XP-Pen drivers.
When it comes to e-learning, designing, graphics, etc everyone wants to enjoy it. This is where the XP-Pen graphics display or tablet comes in. A budget-friendly option that brings both traditional and new methods into one place. Using XP-Pen stylus and graphics tablets you can present anything, design what you want, and do a lot more.
But to take advantage of this nifty yet effective tool, you need to download and install a compatible driver corresponding to the model you are using. Furthermore, to avoid facing any issues when using XP-Pen you should keep the drivers up to date.
Wondering how to do that?
Well, don’t you worry. In this driver updating guide, we’ll show how to download, install and update the XP-Pen driver.
How to install & update XP-Pen drivers – Windows 10
When XP-Pen graphics tablets or pens stop working or start giving issues, it’s an indication that the driver needs to be updated. Failing to do so will prevent you from taking advantage of all of its features.
To update, corrupt, missing and outdated XP Pen drivers follow the instructions given below.
XP Pen drivers can be downloaded on Windows 10 in two ways – manually and automatically. Here we will discuss both of them one by one.
Note: Since updating drivers manually is time-consuming, needs technical know-how, and involves risk we recommend trying – Smart Driver Care, a driver updater utility designed for Windows 10,8,7. Using this best Windows drivers updater tool in no time, you can update all outdated drivers and avoid facing driver-related issues.
Read the complete review on Smart Driver Care and download it by clicking the Download button.

2 Best Ways to Download XP Pen Driver on Windows 10
Method 1: Downloading and installing XP Pen Manually
Method 2: Automatically downloading, installing, and updating drivers (Recommended).
1. Manually updating XP-Pen drivers – Windows 10
As already explained, a manual method to download and update XP-Pen drivers requires technical skills, please follow the guide step-by-step.
After going through the steps if you have the slightest of doubt or are not sure which driver to download jump to the automatic way. We suggest so, as an incorrect driver download will not only make the device operational but will also create other issues.
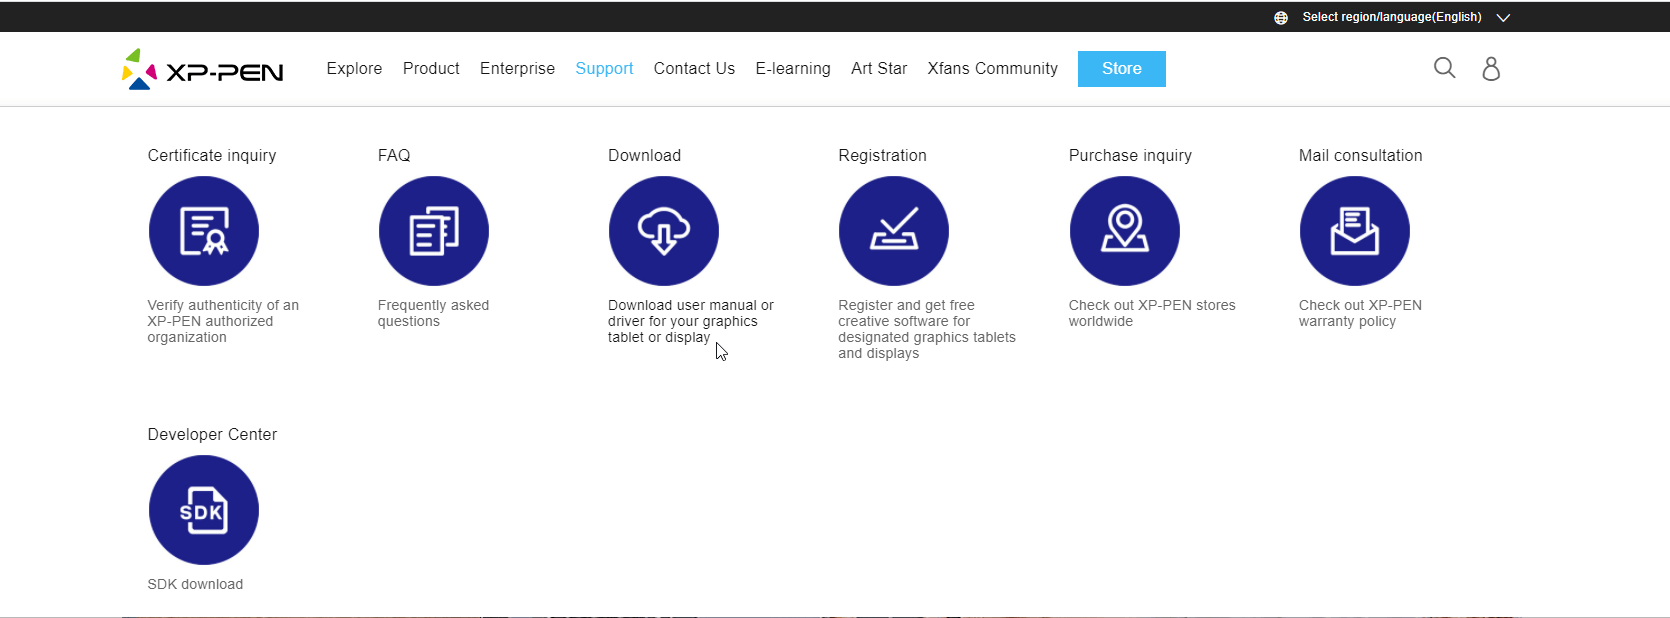
1. Visit the official XP-Pen website.
2. Click Support tab > Download.
3. Next, select the product category by clicking the down arrow for which you are looking for the driver update.
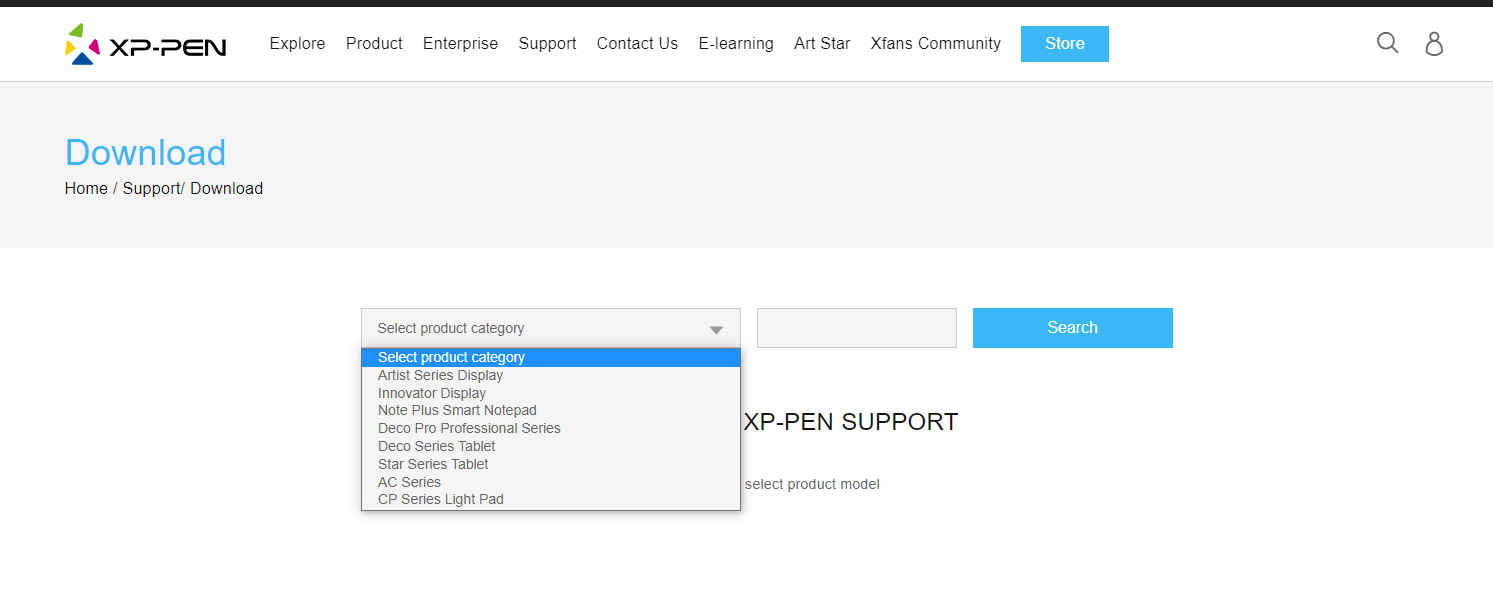
4. Thereafter select the product model.
5. You’ll now be redirected to the driver download page.
6. Click the download button next to the driver update.
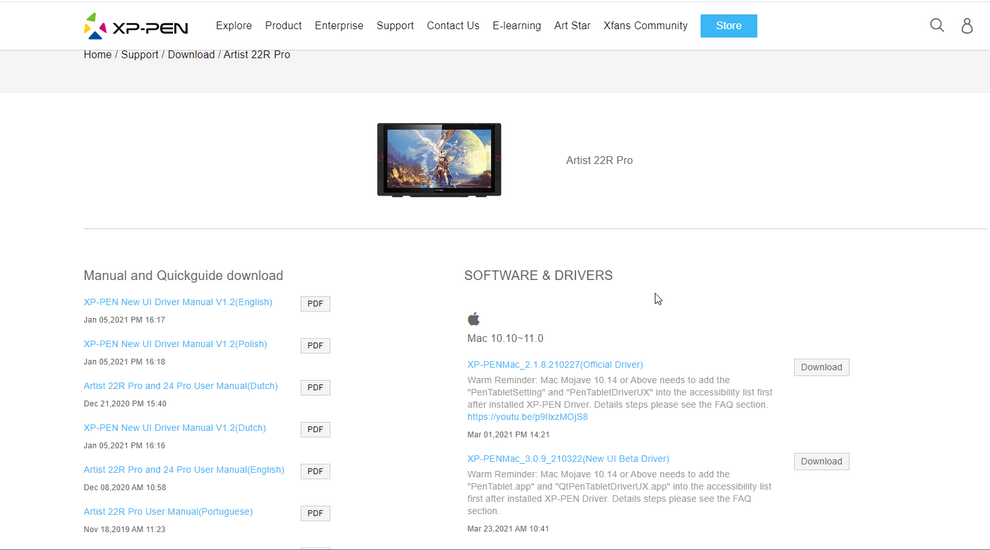
Make sure you download the correct driver corresponding to the operating system you are using.
7. Once downloaded double click the downloaded file and follow on-screen instructions to install the latest XP-Pen driver for Windows.
8. Restart the system to apply changes.
Now try to use your XP Pen device, it should now work perfectly without any issues.
2. Automatically downloading, installing, and updating drivers (Recommended).
If you think manual steps are not for you or you don’t have time to collect all the details and then follow the instructions. No worries, you can do it automatically with Smart Driver Care.
As the name explains, this driver updater will smartly detect the connected devices and will scan the system for outdated drivers. After scanning the system, Smart Driver Care will automatically get the latest driver from the manufacturer’s site. This means without gathering device information or visiting the manufacturer’s site you will have the latest driver update installed on your PC.
Isn’t this an excellent way to cut down all the risks involved in downloading and installing the wrong driver? If you cannot agree, more what are you waiting for? Let us download Smart Driver Care and follow instructions to update outdated XP Pen drivers.
Here’s how to get an XP Pen driver on Windows 10 using Smart Driver Care.
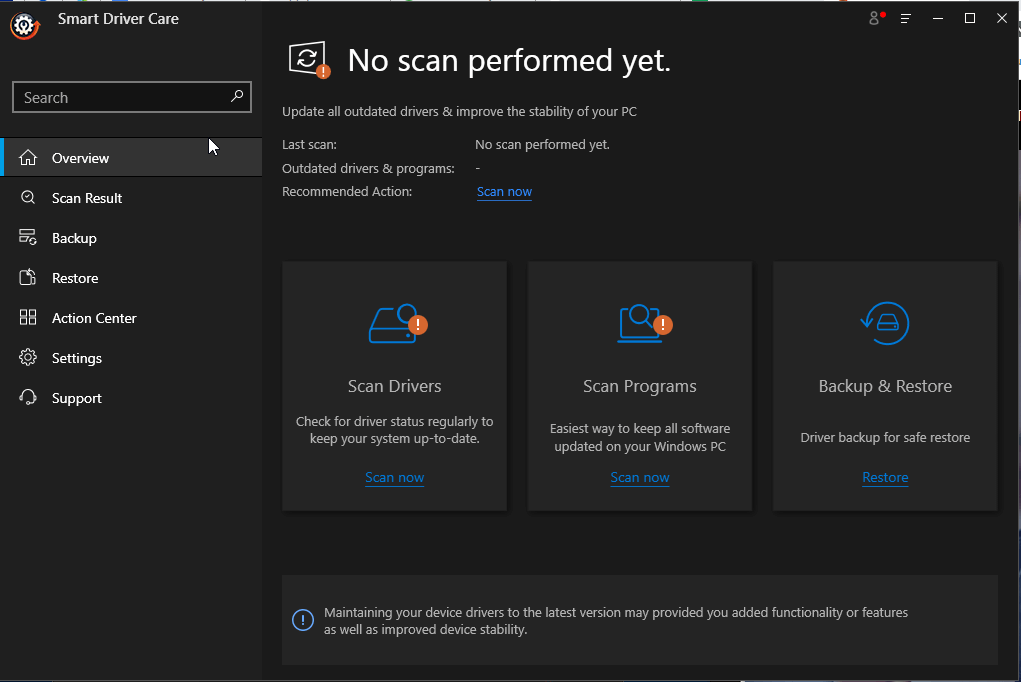
1) Download and install Smart Driver Care.
2) Launch the product.
3) Click Scan Now and wait for Smart Driver Care to scan the system for outdated and problematic drivers.
3) You will now get a list of outdated drivers.
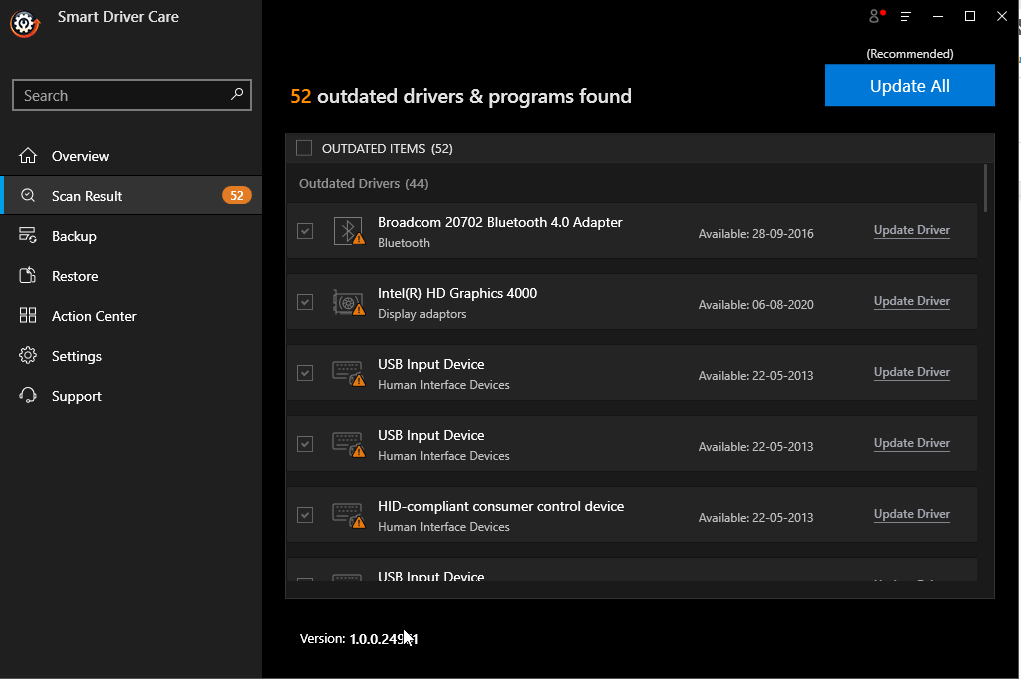
4) Click Update Driver next to the XP Pen driver and update it.
Note: If you want to update all outdated drivers at once, you can do so by clicking Update All, but this requires the Pro version. So, if you want to update all drivers in one click go ahead with the registered version that comes with a 60-day money-back guarantee and trained technical support. You can contact the support team at [email protected]
Using the Free version, you will have to update each driver manually by clicking the Update Driver option.
5) Reboot PC after updating your drivers. This is done to apply all the changes.
Updating Outdated drivers – Windows 10
We hope this post helped understand why you need to update drivers and how to do that. Using the steps explained you will be able to get the latest driver for the XP-Pen device you are using. In case you have any questions, please feel free to ask. Also, if you have feedback do share, we’d love to hear from you.