Microsoft OneDrive is a cloud storage platform that can be used to save your files and folders on the cloud. This allows users to access their data from any device situated anywhere in the world. Although Microsoft OneDrive is one of the most popularly used apps in the world, some users have faced certain issues with regards to OneDrive like:
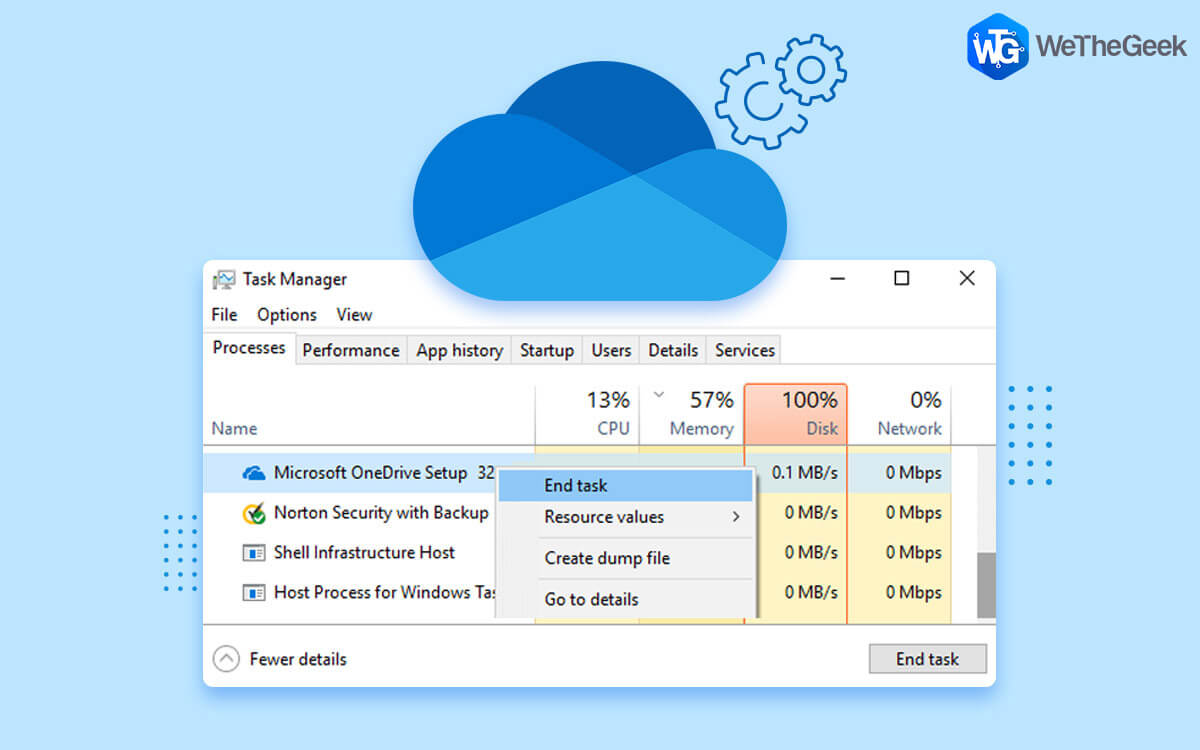
- Microsoft OneDrive: High CPU Usage.
- Microsoft OneDrive: Signup for OneDrive Popups.
- Microsoft OneDrive: Automatic Startup.

To get rid of the above-mentioned OneDrive issues you can either uninstall or disable OneDrive from your system. If you want to keep using OneDrive but are troubled by the Microsoft OneDrive high CPU usage, then this guide will help readers disable OneDrive in Windows 10. The solutions provided here would help users to:
- Reset OneDrive: Only if you want to continue using OneDrive but are facing issues like sync, popups, etc.
- Disable OneDrive: Only if you want to disable the autostart of OneDrive when your computer boots to prevent High CPU Usage.
- Uninstall OneDrive: Only if you don’t want to use OneDrive.
Let us begin with the Microsoft OneDrive troubleshooting methods and steps:
Also Read: Access PC Files Remotely Using OneDrive’s Fetch File Feature
How To Reset Microsoft Onedrive To Fix Onedrive Issues?
A reset is an option that can be used on many hardware devices when you want to reset them back to factory settings. This option is also used in Software where all the data, cache, cookies of a particular program are deleted. This saves the trouble of uninstalling & reinstalling the app and users can experience a newly installed app with default settings. Here are the steps to reset OneDrive Settings:
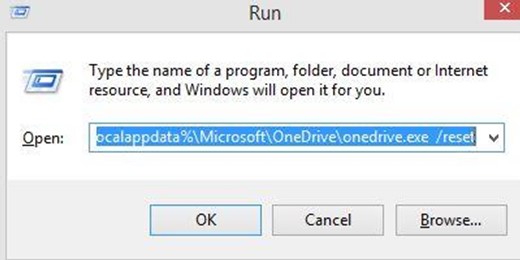
Step 1: Press Windows + R to invoke the RUN window.
Step 2: Type the following command and then press the Enter key.
%localappdata%\Microsoft\OneDrive\onedrive.exe /reset
Step 3: Wait for some time and the OneDrive will disappear and reappear in the system tray.
Step 4: If the OneDrive icon does not reappear, then invoke the RUN box again and type the following command.
%localappdata%\Microsoft\OneDrive\onedrive.exe
Now you can check if the Microsoft OneDrive high CPU usage in Windows 10 has been resolved along with any other issues that you were facing.
Also Read: How to Fix OneDrive Error Code 0x800c0005 on Windows 10
How To Unlink Onedrive To Stop Onedrive Sync In Windows 10?
Another method to fix OneDrive related issues is to stop OneDrive sync in Windows 10 by unlinking it and then adding it later. This also acts as a soft reset of OneDrive settings and can be achieved by:
Step 1: Click on the System Tray Icon in the right corner of the taskbar and locate the OneDrive icon.
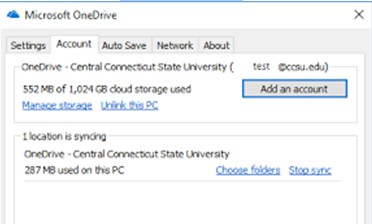
Step 2: Make a right-click on the OneDrive icon and select Settings from the context menu.
Step 3: A new window will open where you have to choose the account tab and click Unlink This PC.
Step 4: Click on Unlink Account on the Popup that will appear and restart your PC.
Step 5: Once the PC has rebooted, you can log in again to link your account and check if the issue has been resolved.
This is a simple procedure to stop OneDrive sync in Windows 10 and relink your account back.
Also Read: Useful Tips and Tricks to Master Windows OneDrive
How To Disable Onedrive To Fix Microsoft Onedrive High CPU Usage?
This troubleshooting method is for those who wish to use OneDrive but prevent it from the auto start and thus prevent it from clogging CPU resources unnecessarily. The idea here is to disable the automatic start-up of the OneDrive App. Here are the steps to do the same:
Step 1: Make a right-click on any space on your Taskbar.
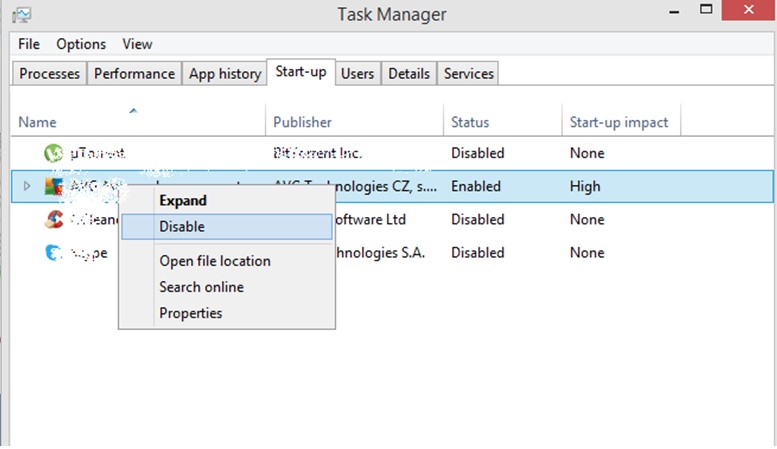
Step 2: From the context menu choose Task Manager and select the Start-Up tab.
Step 3: Locate Microsoft OneDrive among the list of applications and make a right-click and choose Disable.
This will prevent Microsoft OneDrive from automatically starting up when your PC boots and will not consume any CPU resources. You can always click on the OneDrive icon to start the application.
Alternatively, you can always use a third-party tool like Advanced PC Cleanup to disable OneDrive in Windows 10.
How To Remove Onedrive From Windows 10?
If you would like to completely remove OneDrive from Windows 10, then here are the steps to uninstall OneDrive:
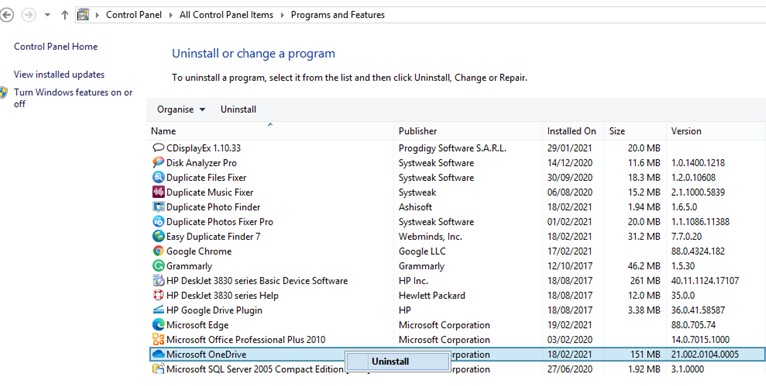
Step 1: Type “Add Remove Programs” in the search box on the left side of the taskbar and click on the Best Match result.
Step 2: A new window will open listing all the programs in your system. Locate OneDrive and click on it.
Step 3: Next, click on Uninstall button to remove OneDrive from Windows 10.
A complete uninstall of any application can be done using Advance PC Cleanup
Bonus Feature: How To Fix And Disable Onedrive High CPU Usage On Windows 10 Using Advance PC Cleanup
You can always disable, install and manage OneDrive manually using the above steps. But these steps might not always work and there is considerable time & effort involved as well. To simplify things forever and optimize your computer, we recommend using Advanced PC Cleanup software. Let us see how using this app would make the entire process easier & faster.

Step 1: Download & Install Advanced PC Cleanup.

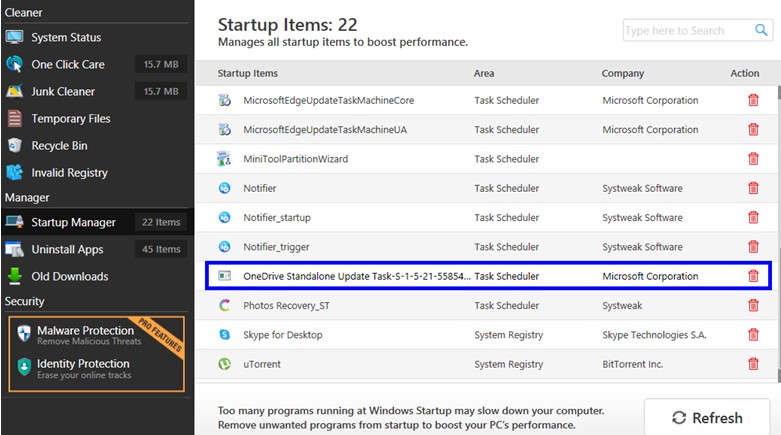
Step 2: Open the app and click on Startup Manager in the left panel. A list of startup items will be displayed.
Step 3: Click on the trash can next to the apps that you don’t want to autostart and turn off OneDrive in the process.
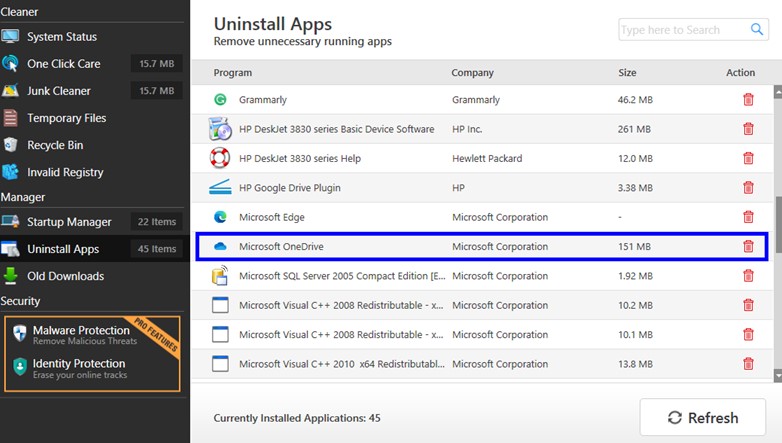
Step 4: If you want to uninstall OneDrive, then click on the Uninstall Apps tab on the left panel and a list of apps installed in your system will be displayed.
Step 5: Click on the trash symbol next to the app you wish to delete and follow the process to remove OneDrive from Windows 10.
That’s all! A matter of few mouse clicks and you can disable or uninstall OneDrive from your PC.
The Final Word On How To Fix And Disable OneDrive High CPU Usage On Windows 10