
Temp files, also known as temporary files in Windows 11, are data saved by apps and the operating system to ensure a consistent experience. In general, temp files are not detrimental to the normal operation of your computer. It contains logs, system cache, and other non-persistent data. However, after extended use of the computer, temporary files begin to accumulate in large quantities and data sizes. GBs of data may have been saved in the Temp folder by a third-party app, you no longer use. Alternatively, a program may not be clearing away the Windows Temp folder when it has completed its task. In such instances, removing the Temp files from Windows 11 becomes critical. And we’ll show you how to accomplish that in this guide.
How To Delete Temp Files On Windows 11 PC
Method 1: Temp Files Can Be Removed From Windows 11’s Settings Page
Let’s start with the simplest way to erase temporary files in Windows 11. In Windows 11 settings, you may simply choose the various transient files indicated above and delete them as needed. The following is how it works:
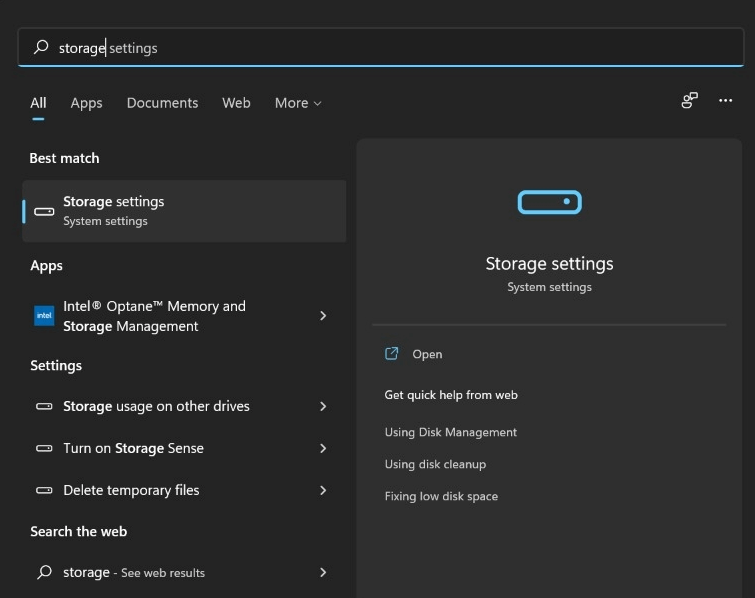
Step 1: Press the Windows key and type “storage” into the search box. Now, from the search results, select “Storage settings.”
Step 2: Under the storage breakdown, there is a part named “Temporary files.” To open it, simply click on it.
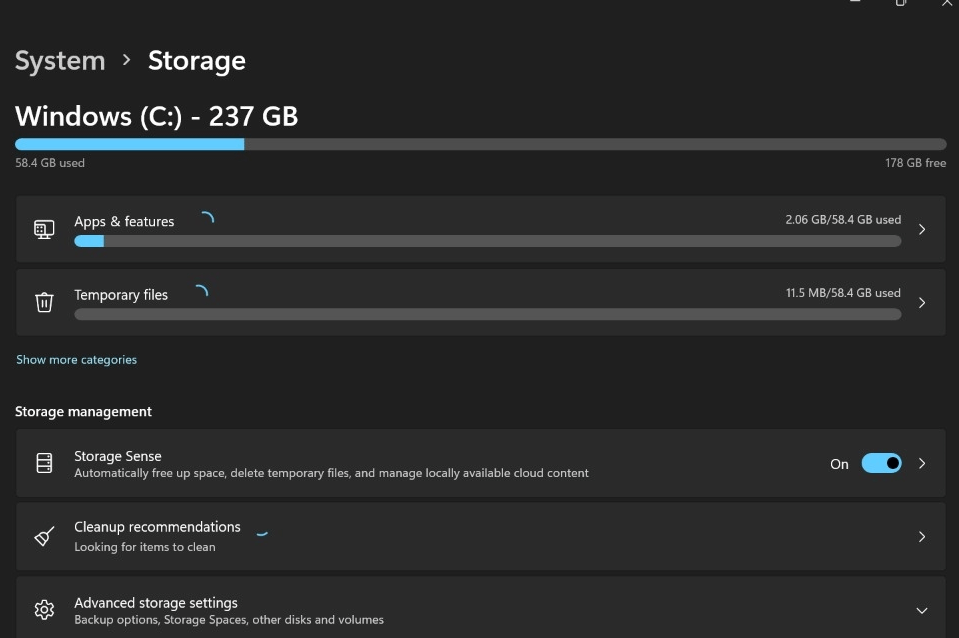
Step 3: Finally, select “Remove files” to complete the process. This technique will erase most of the temporary files from your Windows 11 PC.

Method 2: Use Disk Cleanup in Windows 11
While most Disk Cleanup choices have been integrated into Windows Settings in Windows 11, if you want to follow old methods and want to delete all temporary files using the Control Panel, here’s how.
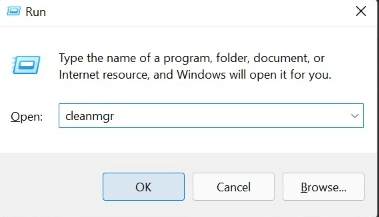
Step 1: Open the Run prompt by pressing “Windows + R.” After that, type cleanmgr and press Enter or OK.
Step 2: Next, choose the “C:” drive and click “OK.”
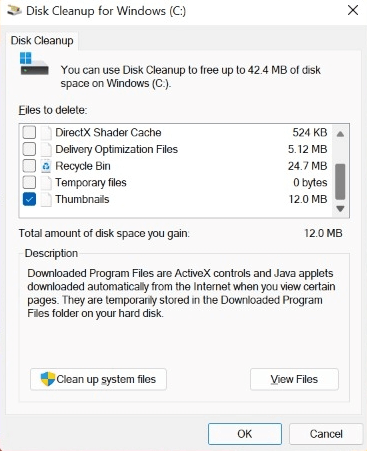
Step 3: Select “Clean up system files” in the following box. It will look for all temporary files and delete them. You may have to choose the C drive again at the next request.
Step 4: Go through all of the temporary files and directories by scrolling down. If you want to remove those specific files, check the box and click “OK.” We recommend that you double-check everything once more. That’s how you can clean out temp files on your Windows 11 computer with Disk Cleanup.
Method 3: Manually Delete Temp Files in Windows 11
If you’re a seasoned Windows user, you might already know how to manually access the Temp folder. If you’re new to Windows 11 and wish to learn how to manually access the Temp files, follow these steps:
Step 1: To activate the Run prompt, enter the Windows 11 keyboard shortcut “Win + R.” Type %TEMP% into this box and press Enter.
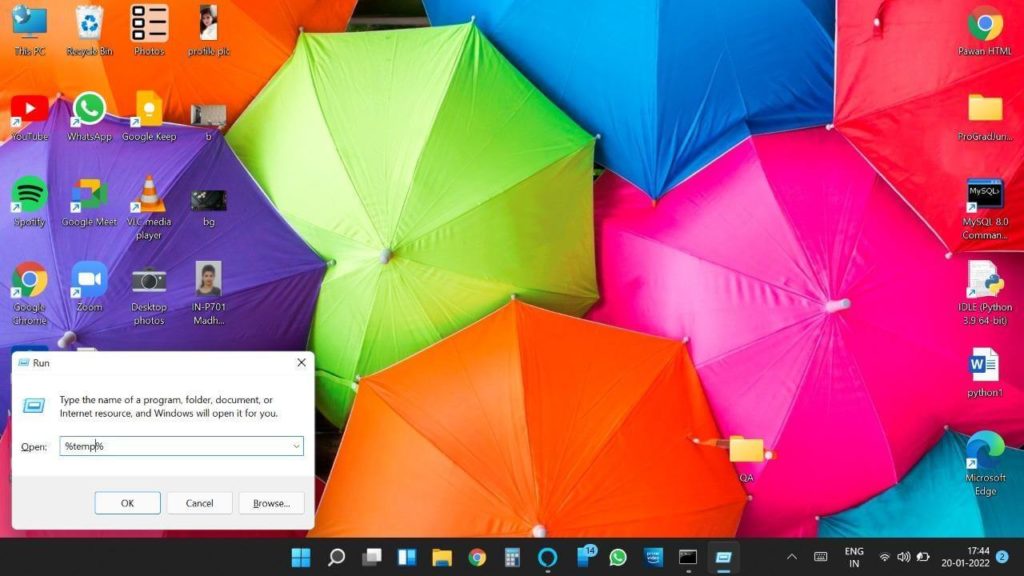
Step 2: It will navigate to your user directory’s Windows Temp folder.
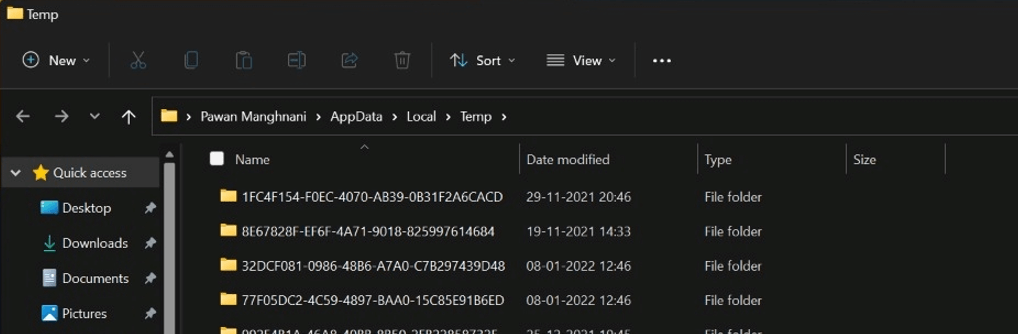
Step 3: Using the Ctrl + A keyboard shortcut, select all of the files and delete them. Another simple technique to delete Temp files in Windows 11 is to use the Task Manager. You may see an error message stating that some files cannot be erased. When software is still using that temporary file, the error usually occurs.
Method 4: Using the Command Prompt, Delete Temp Files in Windows 11
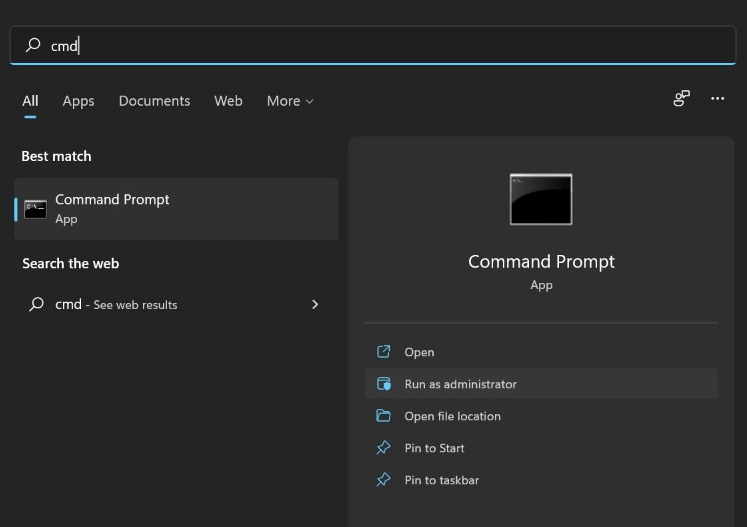
Step 1: The Command Prompt is another approach to entirely erase transient files in Windows 11. Press the Windows key once and type “cmd,” then click “Run as administrator” in the right pane of the search results to launch a Command Prompt window.
Step 2: Next, copy the command below and paste it into the CMD window by right-clicking on it.
del /q/f/s %TEMP%\*
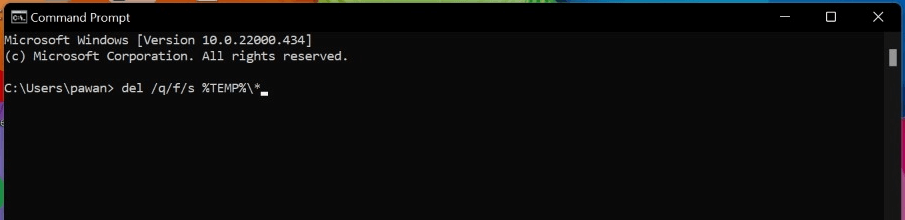
Step 3: Now simply press Enter to erase the full heap of Temp files from Windows 11.
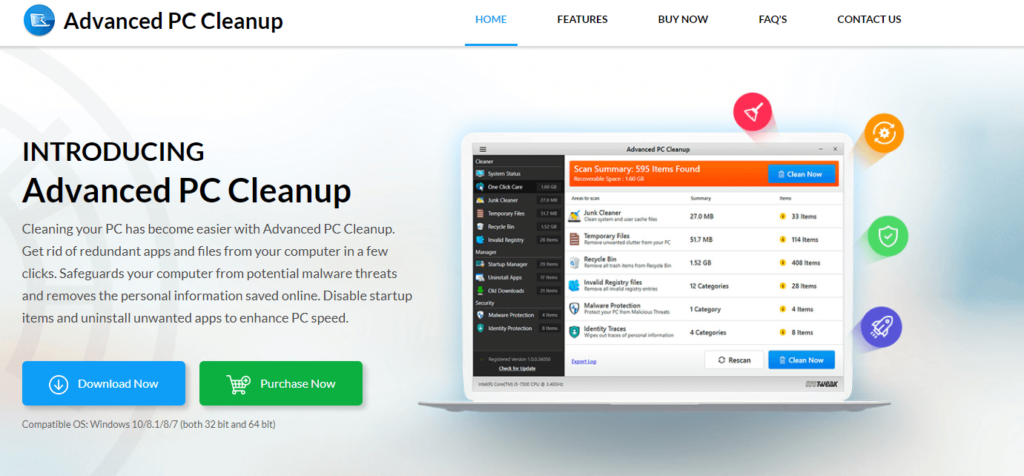
Method 5: Use Advanced PC Cleanup to delete temp files in Windows 11
To completely remove all of the garbage files and free up additional space on your computer, you’ll need to utilize professional software like Advance PC CleanUp. To use Advanced PC Clean Up on your computer, follow these steps:
Step 1: Go to the official website and download Advanced PC Cleaner, or click the link below:

Step 2: After the download is complete, open the app and install it.
Step 3: On the left panel of the application user interface, look for the Junk Files tab.
Step 4: The software will scan your computer and create a list of all the junk files it finds.
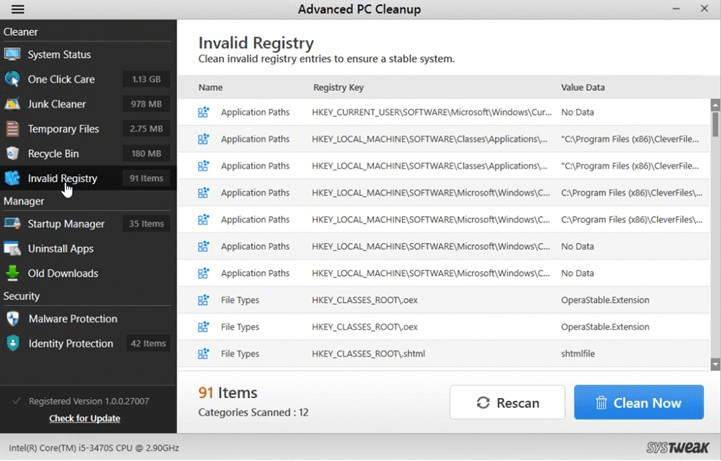
Step 5: Finally, select the Clean Now button to clear your PC of any junk files.
The Final Word On How To Delete Temp Files On Windows 11 PC?
Advanced PC Cleanup is the best approach to clean out your Windows 10 computer of unwanted data. It is a strong tool that can totally optimize your PC, aside from junk files.
This application is recommended for keeping your computer functioning smoothly and flawlessly. The manual procedure is not 100 percent effective, and cleaning your computer with a professional instrument is required.
Follow us on social media – Facebook, Instagram, and YouTube. For any queries or suggestions, please let us know in the comments section below. We would love to get back to you with a solution. We regularly post tips and tricks, along with answers to common issues related to technology.