
Color Management is an essential built-in Windows utility that can be used to adjust various color settings and preview the results on your device. Well, regular users might not have heard of this term before this point. But color management is an essential tool for graphic designers, photographers, or anyone who wants to view the results with the best color accuracy.

If the color management tool stops working on Windows, you can easily fix it by following a few workarounds. In this post, we have listed a variety of solutions that you can use to fix the “Color management not working” issue on Windows 11.
Let’s get started.
Also read: How To Fix Second Monitor Not Detected on Windows 10
Is the Color Management Tool Important?
If you’re in a field where precise color management is important such as photography, graphic designing, or printing then you can benefit the most from the Color Management tool on Windows. The Color Management tool helps ensure that the colors captured, edited, and printed match the original colors as closely as possible. On the other hand, for casual users who do not have specific color requirements, the Color Management tool may not be as important. In these cases, the default color settings built into the operating system or device may suffice.

The colors of each image or graphic can appear differently on different devices, right? But by using a color profile, the colors in an image can be managed to maintain their accuracy and consistency across different devices. And this is where Color Management steps in. This nifty tool can help you adjust various color profile settings on a Windows PC.
Color Management Tool Not Working? Try These Fixes!
Solution 1: Reinstall the Color Profile
Step 1: Tap on the Windows icon placed on the Taskbar and open Settings.
Step 2: Switch to the “System” tab and then tap on “Display”.
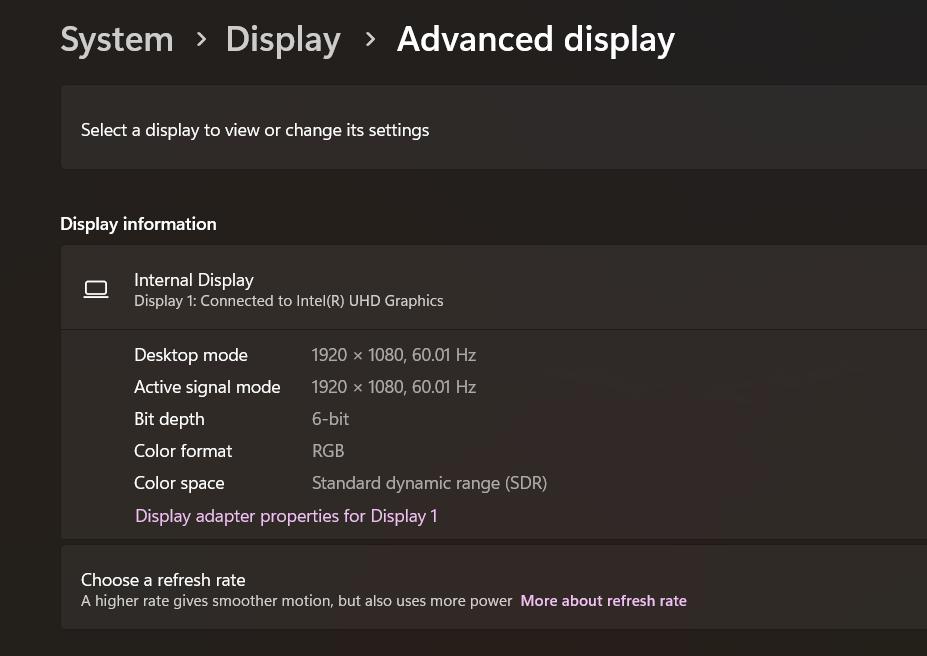
Step 3: Scroll down and select “Advanced Display Settings”.
Step 4: Tap on the “Display Adapter Properties for Display 1” option.
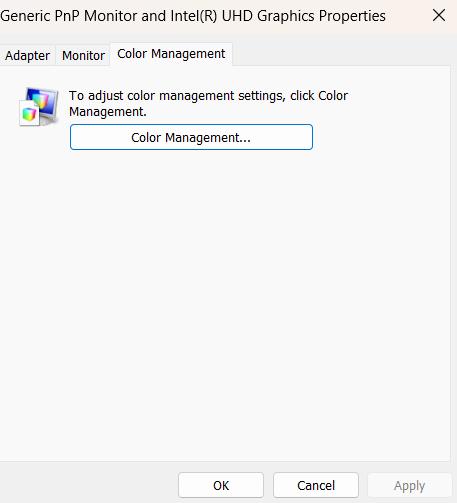
Step 5: The Color Properties window will now appear on the screen. Switch to the “Color Management” tab.
Step 6: Tap on “Color Management”.
Step 7: Use the drop-down menu to select your monitor. Hit on the “Add” button.

Step 8: After adding the monitor, hit on the “Browse” button to select a color profile and add it to your device.
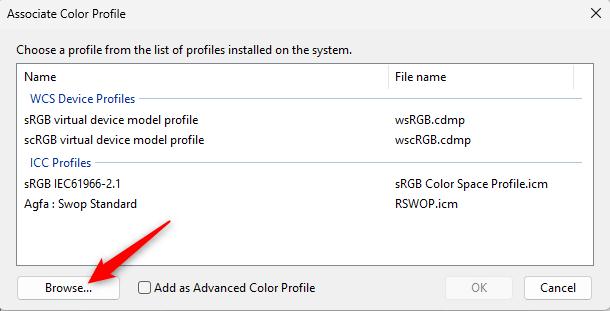
So, here’s how you can manually reinstall a color profile on your Windows PC.
Solution 2: Reset the App
If you are facing issues with just a specific app then you can use the “Reset” option to resolve the problem.
Step 1: Open the Settings app and head to Apps> Installed Apps.
Step 2: Scroll through the list of applications to look for the problematic app.
Step 3: Tap on the three-dot icon placed next to it and select “Advanced Options”.

Step 4: On the next window, hit the “Reset” button.
Step 5: Once you hit the Reset button, the app’s data will be refreshed and will hopefully resolve the color management not working issue on your device.
Solution 3: Update the Display Drivers
Step 1: Press the Windows + R key combination to open the Run dialog box. Type “Devmgmt.msc” in the textbox and hit Enter.
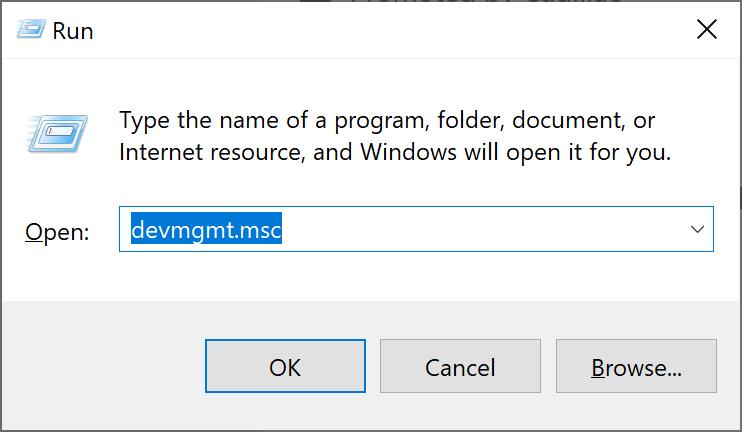
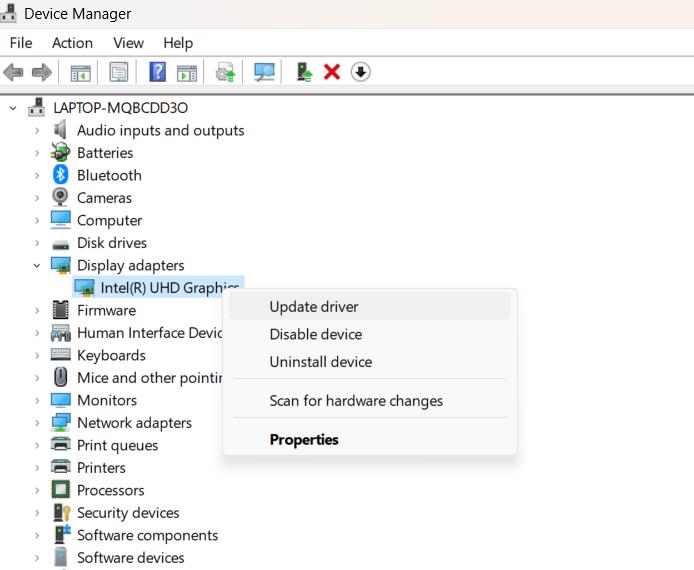
Step 2: In the Device Manager window, select “Display Adapters”.
Step 3: Right-click on the installed graphic driver and select the “Update Driver” option.
Step 4: Follow the on-screen instructions to update the graphic drivers.
Step 5: Exit all windows, reboot your device and check if the issue persists.
Also read: What Graphics Card Do I Have? 5 Simple Ways to Determine
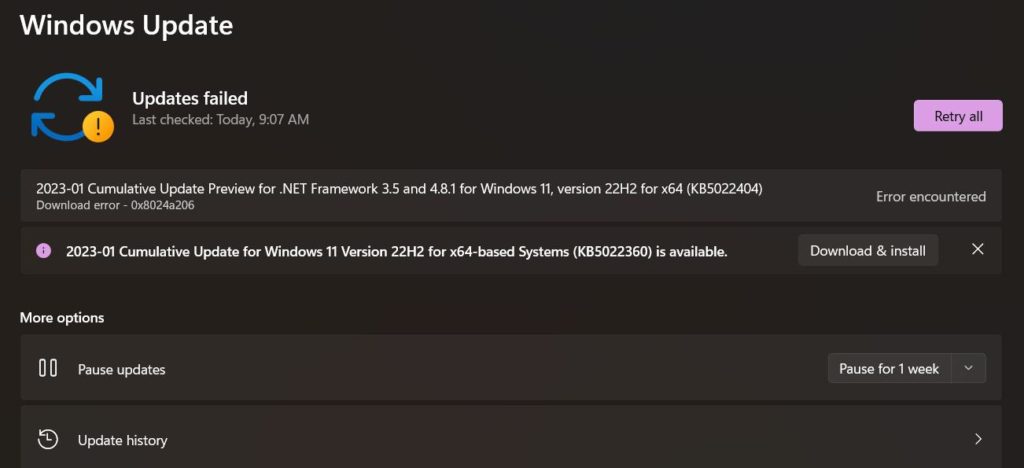
Solution 4: Uninstall Recent Windows Update
If a recent Windows update has been causing the issue or if it messed with the color profile settings of your divide then you can roll back to a previous Windows version. Here’s how you can do so:
Step 1: Open the Settings app, and switch to the “Windows Update” section from the left menu pane.
Step 2: Tap on “Update History”.
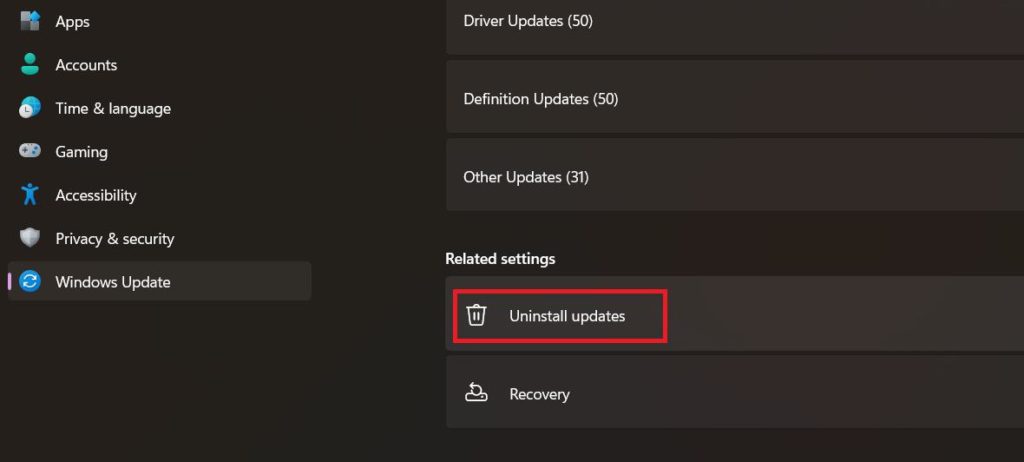
Step 3: Scroll down at the bottom of the window and select “Uninstall Updates”.
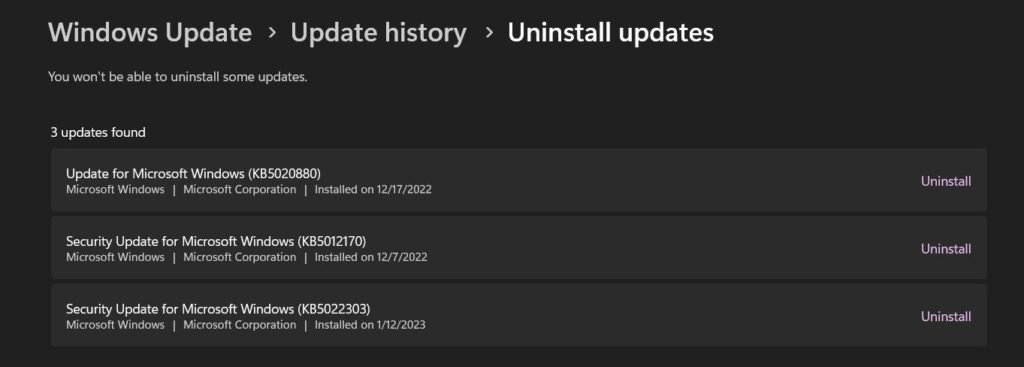
Step 4: Pick the most recently installed update in the list and tap on the “Uninstall” button placed next to it.
Step 5: Once your device is restored to a previous version, open the Color Management properties to check if the problem was resolved.
Solution 5: Run an SFC Scan
SFC (System File Checker) is an in-built Windows utility that scans and restores corrupt system files on your device. To run an SFC scan on Windows 11, follow these steps:
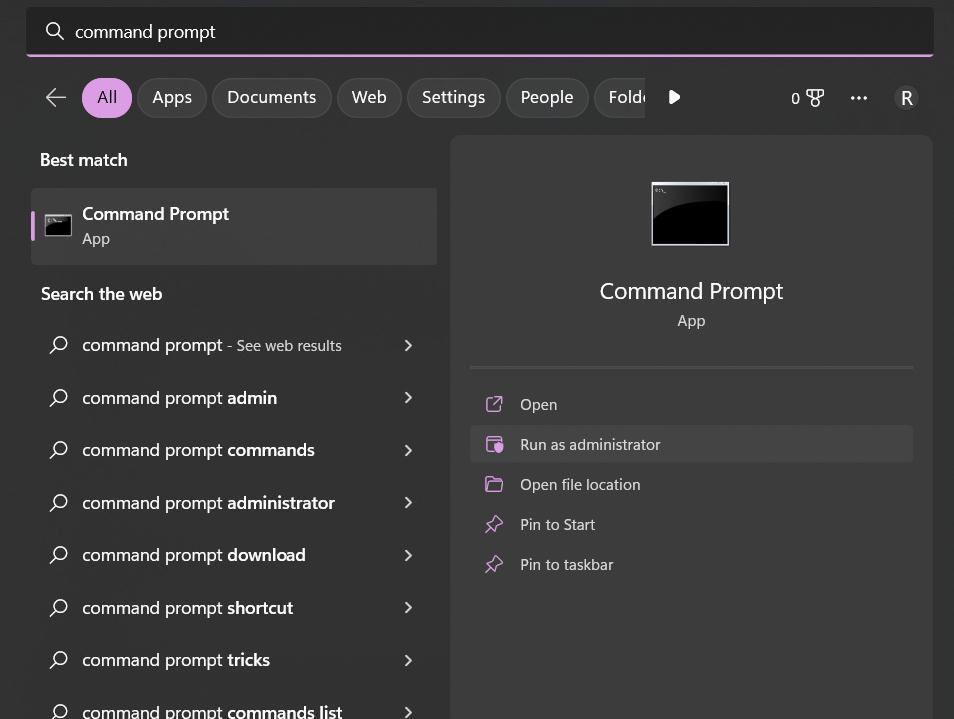
Step 1: Tap on the search icon placed on the Taskbar, type “Command Prompt” and select “Run as administrator”.
Step 2: In the Terminal window, type the following command and hit Enter to execute it:
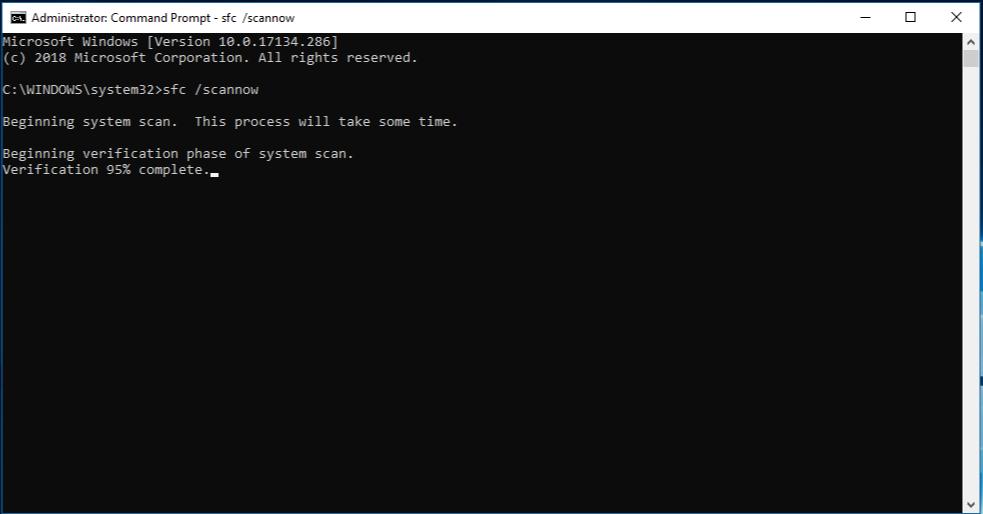
sfc/scannow
Step 3: Wait for a few minutes until the scanning process is completed. Once the SFC scanning process is completed, reboot your device.
Also read: How To Fix Intel Graphics Control Panel Missing on Windows 11
Conclusion
Here are a few simple yet effective workarounds to fix the color management not working issue on Windows 11. The Color Management tool provides a user-friendly interface to adjust various color settings and preview the results, ensuring that the colors displayed on your device are accurate and consistent with the source. You can use any of the above-listed solutions to fix the color management tool on Windows.
Was this post helpful? Feel free to share your thoughts in the comments box!