
Windows’ power modes control where your PC will use power by combining hardware and system parameters. The three power settings that come standard in Windows are Balanced, Best Performance, and Best Power Efficiency. While switching between these modes is easy, occasionally users may experience trouble doing so. Therefore, we investigate the potential causes of the issue and solutions.
How To Fix Cannot Change the Power Mode in Windows 11
A. Modify The Power Plan
Switching to a distinct power plan should be your first course of action, particularly if you are presently using a custom power plan. We advise switching to the Balanced plan and determining whether this resolves the problem. This strategy automates performance optimization. This implies that when you are actively using the computer, it will start the full performance mode, and later, it will change to the power-saving mode. Here is how you can proceed:
Step 1: By simultaneously hitting Win and R, a Run dialogue box will appear.
Step 2: Enter control in the Run text box and press Enter.
Step 3: Control Panel will open, expand the View by category menu on the top of the next window and select Large Icons.
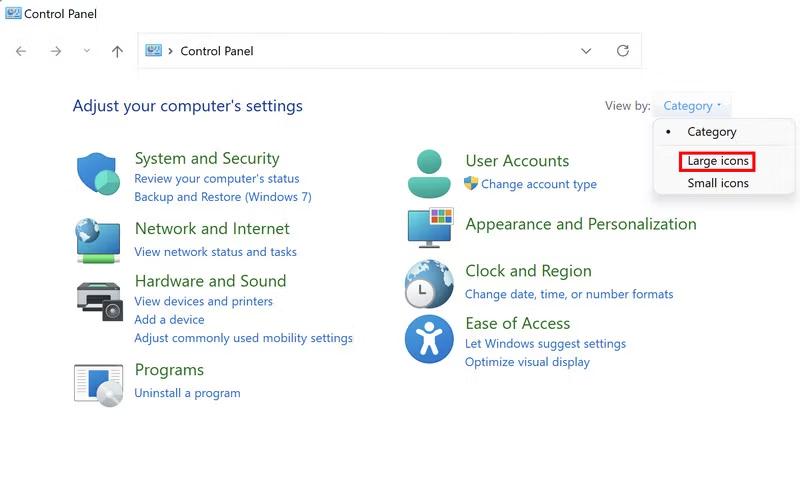
Step 4: Now find the Power options button and click it.

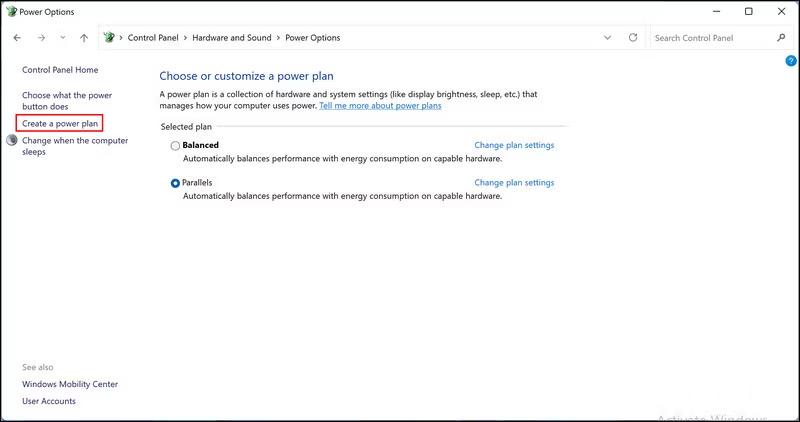
Step 5: Your existing power plan ought to be visible at this point. In the leftside pane, select Create a power plan.
Step 6: Select the Balanced power plan, then select Create by clicking Next.
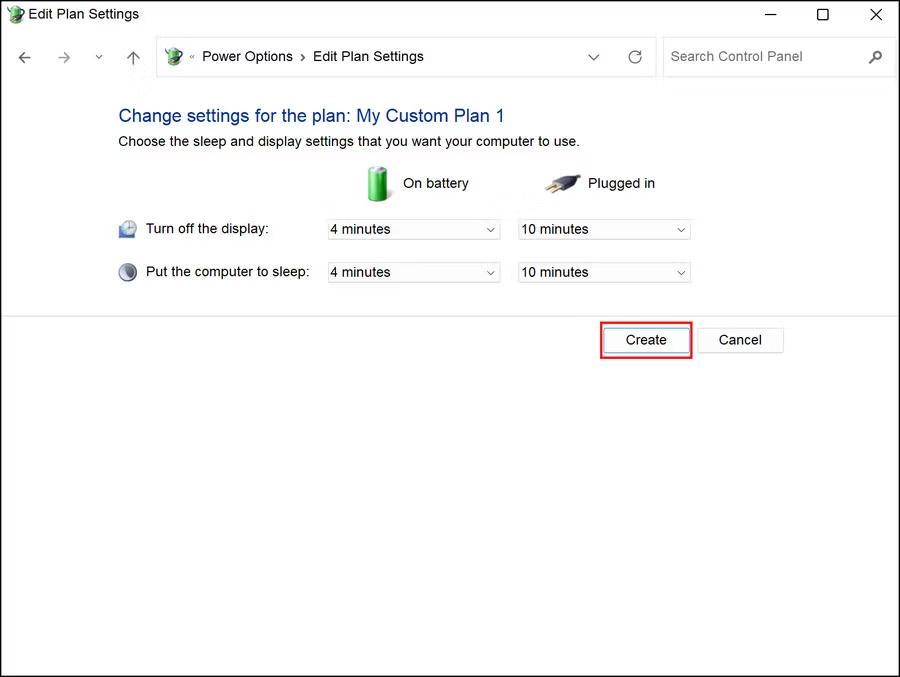
Step 7: When you’re finished, see if you can successfully switch to another power mode.
Also Read: Windows 10 shuts Down Instead of Going in Sleep Mode
B. Activate The Power Troubleshooter
The power modes may be acting up on your PC as a result of some sort of corruption problem. Run the Power troubleshooter as soon as possible in this situation. This tool operates by scanning the PC for possible problems and may be found in the Troubleshoot section of Windows Settings. It will alert and then recommend appropriate repairs if a problem is found in the system. The troubleshooter can be used as follows:
Step 1: To launch the Settings app, hit the Win + I keys simultaneously.
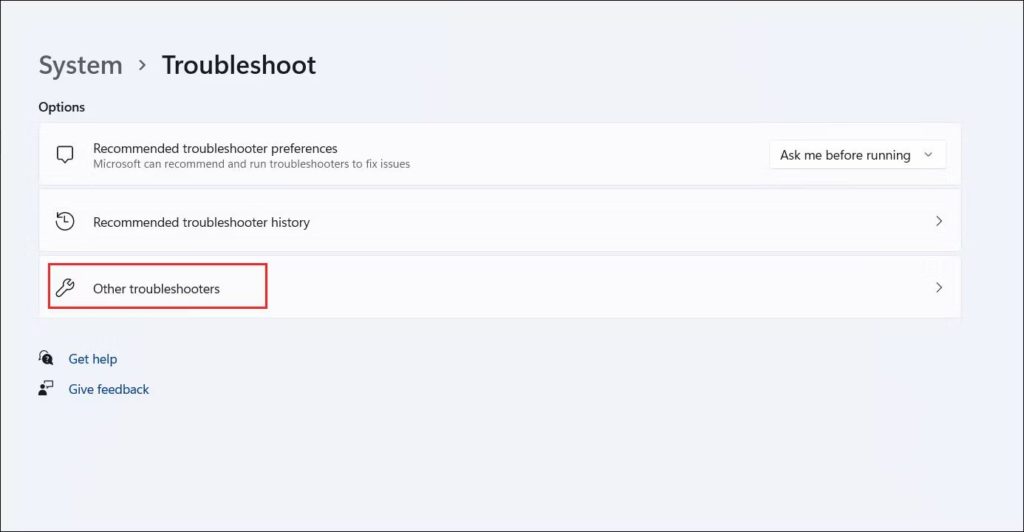
Step 2: To open the troubleshooting window, select System > Troubleshoot.
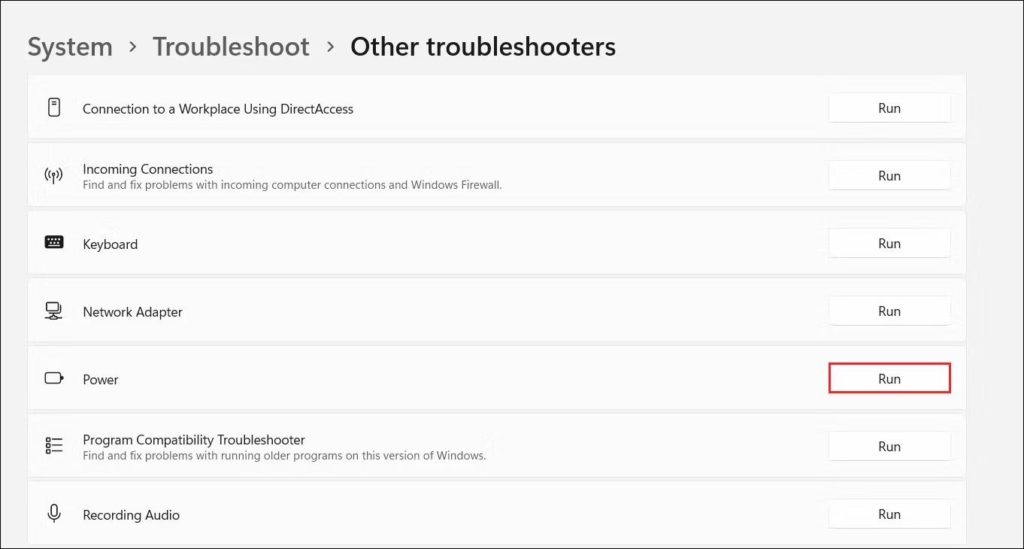
Step 3: Select Other troubleshooters by clicking.
Step 4: Currently, locate the Power troubleshooter and select the Run option.
Step 5: Check the outcomes after the troubleshooter has finished its work. If the troubleshooter has identified any problems, select Use this fix to go on to the appropriate fixes. If not, select Exit the troubleshooter and proceed to the technique after that below.
Also Read: DRIVER_POWER_STATE_FAILURE Error On Windows 10
C. Delete All Of The Power Settings
You might try to reset the power settings to the default values if modifying the power plan did not solve your problem. They will go back to the state they were in before you installed Windows, correcting the issue at hand. To continue, adhere to these steps:
Step 1: To launch the Run dialogue, Hit the Win + R keys simultaneously.
Step 2: To open the Command Prompt with administrative rights, enter cmd in the Run text field and hit Ctrl + Shift + Enter.
Step 3: Select Yes in User Account Control prompt window.
Step 4: Once you’re in the Command Prompt window, enter the following command to put it into action:
powercfg –restoredefaultscheme
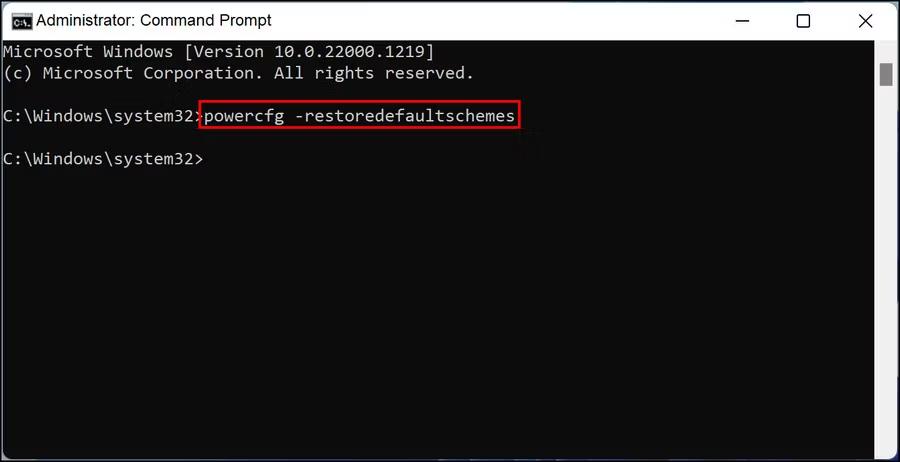
Step 5: Check to see if you can successfully adjust the power mode once the instruction has been completed.
Also Read: How to Resolve Kernel Power 41 in Windows 10?
D. Restore an Older Working State for the PC
Restoring the PC to an older state where you can adjust the power modes without experiencing any problems is another option to solve the issue. System Restore Tool, which routinely builds restore points on the PC, can be used to accomplish this. By selecting one of the restore points, you can take the PC back to a time when it was in that state.
Also Read: Simple Steps to Fix Driver Power State Failure on Windows 10, 8, 7
The Final Word
I hope you can swap the power modes without issues. You can get in touch with the official Microsoft team and report the issue, though, if you are still having trouble and cannot figure out a solution. They’ll probably be able to identify the problem’s underlying source and offer a solution. You could try to clean-install Windows to give it a brand-new, error-free start if nothing else seems to work.
Please let us know in the comments below if you have any questions or recommendations. We would be delighted to provide you with a resolution. We frequently publish advice, tricks, and solutions to common tech-related problems. You can also find us on Facebook, Twitter, YouTube, Instagram, Flipboard, and Pinterest.
Also Read:
How to Enable Hibernate Mode on Windows 11
Windows PC Won’t Go to Sleep Mode? Here’s the Fix!
Don’t Let Your USB Devices Wake Your Computer From Sleep Mode