
Windows 10 is undoubtedly smart enough to manage your PC storage space. It can automatically remove items from the Recycle Bin, delete temporary files and monitor the disk space availability. It all happens with the presence of the Storage Sense feature. Before I take on how to disable storage sense on Windows 10, have a brief look at the concept of Storage sense itself.
What Is Storage Sense ?
Storage sense can be called as a smart in-built feature of Windows, which can sense if the certain folders are cluttered with temporary files or other junk. The storage sense knows that their removal will not harm the present files as well as will make space for future storage.
Log files, temporary internet files, downloaded program files, Windows error reporting files, cache, temporary updates, and error dump files are some of the names that are automatically removed due to clutter they create.
Alternatively, you can also find what is happening in your disk in great detail using Disk Analyzer Pro.
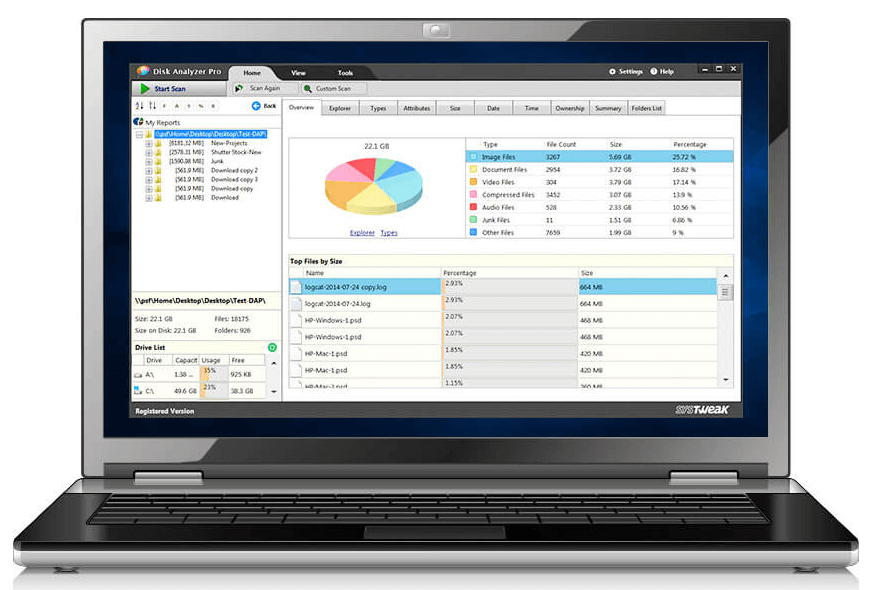

Disk Analyzer Pro provides a detailed report card about the storage space, including file count, size and percentage. As you find the report, you can search based on your filters, delete the unnecessary files and become the controller of your own disk activities. Smart enough, eh!
Yet, we understand that Storage Sense is not known to all,, and they wish to disable it on Windows 10. No worries, let us now understand how can you stop Storage sense from taking automatic decisions.
Disable Windows 10 Storage Sense
There are various methods by which the required actions can be done. Let us discuss each of them in detail below.
Method 1: Disable Storage Sense Using Settings
Step 1: Open Settings by typing Settings in the Cortana search bar.
Step 2: Locate Storage from the left bar, and click on it.
Step 3: Toggle off the switch of Storage Sense.
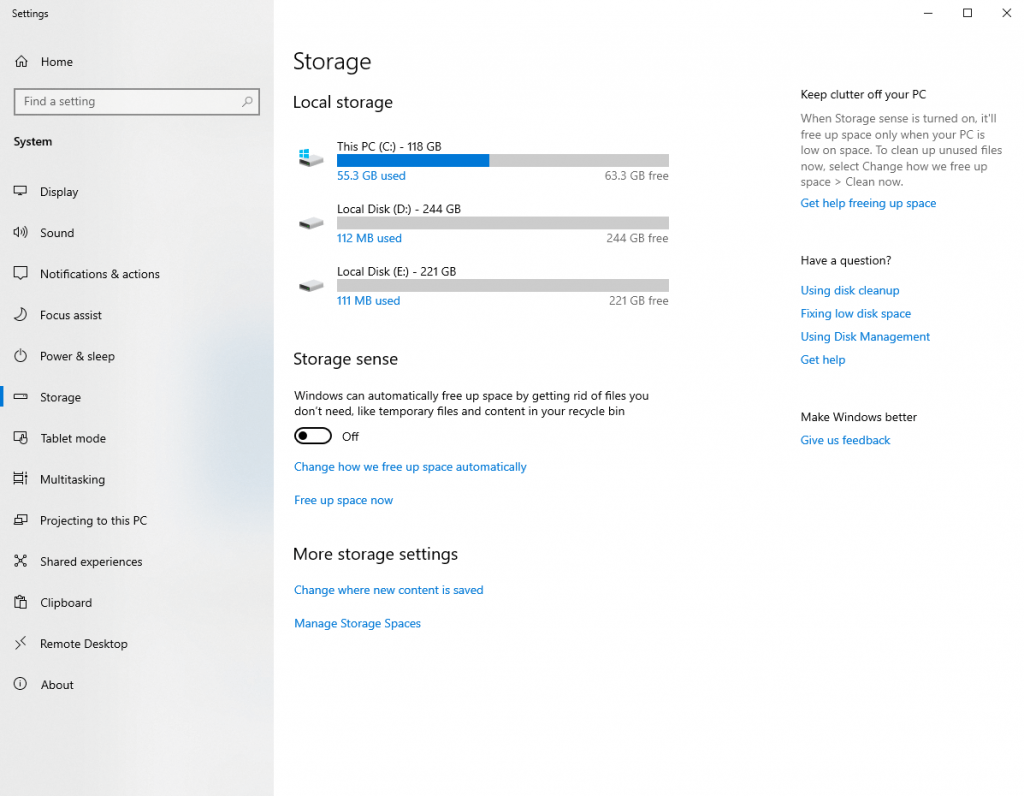
And it is done already! As the switch is turned off, no more automatic deleting of files happens.
Method 2: Disable Storage Sense Using Registry
To disable the storage sense in another way, you may wish to make changes with Registry. We will explain to you the method only after letting you know that editing Registry might not be a game for everyone. If any wrong step is taken, the damage can cost you the loss of all the data. Yet if you wish to move ahead, make sure to backup all the data before.
Step 1: Press Windows + R to open Run command.
Step 2: Here, type regedit and click OK. The registry will open next.
Step 3: At the top of the Registry window, locate yourself to the address
Computer\HKEY_CURRENT_USER\Software\Microsoft\Windows\CurrentVersion\StorageSense\parameters\StoragePolicy
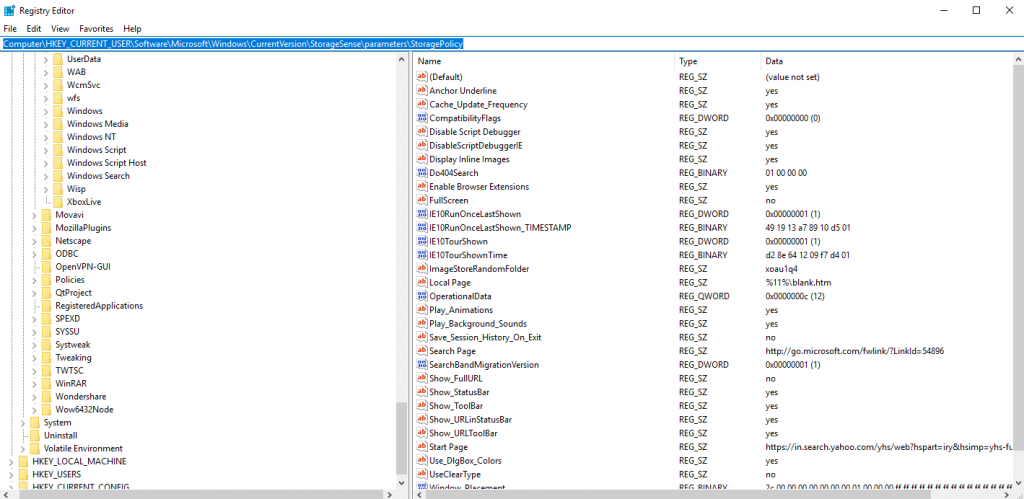
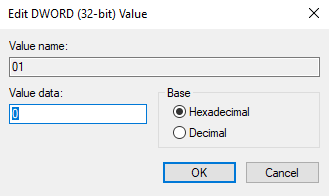
Step 4: Double click on 01, and a new pop-up appears just like the image below. Make sure the value is set 0. Click OK.
And you will now be able to disable Storage Sense on Windows 10. If you plan to enable the Storage Sense feature back to the old version, change the DWORD value to 1.
Method 3: Disable Storage Sense Using Group Policy
Let’s take it again in a straight forward manner.
Step 1: Start with typing Group Policy in the Windows Cortana search bar.
Step 2: From the left panel, click Administrative Templates > System > Storage Sense (from right panel).
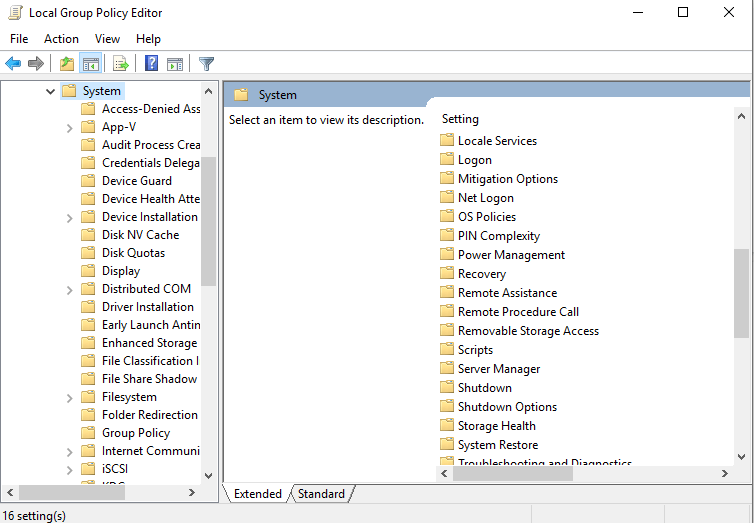
Step 3: Select Disabled in the next pop-up, and click OK.
Once again, this method is beneficial in disabling Storage Sense in Windows 10.
Conclusion
Well, in the end, we would say that Storage Sense is taking care of your PC as fruitfully as possible. And yet if you wish to disable it, you have got 3 best methods mentioned above. If you still want to learn about the disk space and its insights, let Disk Analyzer Pro take the lead. It scans out all the whole system while providing the option of deleting unnecessary files.