Imagine being on a road trip or enjoying your weekend somewhere remote, you are in the moment, admiring the beauty of nature. But suddenly you need to access private intranet of your company to send a message and don’t want to disclose your real location, and you don’t know how to do it. Well, don’t worry it is possible to hide your location when on iOS devices.
Apple allows to set up a Virtual Private Network (VPN) client that supports IPSec, L2TP and PPTP and get your work done. Before going further, let’s know what a VPN is and how to configure VPN access on iOS.
What is A VPN?
Virtual Private Network enables users to get remote access to users by expanding the private network across a public one. In other words, it is a process used to establish a direct connection between a computer and a network. A lot of companies use an intranet internally, which is accessible only if the personnel is at set location. When it comes to security, the data is transferred through the network using encrypted tunneling protocols. Popular protocols used to encrypt IPSec, L2TP and PPTP.
How Is It Established?
Mostly it is used when you go to public Wi-Fi. While using public Wi-Fi, you will be sent to another endpoint so that nobody can detect whether you are using a public network.
It is generally accessed when you want to access data not available in your country and also to hide your current location.
 Best Free VPN For iPad and iPhoneRead this to know about what VPN is, why it should be used on your iPhone or iPad and how...
What Do You Need To Configure VPN on iOS?
You need the following things to configure Virtual Private Network on iPhone and iPad:
- A VPN accounts
- VPN server
- Endpoint iOS devices with 4.1 or later.
- VPN Configuration Settings
- Either Wi-Fi or mobile Internet access
Let’s get started!
Getting a VPN Account
You need to get a VPN service on iPad or iPhone. You can choose from IPVanish, ExpressVPN, NordVPN etc. Download the app of the selected VPN on your iOS.
Configure VPN Client
Configuring VPN client can be done manually. Before initiating, you need username, password, remote ID and server. You can get all the information from your system admin, in case you don’t have them already.
Setup A VPN Service
As you have taken up any of the popular VPN, install the VPN app for iPhone and iPad.
Step 1: Once you signed in, you will be asked to give permission to add VPN Configuration to an iOS device. Choose Allow to get VPN configured automatically.
Step 2: Next, you need to use Touch ID or passcode to alter VPN settings.
Step 3: After activating the VPN, choose and connect it anytime you want, even without opening the app.
Note: In case you want to customize settings or change location, you need to access the app.
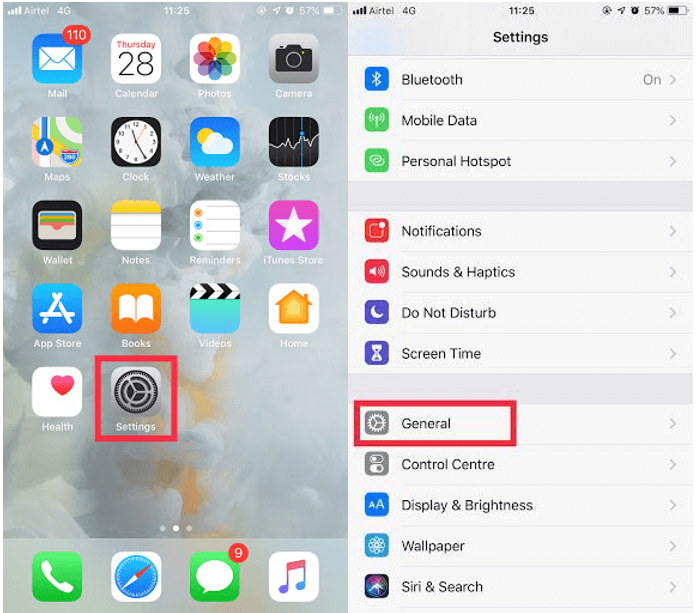
Step 4: Locate Settings
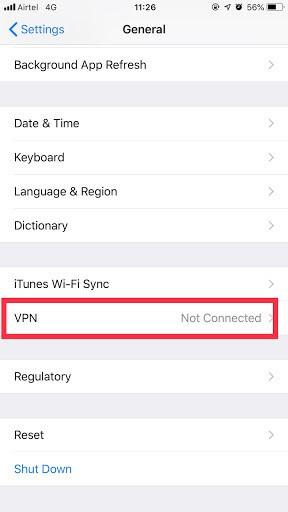
Step 5: Go to General and then VPN.
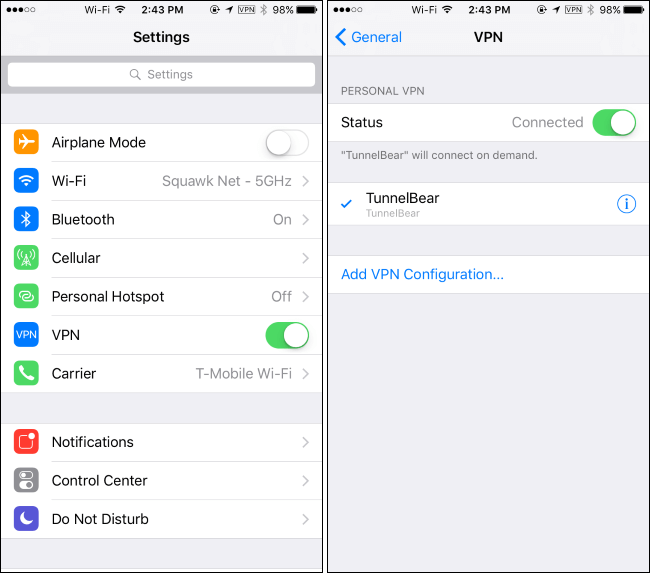
Step 6: Choose the VPN, in case you have multiple and then activate it by toggling the switch to the right.
Now, use a VPN and follow the same instructions to deactivate it once you are done with it.
Configure VPN Settings Manually On iOS Devices
You need to have your login information, you can easily configure VPN client on iOS.
Step 1: Go to the Settings app.
Step 2: Locate General.
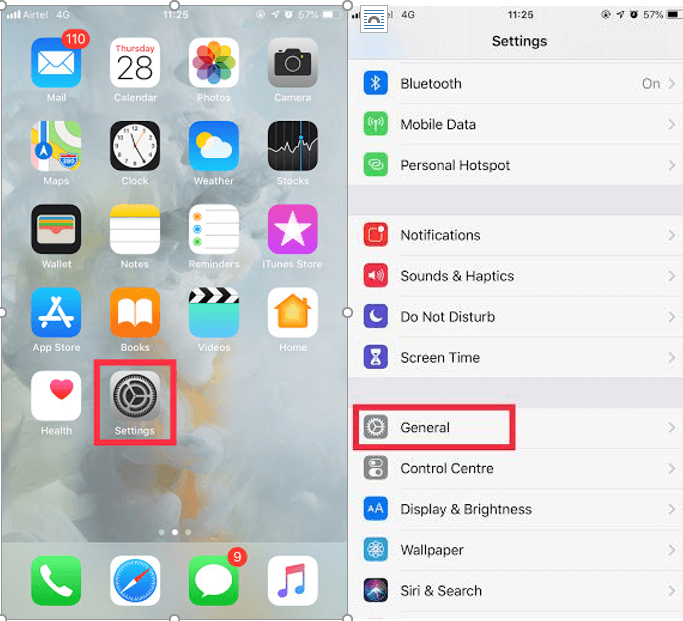
Step 3: Navigate and select VPN
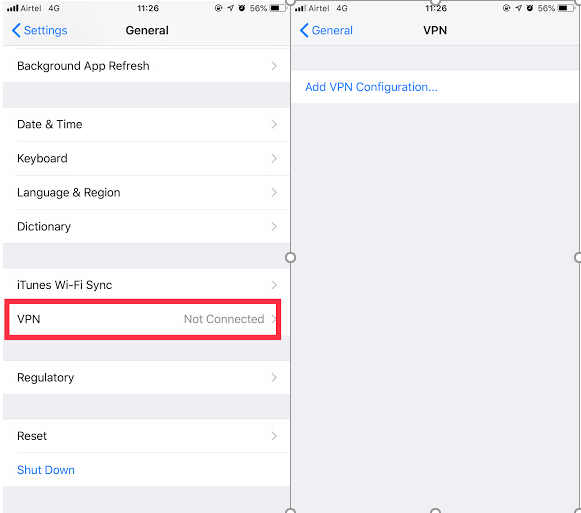
Step 4: Next choose Add VPN Configuration.
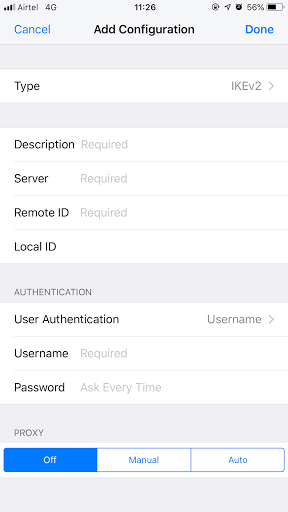
Step 5: Select the VPN type.
Step 6: Now locate and tap add configuration ( you can find it at the top left corner)
Step 7: Once done, go to the previous screen.
Step 8: Now enter a description, remote ID and server under VPN settings.
Step 9: Enter the login credentials.
Step 10: Activate the proxy, in case you use it.
Step 11: Once you are done configuring, tap Done

Step 12: Now turn on VPN configuration.
Now, you use VPN and access your private intranet. Once your work related to VPN is completed, make sure you disable it. To disable, locate Settings, then VPN. Whenever you want to use a VPN, all you need to navigate Settings and then VPN and enable VPN.
Isn’t it cool? Did you find the article useful? If yes, then please leave your thoughts in the comments section below.