Multitasking is an important feature of the Windows Operating System. But with multiple app windows open and your taskbar flooding with app icons, it sometimes gets difficult to locate a particular application. Now if there are a couple of important apps that you frequently use and want to keep pinned on your desktop then this article is just for you. Unfortunately, Microsoft does not provide an option to keep a particular window always on top in Windows 11 OS, but there are third-party apps that can help you with this.
How To Keep A Window Always On Top In Windows 11
Method 1: Use Microsoft PowerToys
Microsoft has issued a PowerToys update that includes the long-awaited Always-on-top functionality for Windows 11. The nicest aspect is that PowerToys allows you to pin a window to the top using a keyboard shortcut rather than manually. So, you can enable always-on-top for a specific window in a flash and turn it off just as quickly. This is how you do it.
Step 1: Press Windows + S to open Search Box and type Store. Click on the Microsoft Store icon in the search results.

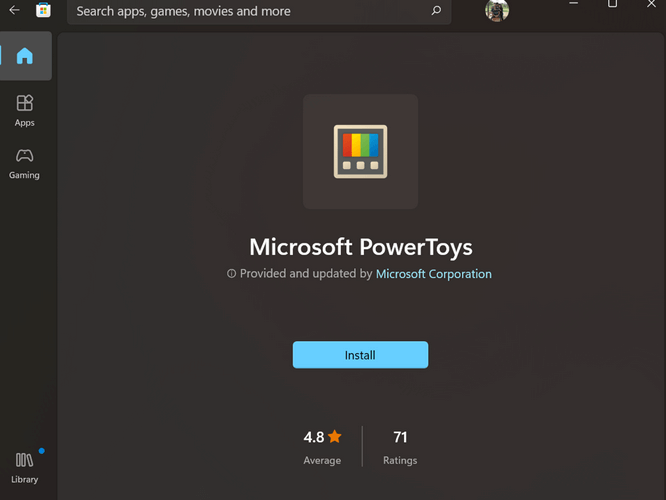
Step 2: Once the Microsoft Store opens, type PowerToys in the search bar and click on Microsoft PowerToys. Next click on the Install Button.
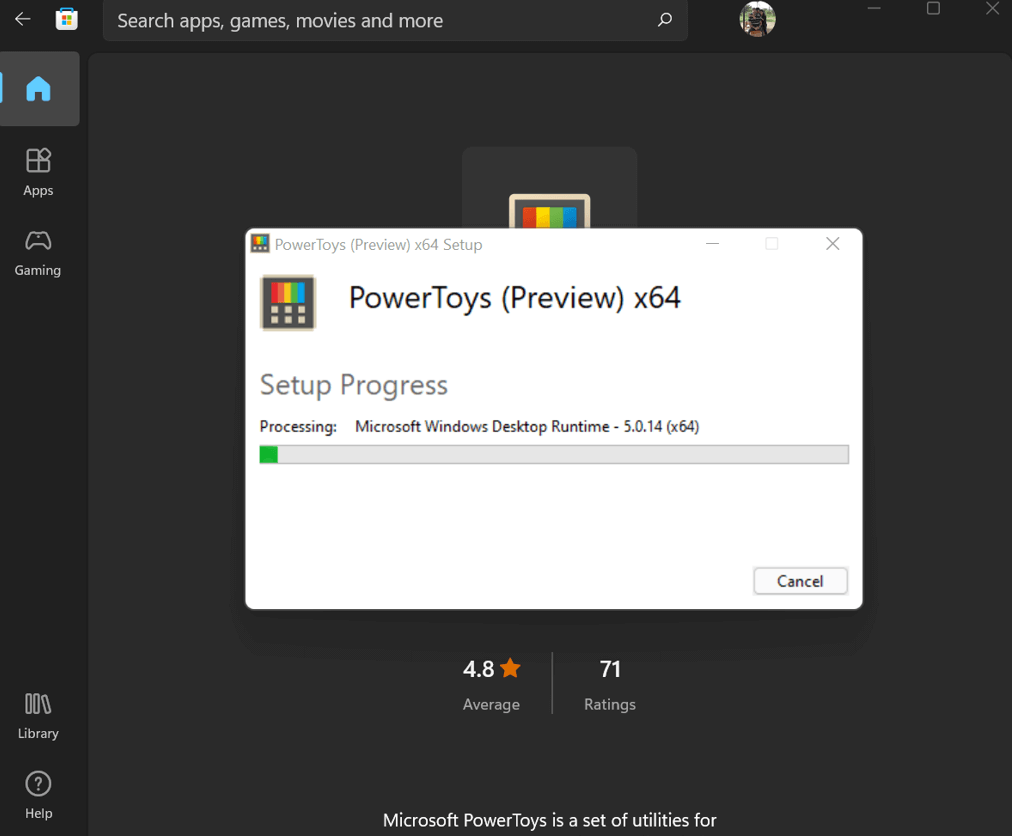
Step 3: The Download and Install processes will take some time. Provide appropriate responses if you receive any prompts.
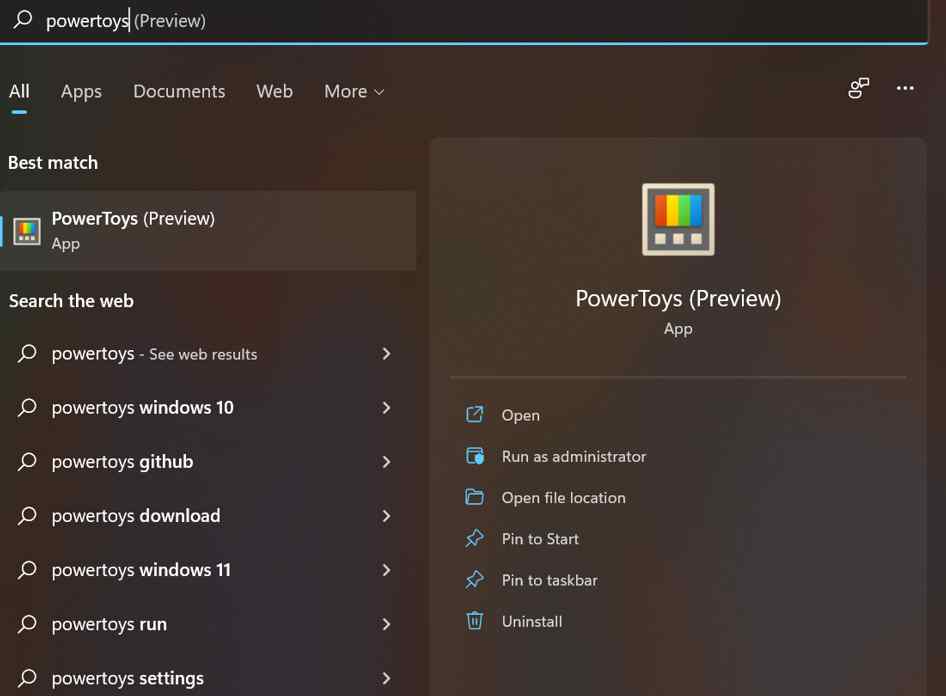
Step 4: After the PowerToys app has been installed, press Windows + S on your Keyboard and type PowerToys.
Step 5: The PowerToys app interface will open. Click on the Always On Top option from the left panel.

Step 6: On the right side of the app window, slide the toggle button labeled as Enable Always On Top toward the right. Next, you can select the shortcut keys that will help any active window to be pinned on your desktop.
Step 7: Now you can test this feature by opening multiple windows and then pressing your shortcut keys which the active window is highlighted. You can turn the active window off by pressing the same keys again.

Note: You can pin multiple windows on the desktop and use others. The active windows will always appear on the top and can be only minimized by the user.
Step 8: Other customizations include removing the bold border that automatically appears when a window is pinned on the desktop. The border color and size can also be modified. You can also stop the sound notification as well as add apps to the exclusion list.

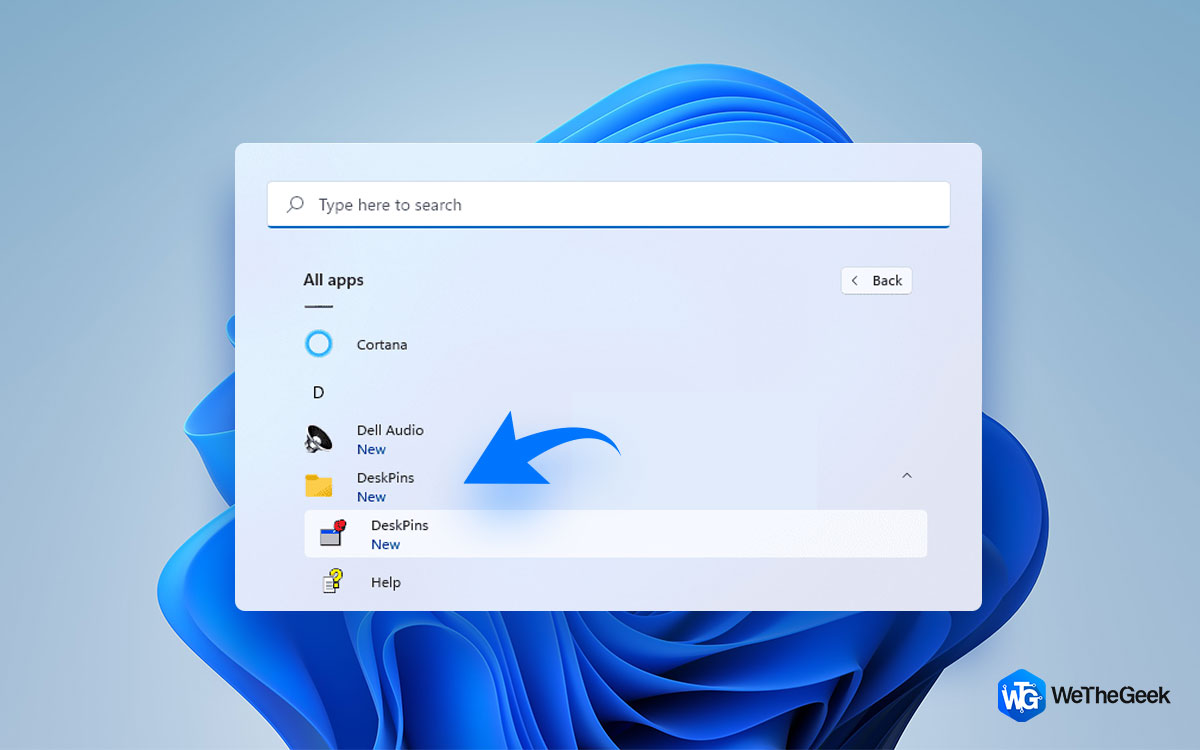
Method 2: Use DeskPins To Keep A Window Always On Top.

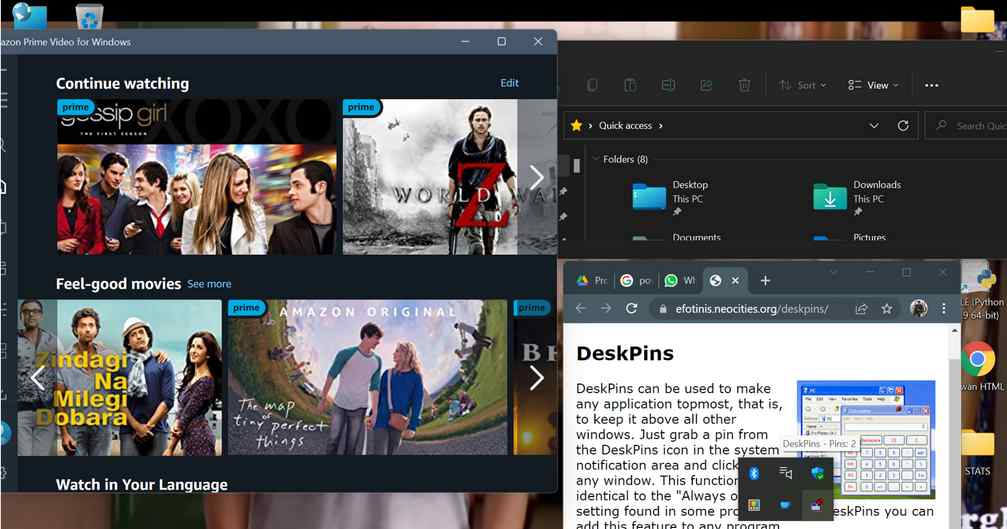
Aside from PowerToys, there’s also the DeskPins software, which does a good job of pinning windows to the top. It’s a lightweight, free, and open-source software with support for multiple window pinning and a keyboard shortcut. To set it up, simply follow the steps below.
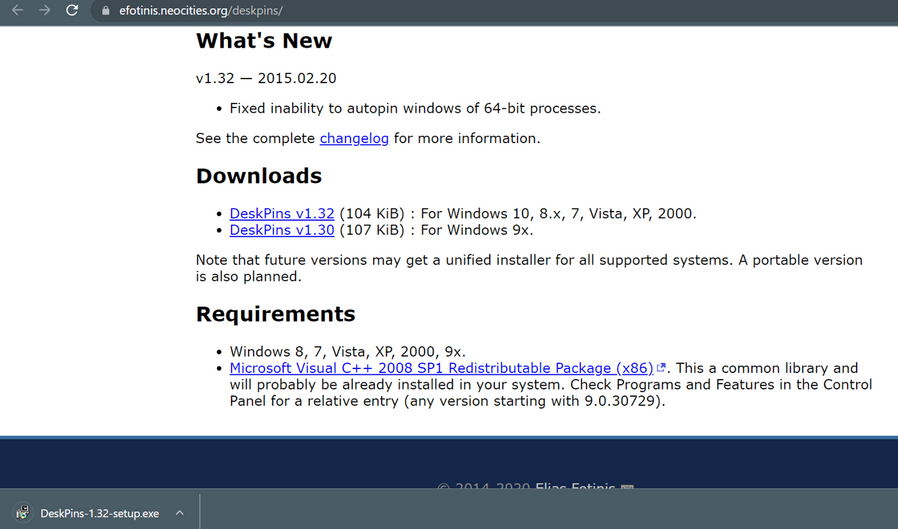
Step 1: Download DeskPins from the official website and install it on your Windows 11 computer.
Step 2: Next, go to the Start menu and select the application. Under the System tray, you’ll notice the app running.

Step 3: When you click it, the mouse cursor will change to a pin. Simply click on the window you want to pin to the top, and you’re done. Using this software, you have now successfully pinned a window to the top of the screen.
Step 4: Hover your cursor over the pinned window and click the cross button that appears to delete it.

Step 5: Keyboard shortcuts are also available here. To pin a window to the top, press “Ctrl + F11,” and to disable it, click “Ctrl + F12.”
The Final Word On How To Keep A Window Always-On-Top In Windows 11
So there you have it, the two greatest ways to pin any window to the top of the screen in Windows 11. I used to use a third-party tool, but things have changed dramatically with the current PowerToys release. Microsoft’s implementation is easy, and it worked flawlessly on my Windows 11 laptop throughout my brief testing.
Follow us on social media – Facebook, Instagram, and YouTube. For any queries or suggestions, please let us know in the comments section below. We would love to get back to you with a solution. We regularly post tips and tricks, along with answers to common issues related to technology.