
Despite of its recent launch, MacOS High Sierra didn’t garner much attention as everyone was more excited about the new iPhone models. However, that doesn’t mean this brilliant new operating system doesn’t have anything special. It is packed with tons of new features along with major enhancements for older ones.
So, in case you missed updating your macOS to High Sierra worry not, we are here to help. In this article, we’ve prepared a step-by-step guide to help you updating your macOS.
Before getting started let’s know what all devices are compatible with it. Here is the list of those devices:
- iMac models from late 2009 or later
- MacBook models from late 2009 or later
- MacBook Pro models from mid 2010 or later
- MacBook Air models from late 2010 or later
- Mac mini models from mid 2010 or later
- Mac Pro models from mid 2010 or later
If you are still running OS X Mountain Lion, then don’t worry this upgrade is for you too. The only thing that you require is a free space of 14.3GB on disk and 2GB available memory.
Must Read: Know All About The New Features Of Notes In Mac OS High Sierra
How To Get Started:
Before updating your operating system, you should always take backup of your data. Though it is not compulsory, as updating macOS will not affect your currently installed files and folders. However, to avoid any problem that may arise at any point of time taking a backup is advisable.
- Once you are finished with backup click on the link to Download High Sierra. You can also download it from the App store. The link will open in a new window, to begin click on the Download button. It may take sometime depending on your internet speed.

Img Src: HowToGeek
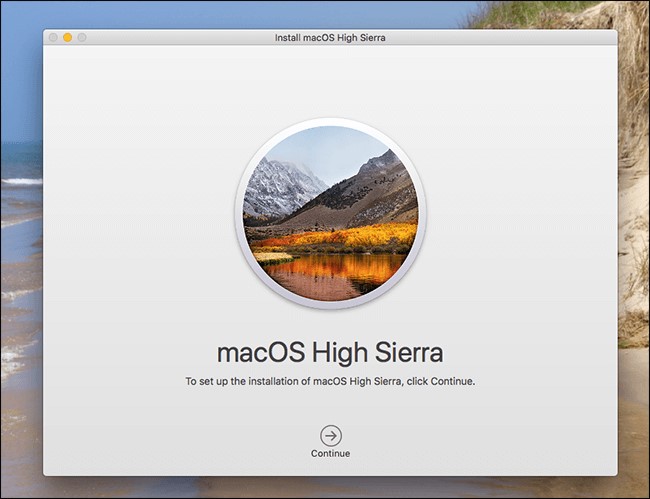
2. Once the download is completed a pop up window will launch automatically. Click on Continue to proceed and follow onscreen instructions to complete installation.
 Img Src: HowToGeek
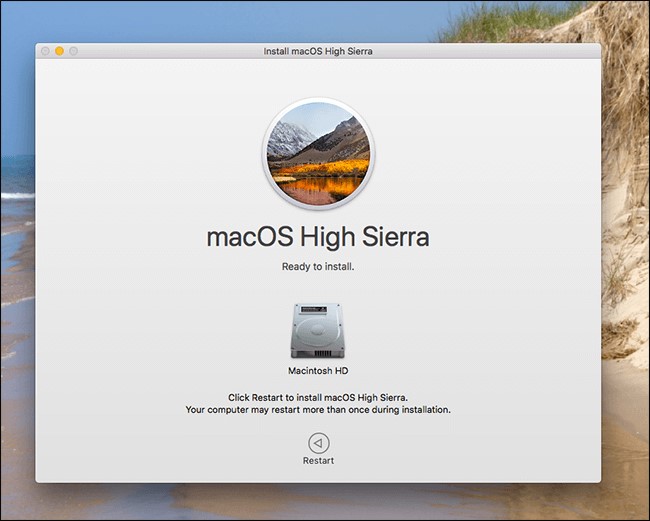
3. During installation, it will ask to restart Mac. Click on Restart button to continue
 Img Src: HowToGeek
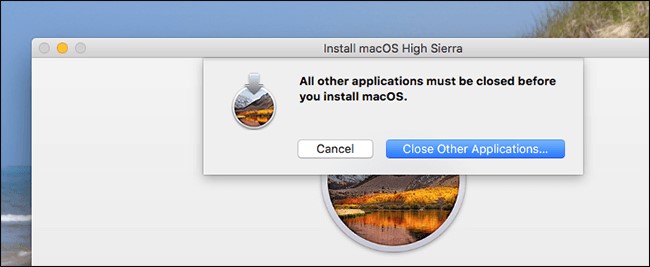
4. In case there are any running application you will need to close them by clicking on Close Other Applications button and then proceed.
 Img Src: HowToGeek
Usually it takes 30-35 minutes for the installation to complete but it may vary depending on the device you use.
Once the installation is finished, Mac will start as usual with the upgraded macOS High Sierra. To check if the OS is successfully updated click on the Apple icon located at the upper left corner of the screen and select About This Mac from the drop-down menu. You will be able to see the following image with all the information.

Next Read: 10 Most Common Issues to Know Before You Upgrade to Mac OS Sierra
That’s all for now. Using these simple steps you can easily upgrade to macOS High Sierra and enjoy using it. Why to wait when you have the guide to upgrade your OS.