
Bought a new Mac, but wondering how to transfer the data from your Windows PC? Well, it is natural to think that different OS might hinder data transfer? But all myths apart, you can transfer documents, media files, photos etc. easily between Mac and Windows. By using a right software or by knowing the right way of doing it. Although it would be better to segregate the data you want to transfer for ease of access.
Before starting the transfer, you need to know the IP address of your computer. In case you don’t know the IP address, follow these steps:
- Press Windows key and R key together to open the Run Window.
- Type cmd in the Run Window to open Command Prompt.
- Command Prompt will open; type ipconfig and press Enter.
- Look for the line categorized under IP Address and jot down the IP address.
- IP address will look like this 172.168.1.1
You can transfer the files from Mac to Windows in six different ways:
-
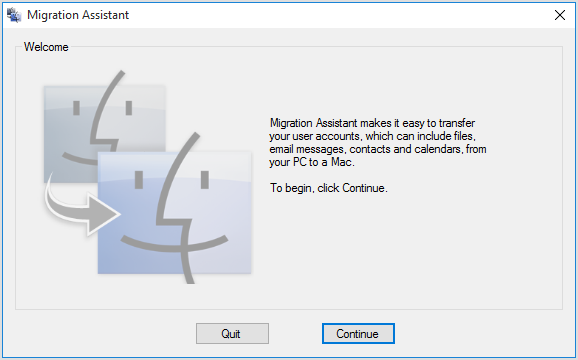
Migration Assistant

Connecting both systems is necessary to initiate the transfer. As of now, you would have prepared the folder that needs to be transferred. Download and install Migration Assistant to your Windows PC and make sure to close all the applications on the system to increase the speed of the PC.
Follow these steps to connect both the systems.
- Open Windows Migration Assistant on your PC.
- Click on Continue to start the process.

- Start your Mac, open Migration Assistant from the Utilities folder.
- Now follow the on-screen instructions to connect your Windows PC to your Mac.
- When prompted, enter your administrator credentials.
- Select your Windows PC from the list of available computers in the migration window on your Mac, then wait for your PC to show the passcode displayed on the Mac.
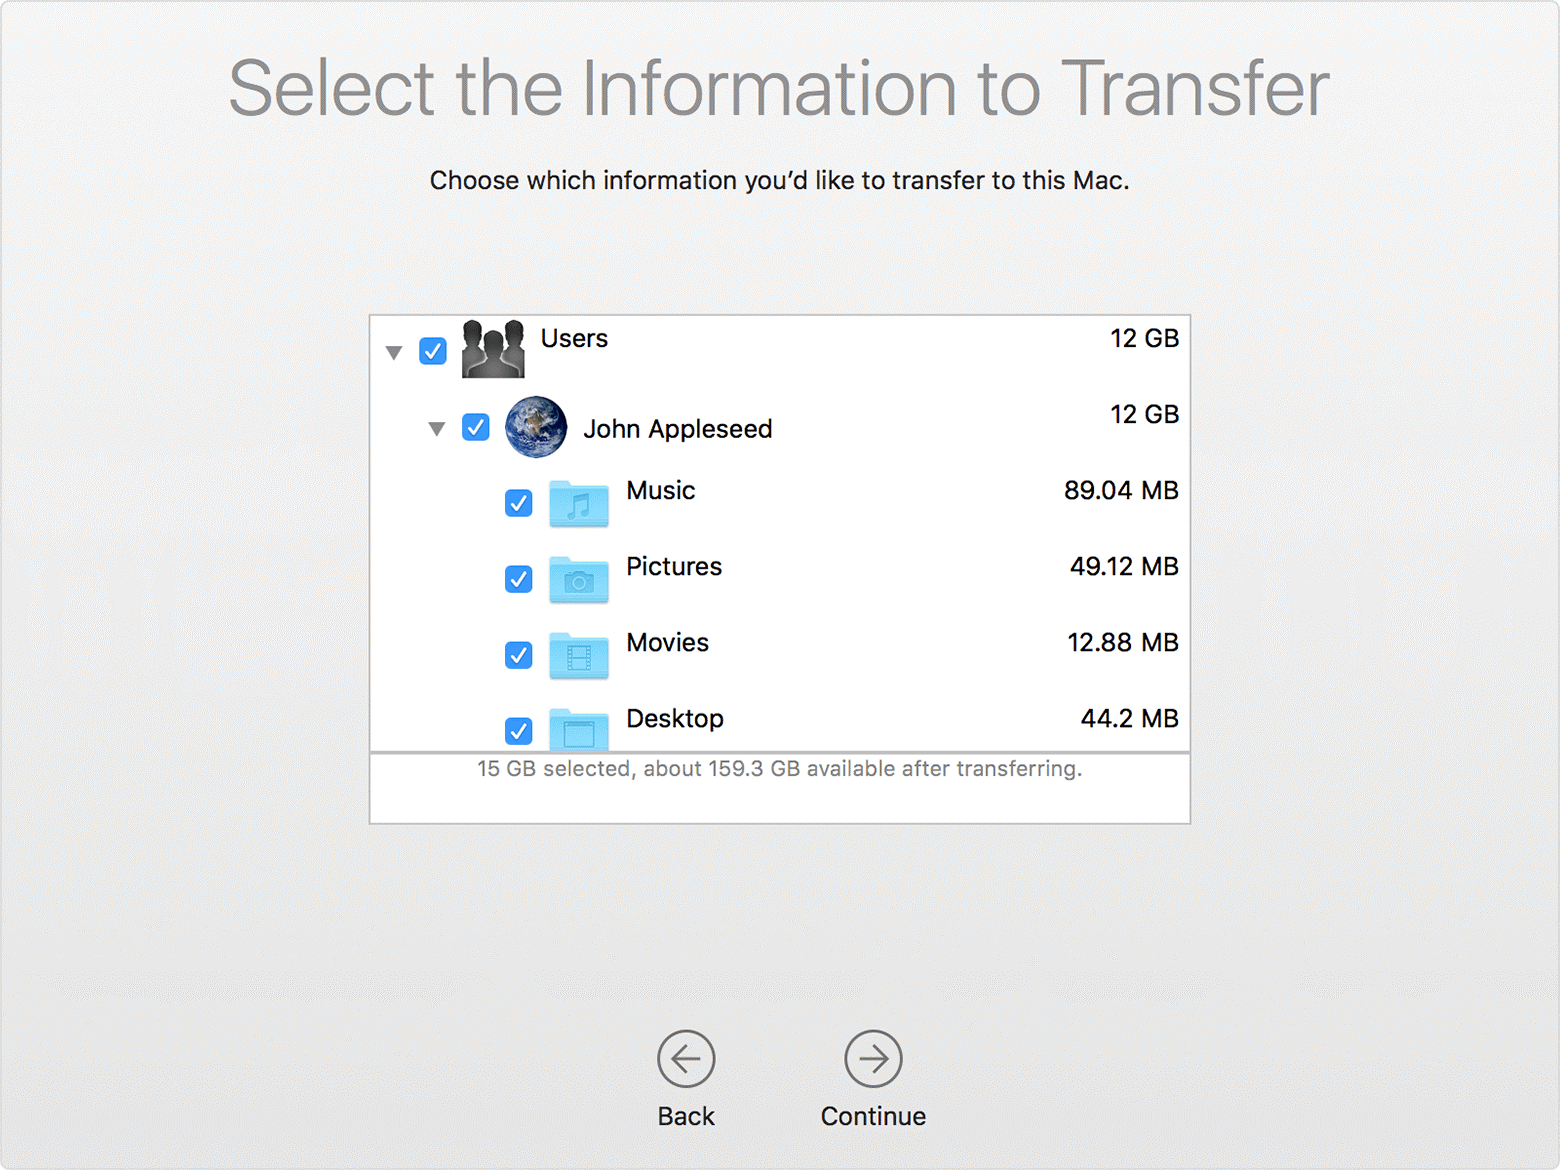
- Once the connection is established, Mac will scan for the folders to be migrated.
- Once the scan is done, it will show the folders list, choose files that you wish to transfer.
- After the process, has started, the system will show the estimated time taken to transfer and size of the files to be transferred.

The minute the process is done, the Migration Assistant will prompt you. Close the Migration Assistant on both the systems.
-
Using A Cloud-based Service
Transferring the files over the cloud can also be a good way to migrate the files from PC to Mac. To begin the transfer, you must have a cloud storage location like iCloud and working internet connection on PC and Mac.
Login to the cloud service on your PC and copy the files on that location and now login to your cloud storage account on your Mac, copy the file/folder to your Mac.
-
Over the Network:
Connecting both systems over the network is necessary to initiate the transfer. You have your IP address with you. Follow these steps to connect the Mac to the network and transfer the file over the network –
Ø On your Mac, press Command key + K or select Connect to Server from GO menu.
Ø Type smb:// & then the IP address of the PC that has all the files to transfer – for instance, smb://172.168.1.1
Ø Click on Connect, there will be a prompt to authenticate, in case you have not listed a shared folder, it will prompt to choose one.
Ø The minute, the connection is established, pinpoint the folder to be transferred and drag them to the shared folder on the Mac.
Once the process is completed, you can stop the sharing and disconnect. The completion of process can take a while depending on the speed of the network and size of the file to be transferred.
-
Using A Direct Cable Connection-
Migrating files using a direct cable connection is an easy process and can be the fastest way to transfer your files. To do this, follow the steps below:
- On your Mac, press Command key + K or select Connect to Server from GO menu.
- Ø Type smb:// & then the IP address of the PC that has all the files to transfer – for instance smb://172.168.1.1
- Ø Click on Connect, there will be a prompt to authenticate, in case you have not listed a shared folder, it will prompt to choose one.
- Ø The minute, the connection is established, pinpoint the folder to be transferred and drag them to the shared folder on the Mac.
-
Using E-mail Attachments
Sending an e-mail from one machine and opening it on another machine can be a very easy way to extract data. All you need to do is, attach the files or folders, you need to transfer onto your e-mail and send it to yourselves and open it on your other machine.
-
Using Removable Media:
Portable devices like external Hard Disk (HDD), USB, CDs or DVDs are a good medium to transfer the data from Windows to Mac or vice versa. All you need to do is to connect to any of the portable devices you choose to Windows PC, transfer the data to it.
Now connect the device to your Mac and transfer the data to it.
These are easiest ways to transfer the data from your Windows PC to your Mac. Try it and let us know which one works for you.