So, you have bought a new Canon Printer and stuck at the next step! Well, you have come to the right place. This guide will explain all the steps on how to set up a Canon printer. The Canon Setup process is divided into three major steps:
- Establish a connection between the printer and the computer.
- Download the drivers from the official
- Keep the drivers updated.
Let us take each step one by one and complete the setup of the Canon Printer. You can skip to any step if you know the previous one.
Also Read: How To Download Canon PIXMA MG3620 Driver?
Steps On How To Set Up Canon Printer On Windows 10 PC

First Step: Connect The Printer
Of course, the first task is setting up any printer or device to connect it with your computer. Connecting a printer is an easy task, but did you know there are three ways to achieve this.
Also Read: How To Fix Canon DR-C225 Driver Issues In Windows 10?
How To Setup Canon Printer With USB?
To connect a Canon Printer via USB, use the USB cable provided along with the printer and attach one end to the USB port in your computer and the other end to the printer port.
Note: The USB Printer Port will be different from the conventional USB ports available on your computer, TV, any other devices. The normal USB port is known as Type A, and the Printer USB port is called Type B. The Printer cable is also known as AB cable.

Once you have attached the cable on both ports, turn on the printer and begin the driver installation process.
Click here to skip to the Second Step: Install Drivers.
Also Read: How To Download & Update Canon MG3022 Driver
How To Setup Canon Printer With Wi-Fi?
If your Canon Printer supports Wi-Fi connectivity, then you can use any of your smart devices like mobiles, tablets, and laptops to print, provided they are all on the same network. To initiate the Wi-Fi setup, follow these steps:
Step 1: Turn on your printer and locate the control panel display.
Step 2: Select Menu and then search for Network Settings.
Step 3: Enter Network Settings and select Wireless LAN.
Step 4: Choose your Network name or SSID and enter the password.
Once the Wi-Fi network has been configured, install the drivers on your computer or mobile to begin printing from the remote device.
Click here to skip to the Second Step: Install Drivers.
Also Read: How To Download And Update Canon MG3000 Driver
How To Setup Canon Printer With Wired Network?
The final method to set up your Canon Printer is through the Wired Network. The steps to accomplish this are:
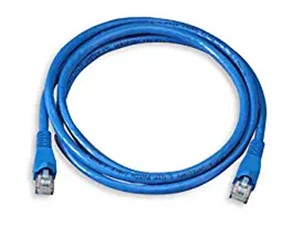
Step 1: Connect your Router and Printer with an Ethernet cable, also known as RJ45 cable.

Step 2: Turn on the printer and navigate to Menu>Network Settings> Wired LAN through the Control Panel display on your printer.
Step 3: Enter the password to establish the connection between the printer and the network and install the drivers on the device you wish to print.
Click here to skip to the Second Step: Install Drivers.
Also Read: How To Update Or Download Canon LBP 2900 Driver
Second Step: Install Drivers
A driver is a small program that communicates the user’s messages from the operating system to the hardware and communicates any hardware failure reports back to the user. Hence it is important to keep your drivers updated at all times to ensure that your computer is running smoothly and flawlessly. When you want to install the drivers for the first time, there are three ways to do so:
Method 1: Use The Disc provided

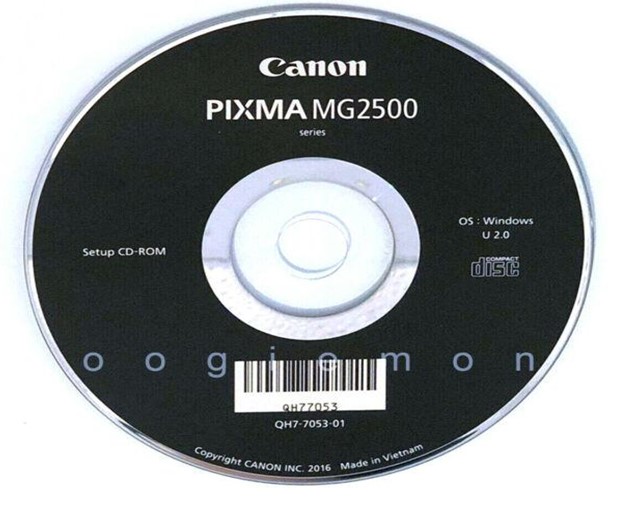
Some printer manufacturers provide a user installation disk that contains all the software and drivers required to connect and use the printer. Use this disc and follow the onscreen instructions to install and configure the printer.
Also Read: How To Download & Update CanoScan LiDE 120 Driver
Method 2: Use The Device Manager
Microsoft has inculcated a built-in tool in Windows 10 that auto-detects any new hardware and initiates a driver installation process. When you connect your printer to your computer and turn it on, you would see a device manager prompt. Follow the steps, and the drivers will be automatically installed on your PC.
Method 3: Use The Official Website
If you did not receive an installation disk or did not get a device manager prompt, then you can navigate to the official website and download the driver and install them on your computer. Follow these steps to download the drivers:
Step 1: Open the Canon Website on your browser or click on the link below.
Step 2: In the Search box located right in the centre, type in your Printer model number and hit the Enter key.

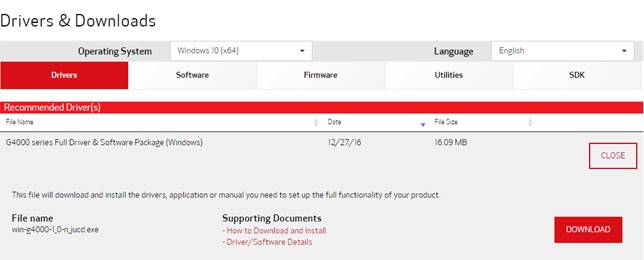
Step 3: You will be able to see your printer’s image along with some options. Choose Drivers & Downloads and click on it.

Step 4: Check if the Operating system detects automatically it is correct and select the drivers you wish to download and then click on the Select Button.

Step 5: Next, click on the Download button to begin downloading drivers.

Step 6: Once the driver file is downloaded, double click it and follow the onscreen instructions to install it on your PC.
Once the driver installation process is complete, restart the computer and connect your Printer. You will now be able to print from your computer with ease.
Third Step: Update Drivers
Once you have installed the drivers from the canon’s website for the first time, you will be able to print with no issues. However, it is important to keep drivers updated; otherwise, you can’t maintain a smooth flow of commands between the computer and the printer. To update drivers, you can either use the Canon Website to download the updates and then install them or use a driver updater tool like Advanced Driver Updater.
Step 1: Download and Install ADU from the link provided below:
Step 2: Once the application is installed, click on the Scan Now button to begin the scanning process.
Step 3: Once the process completes, a list of all the drivers’ issues will be displayed on the screen. Choose the driver you wish to update (Graphic Driver in this case) and click on the Update driver link beside it.
Note: Once the driver is updated, restart your computer to let the changes take effect.
Advanced Driver Updater is a fantastic tool that takes the backup of your current drivers before updating them. It also allows users to restore the previous drivers if there are any current drivers’ issues. This tool minimizes time and effort consumption and updates all your drivers within a few clicks.
Also Read: How To Schedule An Automatic Driver Scan With Systweak Advanced Driver Updater?
The Final Word On How To Set Up Canon Printer On Windows 10 PC
This concludes the guide on setup Canon Printer, connecting it, installing drivers, and finally updating drivers whenever necessary. Outdated drivers may still help you use your printer, but there can be miscommunication that can lead to undesired results over time. If you keep all the drivers updated on your PC, it will work efficiently, just like the day you bought it. Hence it is recommended to use Advance Driver Updater to update all your drivers in one go.
Follow us on social media – Facebook, Twitter, Instagram and YouTube. For any queries or suggestions, please let us know in the comments section below. We would love to get back to you with a solution. We regularly post tips and tricks, along with answers to common issues related to technology.


 Subscribe Now & Never Miss The Latest Tech Updates!
RZ
Really helpful! I could easily set up my Canon printer with the help of your step by step guide.