If you have used Windows computer, you must be familiar with the default web browser Internet Explorer. Most of us have used it at some time or the other. Well, Internet Explorer is not as popular as it used to be and people prefer other options available over Internet Explorer. With the arrival of Chrome, Firefox, Internet Explorer usage hit the rock bottom.
When Windows 10 was released, Microsoft launched new browser Edge which has a better interface and faster than Internet Explorer. Well, Internet Explorer is not quite as dead as it still owns a place on your Windows 10 operating system with Fall Creators Update.
Well, if you want to get rid of Internet Explorer for good, we have a trick for you. In this post, we have listed step by step guide so let’s take a look!
How To Remove Internet Explorer In Windows 10 PC?
There is an easy way to remove Internet Explorer and make some space on your computer. Follow these steps to do so:
- Go to Start Menu and select Settings.

- When Settings window opens, click Apps.
- Now, you will get Apps & Features screen, click “Manage optional features” option.
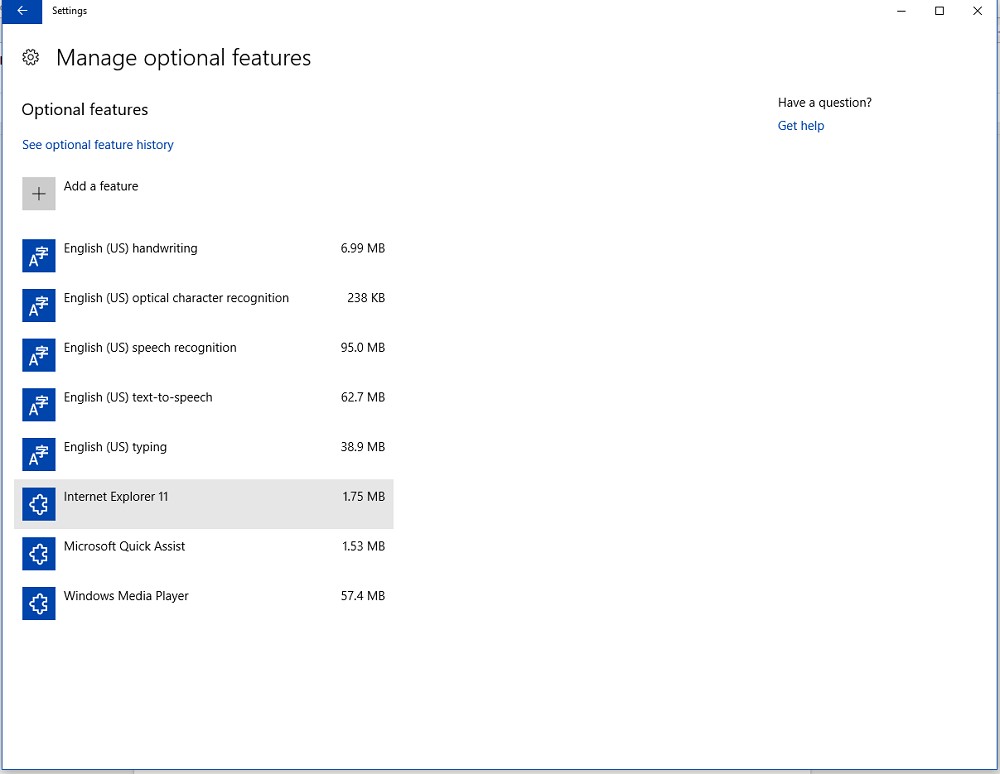
- You will get the list of optional features, scroll down and find Internet Explorer 11.
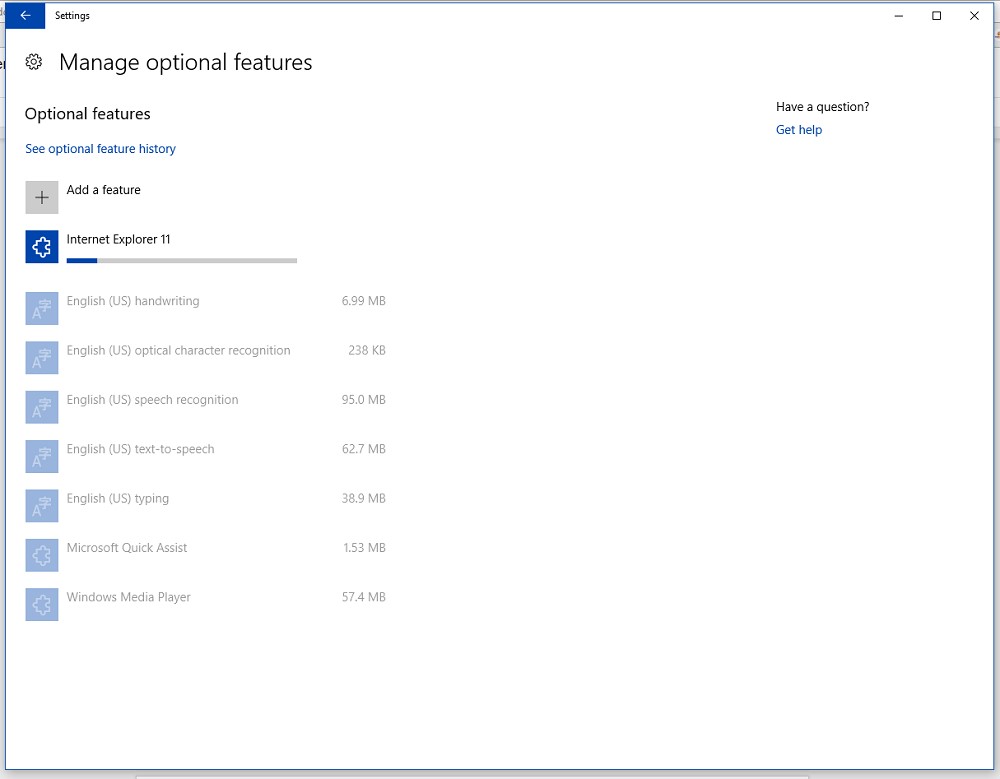
- Select Internet Explorer 11, then click Uninstall.
- The uninstallation process will begin and in a few minutes Internet Explorer, 11 will be out of your Windows 10 computer. Once the uninstallation process is finished, restart your computer to bring the changes into effect.


You can also uninstall Internet Explorer by following these steps:
- Go to Start Menu and type Control Panel in the search box.
- You will get Control Panel screen, select Programs.
- Under Program, click Turn Windows features on or off.
- You will get the list of features, look for Internet Explorer.
- Uncheck the box beside Internet Explorer 11 and click on Yes as it prompts to ask if you are sure.


How To Install Internet Explorer 11 To Your Windows 10?
In future, if you want to get your Internet Explorer back to your Windows 10 computer, you can do it easily. Follow the steps to install Internet Explorer:
- Go to Start Menu and select Settings.
- When Settings window is open, click Apps.
- Now, you will get Apps & Features screen, click “Manage optional features” option.
- You will get Add a feature option on Manage optional features page.
- You will get a list of programs that you can install on Windows 10 computer.
- Choose Internet Explorer 11 and click on Install.


It will start the installation process and in few minutes, you will get Internet Explorer on your computer. You need to restart the computer to complete the process.
In this way, you can remove Internet Explorer on your Windows 10 computer and get it back anytime you want. Since removing Internet Explorer from Windows 10 will not delete the files from your computer, you can restore the app anytime you want.