
Losing your important and sensitive data is devastating. Moreover, when we intentionally or unintentionally end up deleting a folder that we didn’t mean to delete is not less than a nightmare. Even worse, if you have a due date approaching to submit your project that you have been working from past few days make the situation more frustrating. Fortunately, if you performed the steps carefully then you can retrieve deleted files.
So, let’s discuss ways to recover permanently deleted files (photos, videos, docs etc.) on Mac using undo your action, trash can, time machine, and data recovery software. So, let’s get started!
Recover Permanently Deleted Files On Mac Without Software
Method 1: Restore Deleted Files on Mac Undo Your Action
In case, you have recently deleted your vital files and want to retrieve deleted files on Mac then you can undo your action to get your prior positions. However, do the same there are certain conditions like it has to the most recent thing is you have done from Finder by dragging and dropping the files/folders. Then you will notice you will get a small window at the bottom-left corner of your screen which says Undo Move, you can click on it to get the previous files back. You can also press Command + Z to get to the previous positions.
Method 2: Recover Deleted Photos on Mac Using Trash Can
If you want to recover deleted photos on Mac or want to learn the simplest way to retrieve deleted files Mac, then learn here how to recover deleted files from Mac.
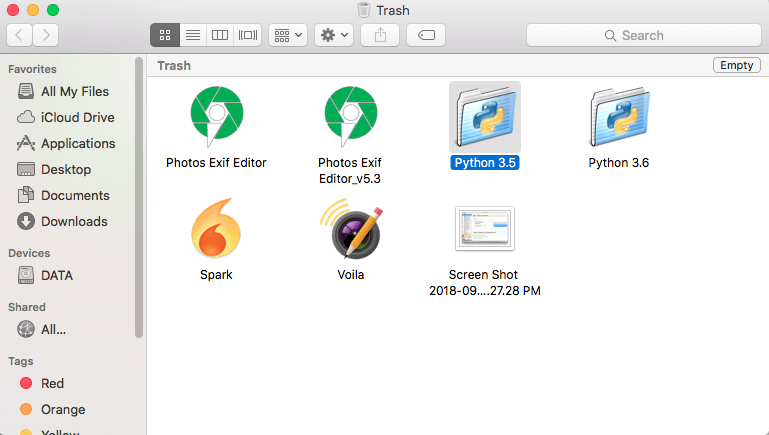
Step 1: Access your Trash Can app by double-clicking on it. You can use spotlight search to open the Trash can or you can manually open it from the Docks.

Step 2: Now, you need to navigate the files that you have accidentally deleted and want to retrieve deleted files from your Mac. You can use the search box to locate the files and folder you’re looking for.
Note: If you’re not able to locate your deleted folders then you need with a shot with Time Machine to recover permanently deleted files on Mac.
Step 3: Choose your deleted files/folders. Press Command + A to restore deleted files on Mac. You can also recover permanently deleted files one by one selecting them individually.
Step 4: Choose Files located next to Finder and then click on Put Back from the available options.
Step 5: Now, all the selected files will be available at its original location.
Step 6: In case, Put Back option is unavailable or greyed out, then you can retrieve deleted files from Mac by selecting and dragging the files from Trash to desktop or desired folder.

Note: You need to drop the files when you’re in the preferred folders where you want to keep your photos.
Method 3: How to Retrieve Deleted Music Files in iTunes
Step 1: Open iTunes and go to Preferences.
Step 2: Choose Advanced tab.
Step 3: Put a checkmark beside ‘Copy files to iTunes Media folder when adding to library’.

Step 4: Now, you can close Preferences.
Step 5: Now, you can select and drag all the files to Desktop from the Trash.
Step 6. You need to drag the music files onto iTunes’ icon in the Dock.
Step 7: Once the files are imported, you need to drag the music files from the Desktop to Trash
Step 8: You will notice a copy of the content has been added to your iTunes folder.
Method 4: How to Recover Deleted Files on Mac via Time Machine?
It is one of the easiest and quickest way to recover deleted files on Mac via Time Machine which is the default app that comes with each Mac. Follow the below mentioned steps to restore your deleted files.
Step 1: First, you need to access spotlight which looks like to a small magnifying glass icon located at the upper right corner of the screen.

Step 2: You need to type down time machine in the Spotlight search tab. You can also access Time Machine from Finder and then Application folder.
Step 3: When you are in the Time Machine, you need to locate the files that you are interested in recovering.
Note: If you’re not able to locate your files then you can select the folders one by one which is located at the left -pane of the Time Machine to investigate the content each folder has.
Step 4: You need to click on the upward arrow which is located at the upper side of the Time Machine window you need to scroll across the backups till you notice your deleted items displayed.
Step 5: In case, you’re scrolling the pervious files with their creation dates and not able to locate them then you can use go with the Time Machine to restore the files.
Recover Permanently Deleted Files On Mac With Software
Using the Stellar Mac Data Recovery

You can also use any of the data recovery tools to restore permanently deleted files on Mac. It is another way to retrieve permanently lost files (photos, documents, videos) without trouble. Apart from recovering deleted photos on Mac, this tool comes handy forget the simultaneous preview of photos while scanning. It is an amazing tool that can be accessed in a few minutes to get your deleted photos and files in no time.
Download Stellar Mac Data Recovery Here
Overall, these were some of the effective ways to recover permanently deleted files on Mac in real time. If you face issues while performing the above-mentioned steps or an error occurs during the recovering process, then let us know in the below comments box.