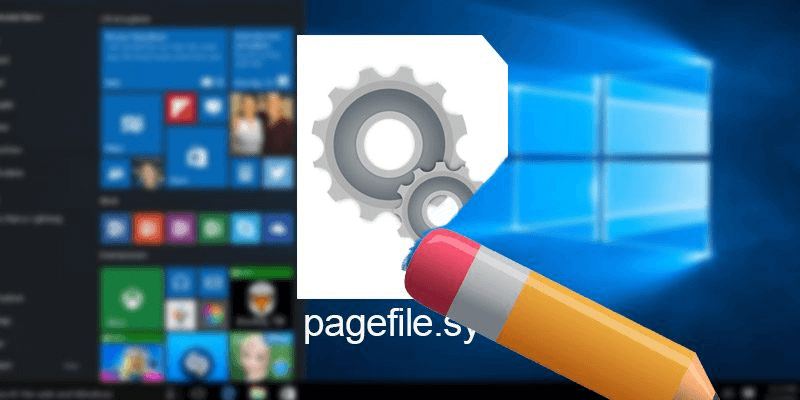
You might probably be aware that our computers have two types of memory: Random Access Memory (RAM) and Virtual Memory. All the applications and other data currently in use are saved in RAM, hence becomes easy and quick to access by device’s processor. On the other side, Virtual Memory or commonly referred as “swap space/page file”, is used to hold temporary data when there isn’t enough RAM memory for a program or an app to run.
In a nutshell, when RAM is not enough to fit all the running programs, Windows automatically move some load to Virtual memory. Those files are saved on your local hard drive as Pagefile.sys & they are managed by Windows itself. But you can certainly alter them manually.
Now you must be wondering why the heck we need to edit or modify them!

 Top 15+ Best PC Software For New Windows...Looking for the best free PC software for your system? We’ve rounded up the greatest Windows 10 apps that are...
Why It’s Necessary To Disable Pagefile.sys in Windows 10?
There are two main reasons, to clear the paging file on your system:
- First, these large chunk of pagefile.sys slow down your PC. And you might want to delete them to acquire some extra space on your system.
- Secondly, in a running Windows, the paging file is managed by Windows itself. But when your system is shutdown, a potential hacker with tangible access to the PC, can certainly copy those pagefile.sys to extract sensitive & confidential information.
Therefore, it’s worth to clear page file at shutdown frequently.
How To Clear Pagefile.sys in Windows 10?
We’ll be discussing two methods to get rid of paging file in your Windows 10. Follow the steps below to start the process:
METHOD 1 – Using Control Panel
STEP 1- Open Control Panel > go to System and Security.
STEP 2- Click on System & choose Advanced System Settings located on the left panel.
STEP 3– A pop-up window will appear on your screen > under Advanced tab > go to the Performance Settings option.
STEP 4- Bunch of performance settings would be presented to you > under Advanced tab > in Virtual Memory settings> click on Change.
STEP 5- You’ll see an option ‘Automatically manage paging file size for all drive’ that would be by default checked in. You have to uncheck it, to proceed further.
Locate ‘No Paging File’ option on the same window pop-up > select it & hit the OK button.
Pagefile.sys and swapfile.sys would disappear from the system.
 How To Manage Files & Folders With Windows...If you have a plethora of files and images stored on your system, you might realize that how difficult it...
METHOD 2- Using Windows Group Policy
STEP 1- Launch Run window, type ‘gpedit.msc’, hit OK to open Group Policy Editor.
STEP 2- Follow the path: Computer Configuration > Windows Settings > Security Settings > Local Policies > Security Options.
STEP 3- Locate & double-click on “Shutdown: Clear virtual memory page life” option in right-panel. Select ‘Enabled’ option > and press OK to save the new changes.
STEP 4- Restart your system to clear page file at shutdown in Windows 10.
So, this is how you clear Page file in Windows 10! Restarting process may take time depending on how large your pagefile.sys is.
If at some point you regret your decision. . .
While clearing page file in Windows 10 ensures that no sensitive data is left behind & certainly makes the booting process faster. However, at the same time it’s necessary to keep in mind that removing pagefile.sys from your system would erase virtual memory allocated data each time you shut down your PC. So, it would indeed remove all the elements of your last working session & hence there’ll be no option for recovery of those files.
So, wisely decide whether you really wish to remove pagefile.sys from your Windows 10 or not!


 Subscribe Now & Never Miss The Latest Tech Updates!