
Since long, by default, Windows stores all user files and folders on the built-in folder located under C:. Here, you can find different folders labelled as Desktop, Downloads, Documents, Music and Pictures. This process takes place during initial setup of Windows when user account is created.
It is nothing new for Windows user, as this configuration has been around for ages. But it seems Windows 10 has decided move over some fixed patterns. It now allows its users to move these default folders to a secondary drive and save space on system drive.
Wondering why the sudden change? It has been noticed that users wish to save their data to a new drive but are unable to do so. So far, every time they tried to save the data to a different drive a new user’s folder structure was created instead of moving existing files. Also, users who have small solid-state drives as system drive, don’t want to keep large digital media on it. Therefore, changing the default location of folders like: Pictures and Music to a separate drive is a good idea.
This feature is helpful for users who want to move complete data to a secondary drive rather than copying it. The users with a permanent MicroSD card installed on their laptop will also be benefitted by this feature, as they can now move the data to other drive and enhance system performance.
Before we begin with the steps, a cautionary warning from our side:
Try to resist the temptation of moving entire user profile to a separate drive as it can cause functionality issue.
Don’t try to move the entire user profile as in the example above.
To move the data folder, follow the steps below:
- Launch File Explorer and select Quick Access to open it.
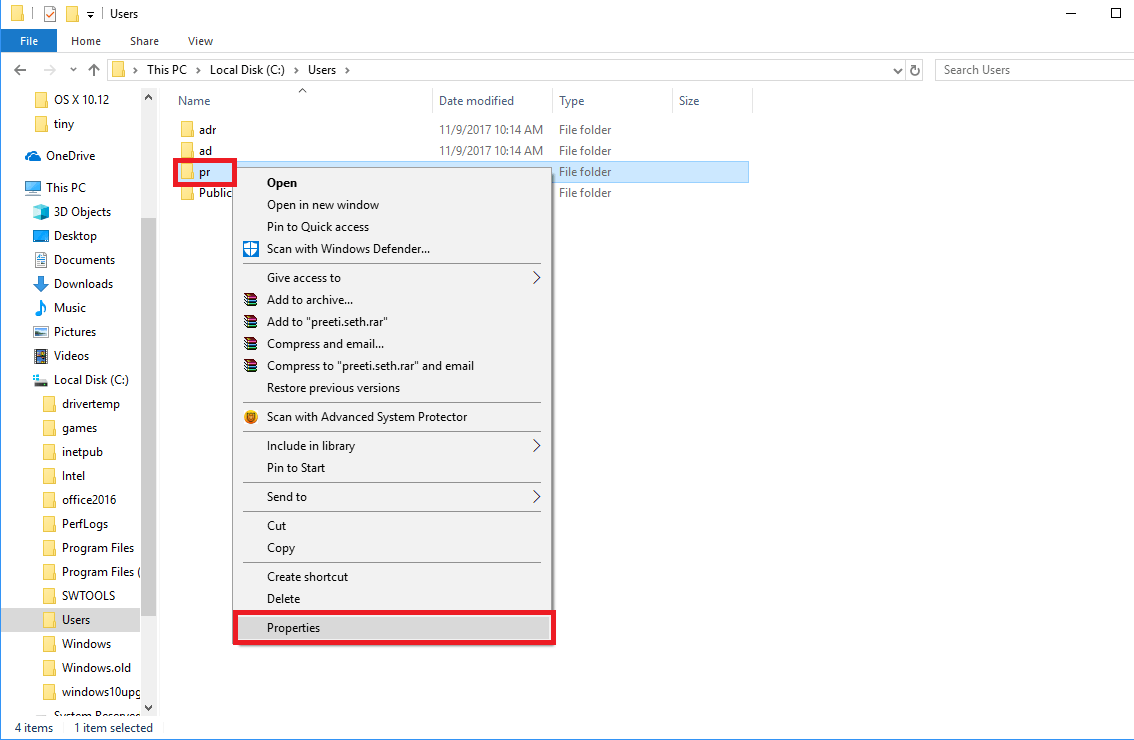
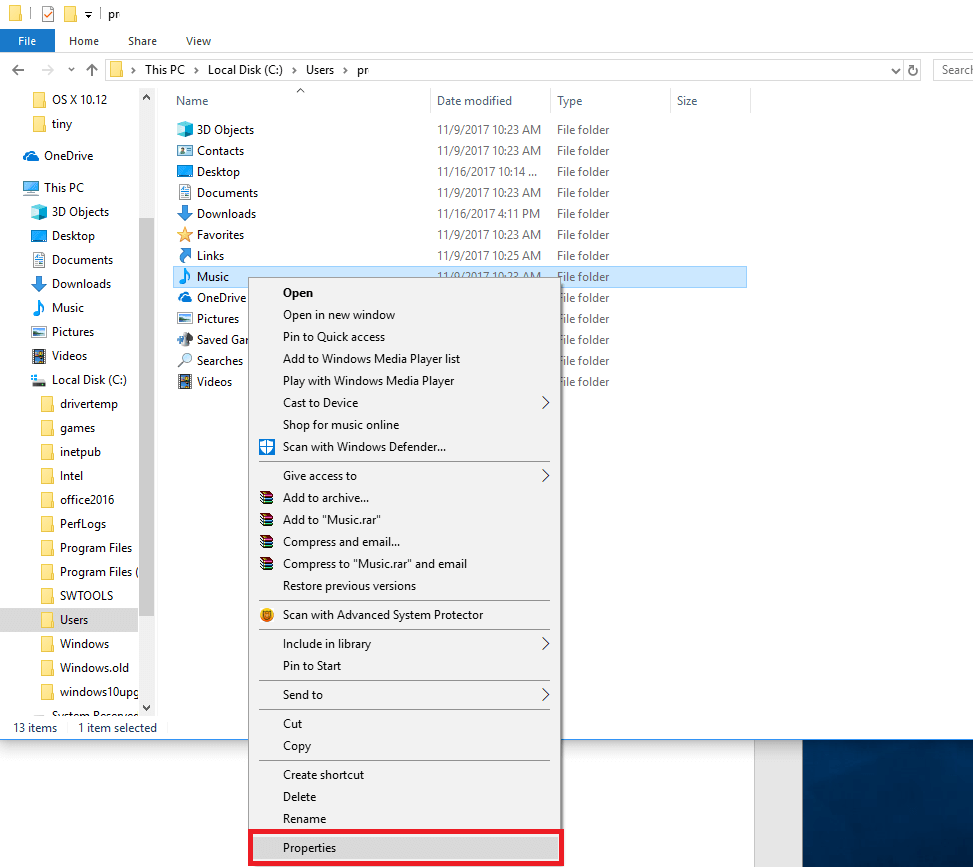
- Next, double click on the username folder to open it and select the subfolder you wish to shift.
- Right click the selected folders like: Pictures, Music, Downloads etc. and click on Properties from the context menu.

- In the new window that opens select Location tab and click on Move to browse target location manually.

However, if you don’t want to, you can click on Find Target. Windows will show you a list of all available disks where you can move default data folder.
- Once you select the location, click on Apply to proceed further.
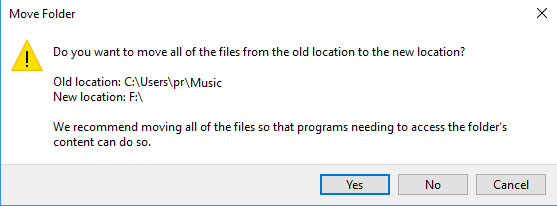
- You will now receive a confirmation message which will take your permission to proceed further and complete the process.
- Re-confirm all the details and click Yes to confirm.
- You can now see the files being moved to the new location. This process may take time depending on the amount of data you are moving.
- Once the process is complete, close File Explorer.
- To confirm open File Explorer and check if the folder is present at the new location.
This feature will surely make it easier to store data on a different drive and save space. Also, the user can use a removable drive to save large digital files. The interesting part is if the removable drive is selected as the default location and if it is not plugged in then the data will be saved to default location automatically.
We hope that the article was helpful and you could save considerable space.