
If you work on Windows and want to use Ubuntu without switching the system then it can be done. All you need to do is install Ubuntu on Windows. The good thing about the OS is it will run when it is asked to and it doesn’t require any special partitioning of your disks.
In this post, we will guide you through steps to install Ubuntu on Windows 10 using Virtualbox
Before going further, you need to make sure that you have downloaded three applications
- Oracle Virtualbox
- Ubuntu
- Virtualbox Guest Additions
Steps To Run Ubuntu Linux On Windows 10
1. Download Virtualbox:
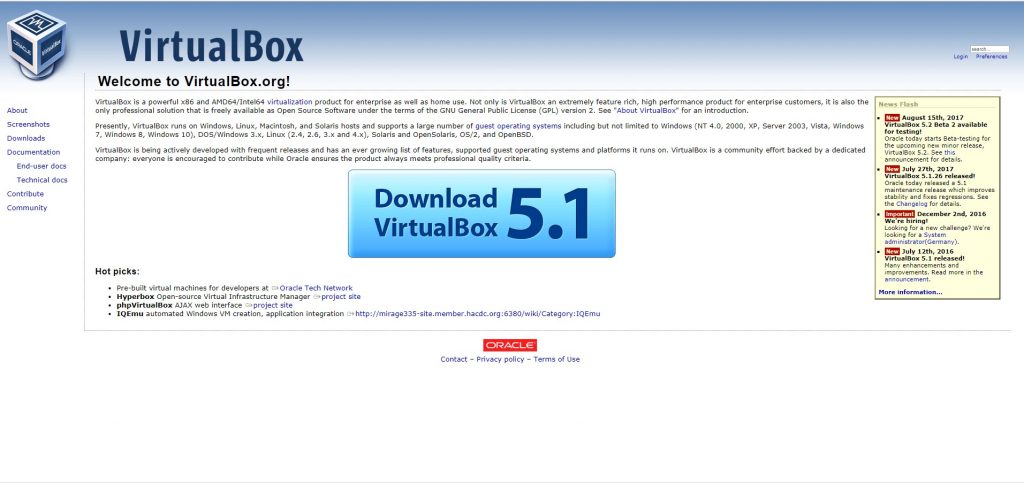
First step is to download Virtualbox. You can download it from the link below.
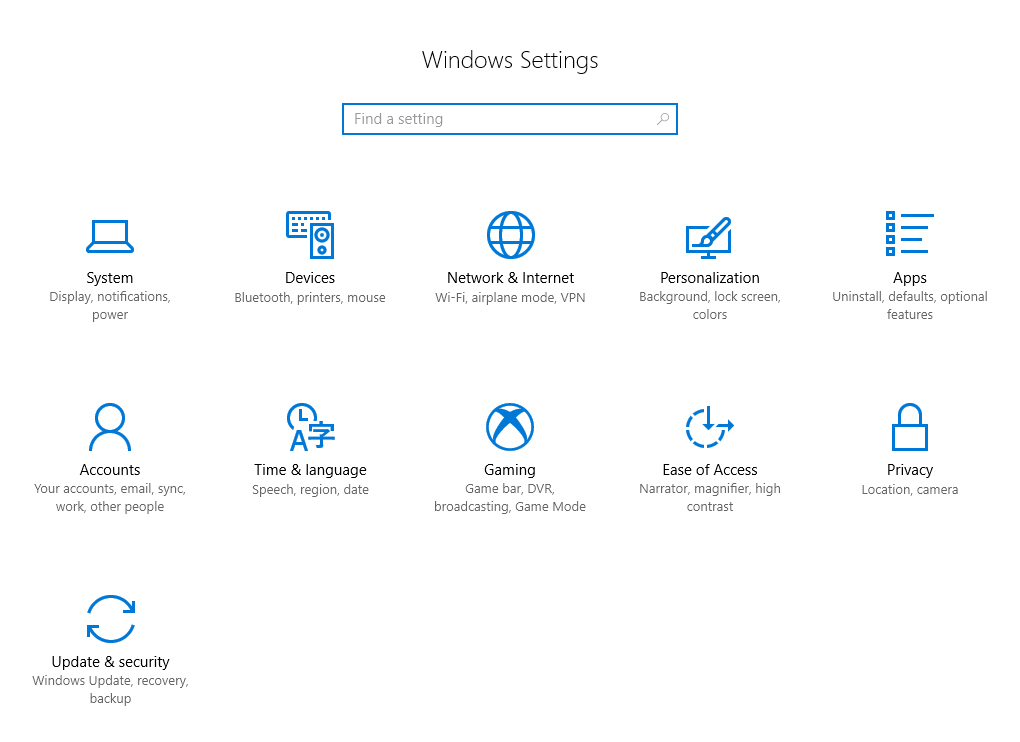
2. Check Whether The System Is Of 32 Bit Or 64 Bit:
Before downloading and installing any of the application. You should know whether the system is 32 bit or 64 bit.
To check, follow the steps:
- Open Settings on your Windows 10 PC( Press Windows and I key together
2. Go to System-> About
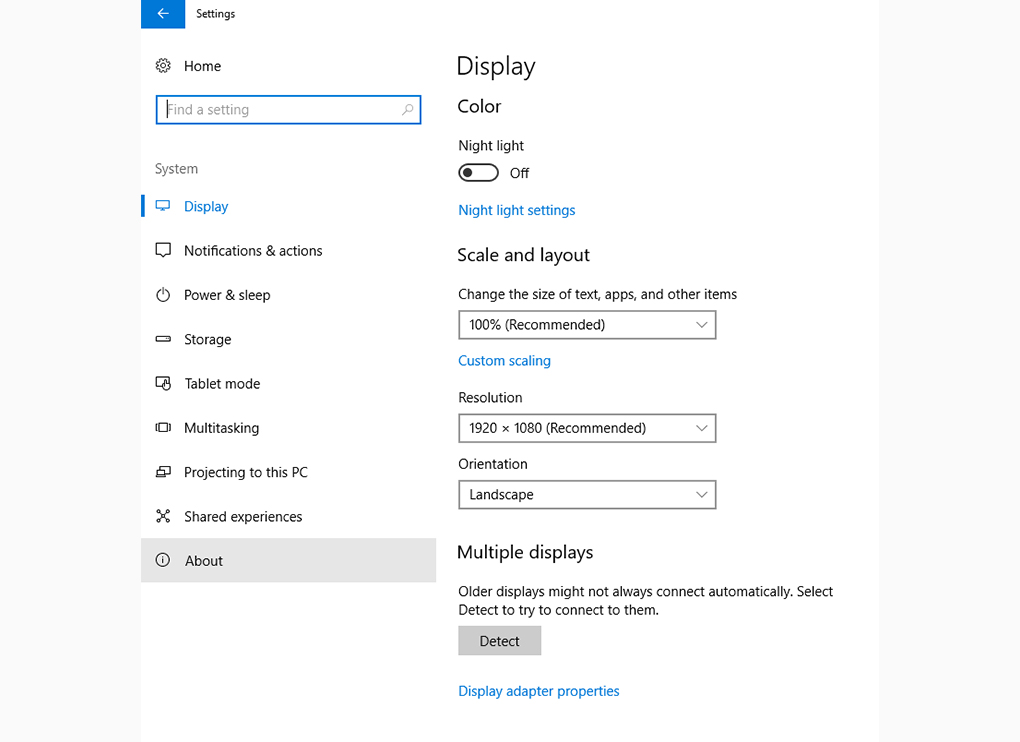
3. Here, you can check if the system is 32 bit or 64 bit.

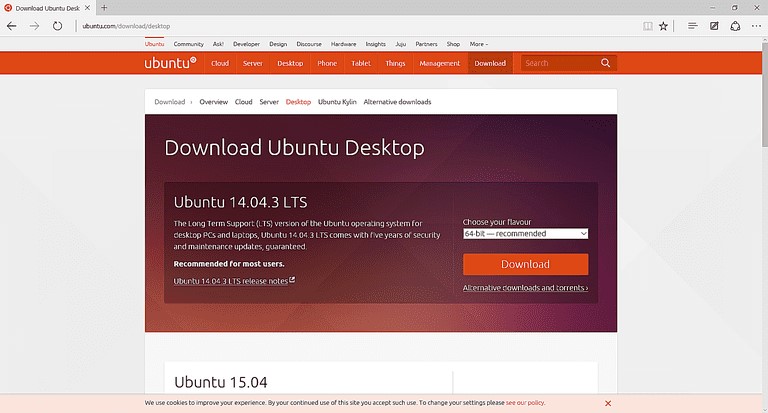
Currently, there are two versions of Ubuntu:
- Ubuntu 14.04.3 LTS
- Ubuntu 15.04
You can download any of them. But downloading the older version will provide you longer support and downloading the new version will provide you with new features added.
3. Download Virtualbox Guest Additions

Guest Additions are used to make the Ubuntu virtual machine to work in full-screen mode at an appropriate resolution. To download it, click on the link below. Once you click the link, you will be directed to a page with a lot of links. Click on the link which matches with the version of Virtualbox you downloaded.
4. Install Virtualbox
To install Virtualbox, follow these steps:
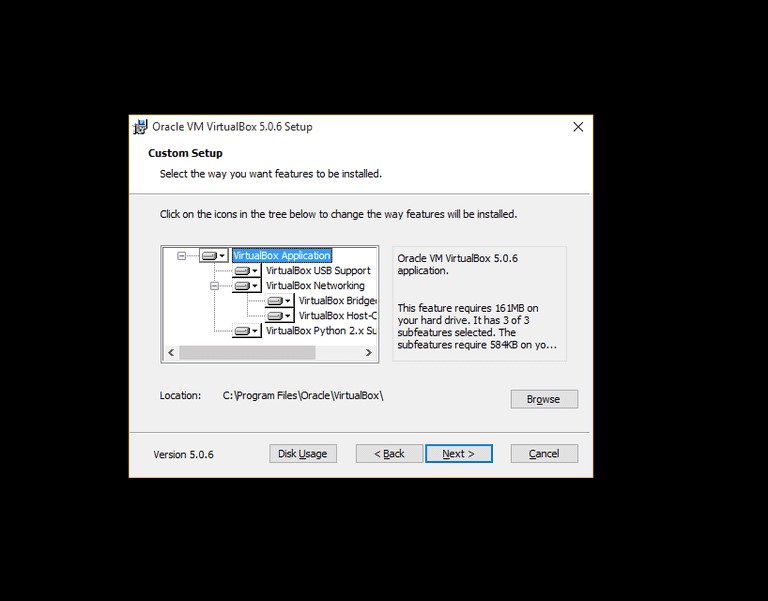
Image source: Lifewire.com
- Go to Start and search for Downloads.
- Once the Downloads folder is open, click on the Virtualbox application file.
- Once the Virtualbox setup wizard comes up, click on Next to begin the installation.
- On the next screen, you can choose the Virtualbox installation options.
- You can choose the location where you want to install the file if not default.
- Before finishing up, you can choose if you want to have a shortcut icon.

Image source: Lifewire.com
- Now click on Install once the interface provides with the option.
- Note: Before getting the option to install, a warning will appear stating that your network connection will temporarily be reset. If you don’t want that to happen, click “No” or if this is ok for you then click “Yes”.

Image source: Lifewire.com
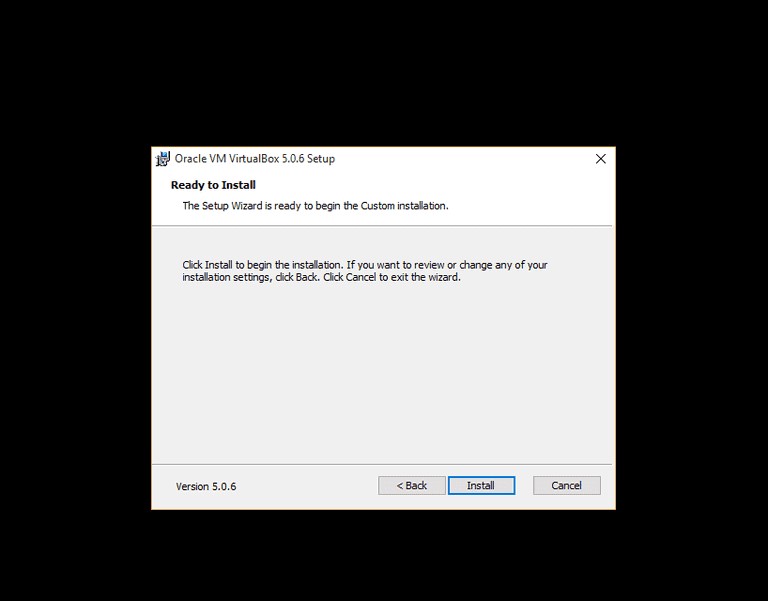
Image source: Lifewire.com
- Once it is installed, you can start Virtualbox simply by leaving the “Start Oracle VM Virtualbox after installation” checked and clicking “Finish”.
- To add Ubuntu, click on the “New” icon on the taskbar.

Image source: Lifewire.com
- You will be asked to name the virtual machine for your convenience.

Image source: Lifewire.com
- Note: Select “Linux” as the type and “Ubuntu” as the version. Choose the correct version for it based on whether your machine is a 32-bit or 64-bit.
- Next step would be choosing computer memory that you want to assign to the virtual memory. To do so, drag the slider to the amount you want to assign and click “Next”.

Image source: Lifewire.com
5. Create a Ubuntu virtual machine
- Now you will get an option to create Virtual Machine. Among three options to choose from, checkmark beside the option Create a virtual hard disk now and click on Create.

Image source: Lifewire.com
- Next screen would ask you to set the space you wish to give to Ubuntu. Minimum space given is 10 GB. Choose the amount of space and click Continue.

Image source: Lifewire.com
- With this step, the virtual machine is created but it has no OS.

Image source: Lifewire.com
6. Install Ubuntu
Now that Virtual machine has been created, you need to boot into Ubuntu. To do so, follow the steps:
- Click on Start button and locate the Ubuntu ISO file and click on the folder icon next to the “Host Drive” drop-down.

Image source: Lifewire.com
- Navigate to the download folder and click on the Ubuntu disc image and click “Open”.
- Now you will get the Ubuntu installer interface, click on Start to begin the process.
- You will get options: Try Ubuntu or Install Ubuntu, click on the Install Ubuntu.
- Next screen will show you the prerequisites like make sure that your machine has enough power or your laptop is plugged into power, system is connected to the internet, system should have over 6.6 gigabytes of disk space

Image source: Lifewire.com
- Now, you will be asked to choose the option to install. As you are using a virtual machine, select the “Erase disk and install Ubuntu” option. Click Install and then click on Continue on the next page.
Note: This act will not delete your hard disk but install Ubuntu in your Virtual hard drive.

Image source: Lifewire.com
- You will get an option to choose the location where you reside, you can choose it on Map or type it in manually. Once done click on Next.

Image source: Lifewire.com
- The last and final step is to create a user. Enter the name in to give your virtual machine a name. After that choose a username and enter a password to associate with that user.
- Click Continue and it is done.
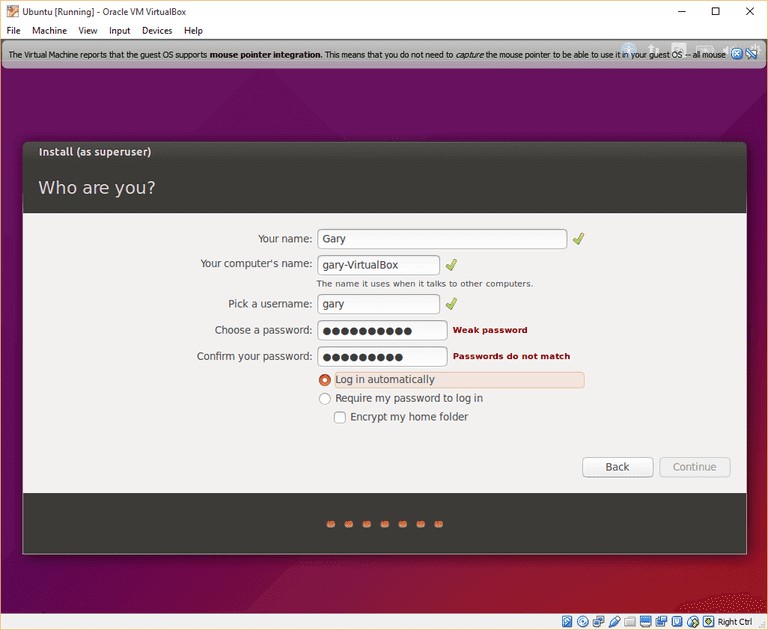
Image source: Lifewire.com
7. Install Virtualbox Guest Additions
The last task is to install the guest additions. To do so, please follow these steps:
- Click the settings icon on the VirtualBox toolbar.
- Click storage option and then click on IDE

Image source: Lifewire.com
- Now choose the small circle with plus sign in it to add a new optical drive.
- You will get a prompt asking you to choose which disk to insert into the optical drive, “Choose disk” button.
- Locate the folder, where you have downloaded “VBoxGuestAdditions” disc image and select Open. and then click OK to close the settings window.
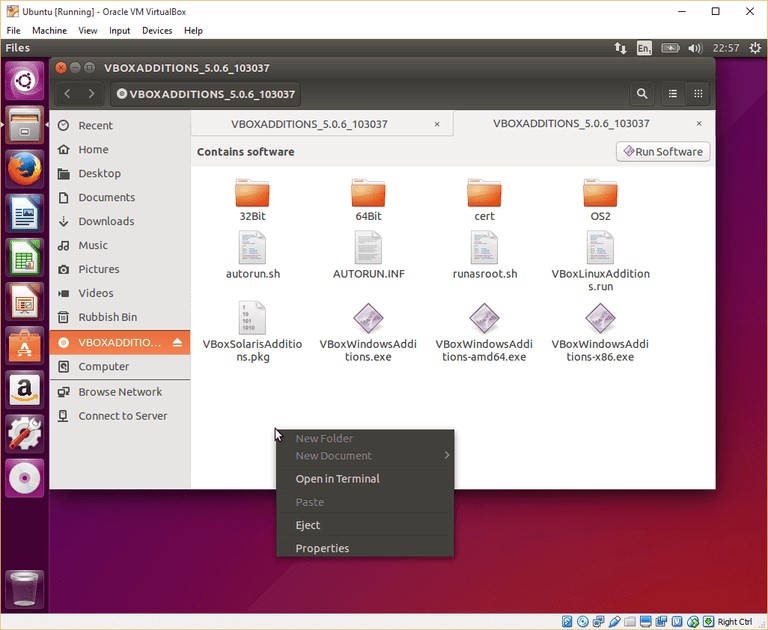
Image source: Lifewire.com
- Once you are back to the desktop, click on Start. Ubuntu will boot for the first time.
- Note: You won’t be able to use the virtual machine in full screen until the guest additions are installed properly
- Click on the CD icon which is located at the bottom of the launcher panel on the left side and be sure that files are for VirtualBox Guest Additions.
- Right click on an empty space where the list of files are and choose open in terminal.
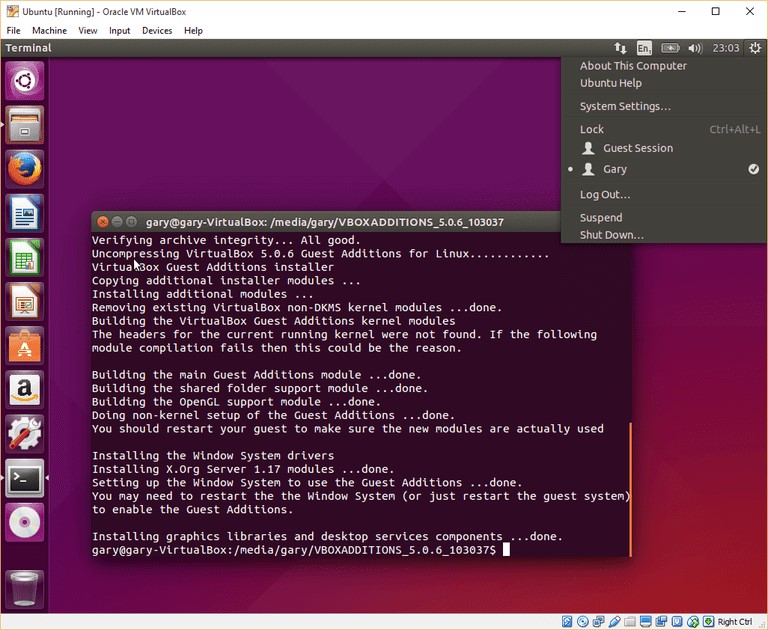
Image source: Lifewire.com
- Type the following into the terminal window:
sudo sh ./VBoxLinuxAdditions.run
- After running the command, you have to reboot the virtual machine.
- Locate the little cog symbol in the top right-hand corner and click shutdown. You will get two options, shutdown & Choose “Restart”.
- As the virtual machine restarts choose the “View” menu and select “Full-Screen Mode”.
- Click “Switch” to continue.
Now, you are all set to use Ubuntu on your Windows 10 in full mode. Try it and let us know if you face difficulty while performing the steps.