
DLL File stands for Dynamic Link Library File. These are essential file formats in your computer which contain instructions that can be used by various programs. When required by programs, they can use the instructions and procedures from these files. The codes and procedures of a DLL file can be of use to multiple programs at the same time. They are quite similar to .EXE files in format.
Considering its crucial role in the functioning of your computer, DLL files are prone to have errors every once in a while. Some causes for DLL Error are, inoperative hardware, spyware, new installed apps superseding the existing updated DLL file with older version etc.
In this article, we have shortlisted a few easy to follow procedures that you can use to fix DLL Errors in Windows 10.
Method 1: Use The System File Checker Tool
Function of System File Checker (SFC) is to scan for and restore errors in Windows System files. In case of any modifications observed in the protected system files, it is fixed from the cached copy.
- To start, you will need to open elevated Command Prompt. In order to do that, on the bottom left of your screen, right click on start option. In the options provided, click on Command Prompt (Admin).
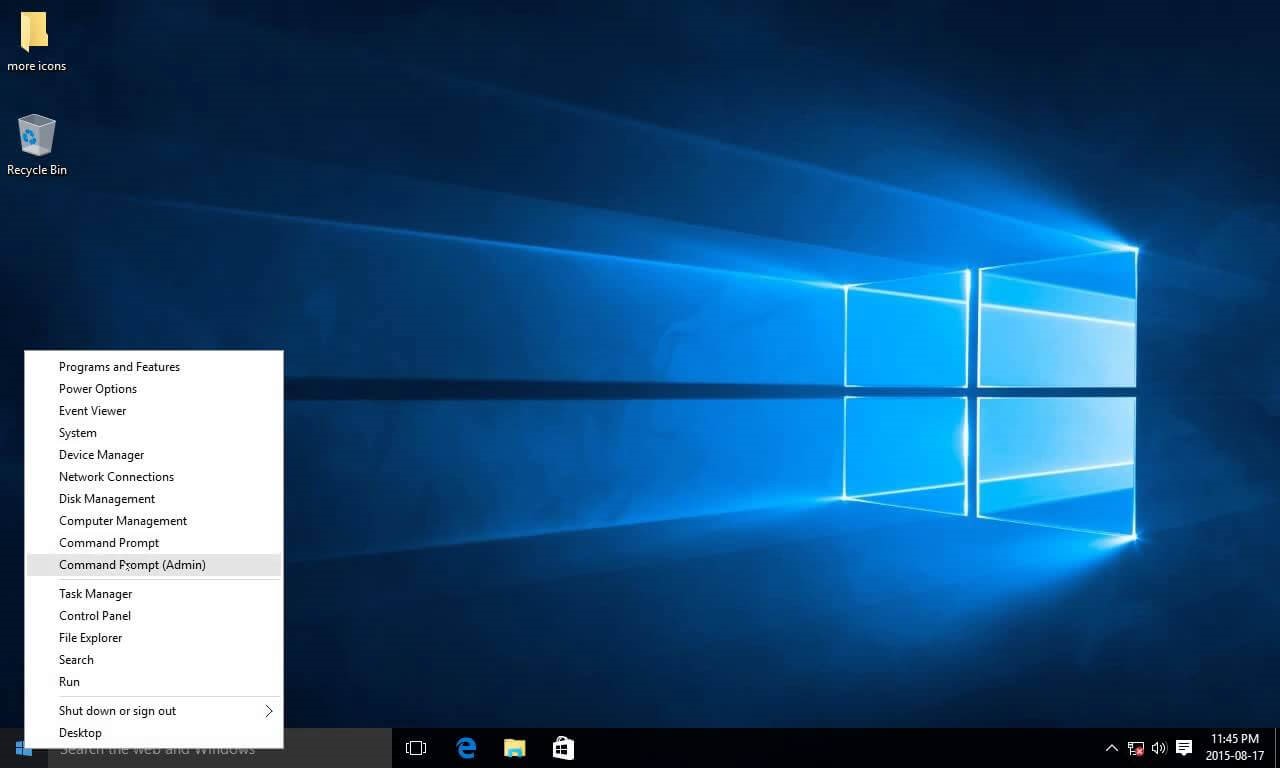
Image Credit: youtube.com
- Once the elevated CMD window opens, you need to type sfc / scannow and hit the enter key.
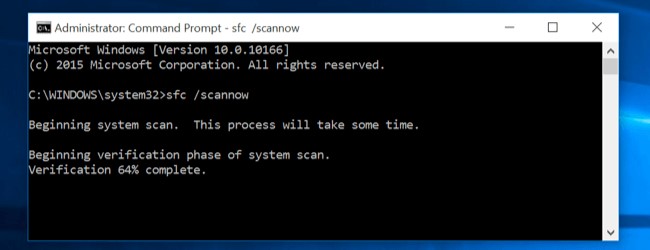
Image Source: wondershare.com
- The computer will take about 10 minutes to verify. Do not close the window during this process.
- On completion of scan and in case any corruptions are found, you will have to reboot your system.
Method 2: Run DISM Tool
Sometimes, it may so happen that the SFC tool will be unable to fix DLL Errors. In such a scenario, the next step should be to run the DISM (Deployment Image & Servicing Management) tool to repair the Windows system image.
- The process is quite similar to SFC Tool. You will be required to open elevated command prompt and type Dism /online /Cleanup-Image /RestoreHealth.
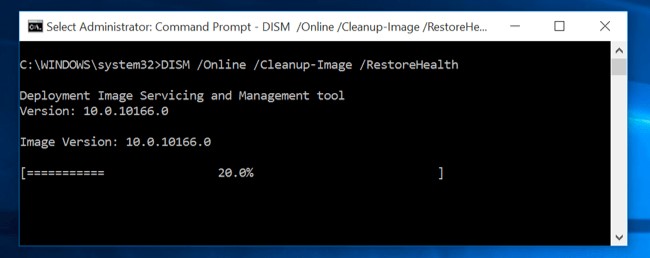
Image Source: wondershare.com
- The process takes about 15 minutes and once completed, you will be required to restart your computer again.
Method 3: Reinstall Software
In a situation, wherein you are facing this issue after installing a software, you can uninstall it from the Control Panel. Following this, you will have to restart your computer and download the most recent setup file and install it again.
Some software also give the option to repair the existing program. If that’s the case, you can try it out first and check if it’s of any help.
Method 4: Download Manually
If unfortunately, the above methods fail, you can download the missing DLL File online. However, this is not a preferred option unless you download from a trusted source.
You can download missing DLL File from here.
DLL errors are not as complicated as they seem. So, now instead of getting panicky, you can follow these easy methods to fix DLL Errors in Windows 10.