On Windows 10, the error “Missing Asus ACPI Driver, Please install Asus ACPI Driver.” frequently appears. Most often, it happens because Windows 10 is incompatible with the ACPI drivers that provide the Hotkey service. Don’t panic if you encounter this issue. One of the two methods listed below can be used to correct the error.
What Are ACPI Drivers?
The power management specification called Asus ACPI (Advanced Configuration and Power Interface), which was created by Toshiba, Microsoft, and Intel, is in charge of facilitating communication between the Windows operating system and hardware that has PnP (Plug and Play) and power management functions. For instance, the Windows operating system uses the ACPI protocol to regulate the power to the internal hardware devices when your computer enters hibernation mode.
Expert Recommended Methods To Fix Asus ACPI Driver Issues In Windows 10
Method 1: Uninstall ASUS Hotkeys
The ASUS hotkeys have seemed to have developed a conflict with the ASUS drivers. This issue will be fixed in the future but until an update is rolled out, experts recommend removing the ASUS Hotkeys apps for the time being. Here are the steps:
Step 1: Press Win + X to launch the Windows Power menu and select Control Panel from the list.
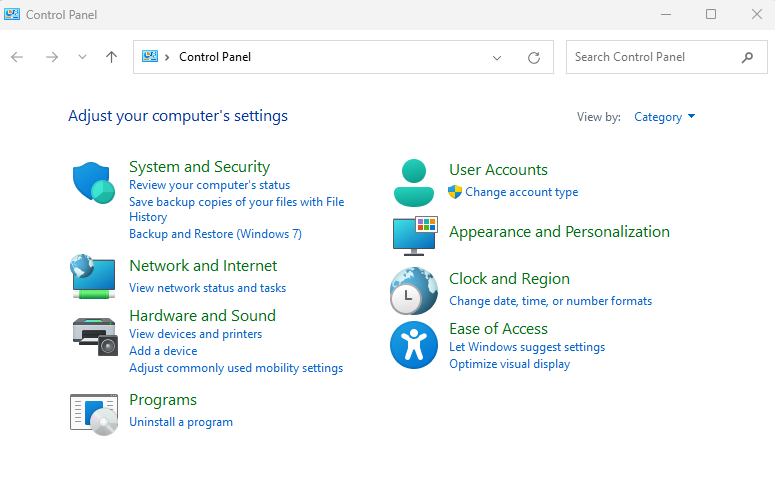
Step 2: Click on the Programs icon in the Control Panel box followed by clicking the Program and Features.
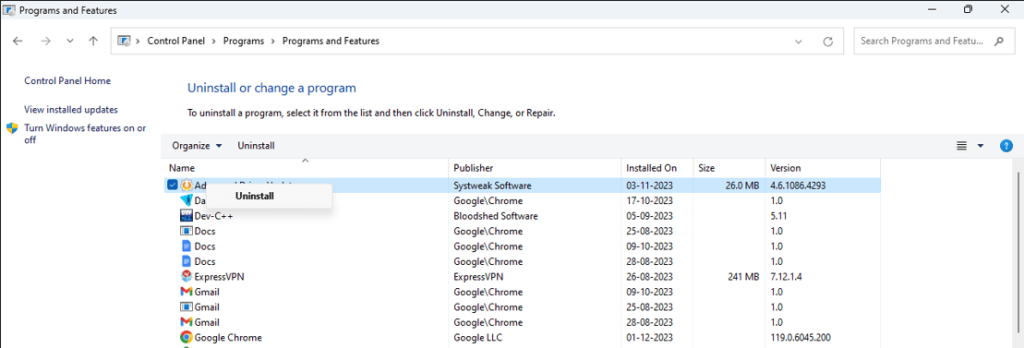
Step 3: A list of apps will appear where you have to locate and click on ASUS Hotkeys and then click on the Uninstall button.
Step 4: Reboot your PC and check if the issue has been resolved.
Method 2: Update ACPI Drivers
The next method to fix the ACPI driver issue in Windows 10 is to update the drivers. There are two methods to update your drivers. We have explained both methods here:
Use The Device Manager
The Device Manager is an inbuilt facility that helps Windows users to update the drivers in the PC. Here are the steps to use this tool:
Step 1: Press Windows + R to open the Run box.
Step 2: Type “devmgmt.msc” and click on the OK button and the Device Manager will open.

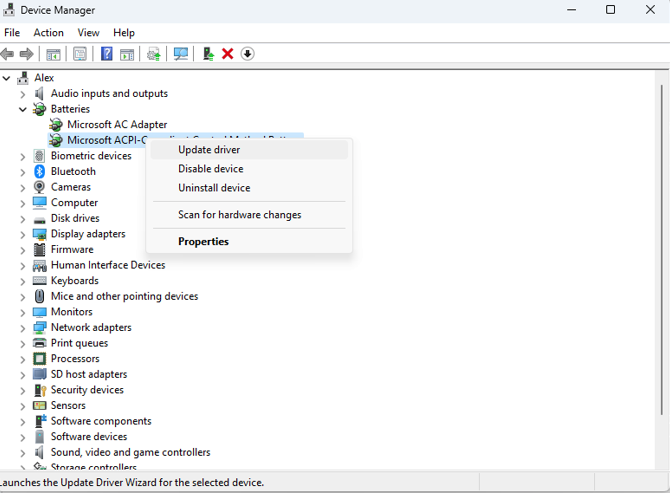
Step 3: In the driver list, look for ACPI drivers and right-click on it to reveal the context menu.
Step 4: Choose “Update Driver” from the list and follow the onscreen instructions to complete the driver update.
Step 5: Restart your PC after updating the driver to let the changes take effect.
Use The Smart Driver Care
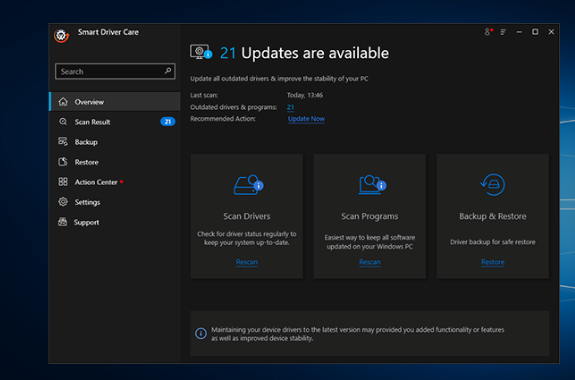
There is an alternate and easier method to update drivers and that is by using a third-party driver updater program like Smart Driver Care. Here are the steps to use this application:
Step 1: Download Smart Driver Care by clicking on the Download button provided below or use the official link to get this app.

Step 2: After the app installer has been downloaded, double-click on it to launch it and follow the instructions to install the app.
Step 3: After the app has been installed, open the app and click on the Scan Drivers button.
Step 4: After the scan has been completed, a list of driver anomalies will appear on your screen.
Step 5: Locate the ACPI driver and click the Update link beside it.
Step 6: Wait for the driver update process to complete and then reboot your PC.
The Final Word On How to Fix Asus ACPI Driver Issues in Windows 10
The aforementioned remedies can be helpful if your device is experiencing issues due to the Asus ACPI driver missing error. Utilize them as you see appropriate to remove problems from your PC.
Please let us know in the comments if you run into any other problems or if you get stuck; we would be happy to help. You can also find us on Facebook, Twitter, YouTube, Instagram, Flipboard, and Pinterest.