
Among many advantageous features of Windows, Remote Desktop Connection is one which allows a user to control another PC. The only condition for this feature to work is that both the system should be on the same network and using Windows operating system. The most common example you can take is a college or an office where you can access your colleague’s PC by just sitting at your place or vice versa by using the remote desktop connection.
Please note that by default, Remote Desktop Connection is disabled in Windows. Therefore, in this article, we will provide you with the steps to enable it in Windows 7 and 10, along with the steps to use it. You can enable remote access by different ways.
Method 1: From Start/Window Button
- Click on Windows/ Start button and type remote access. Now click on “Allow remote access to your computer”.
- A new window of System Properties will open. Checkmark the box next to “Allow Remote Assistance connections on this computer”. Also, it is recommended to select “Allow connections only from computers running Remote Desktop with Network Level Authentication (more secure)”, as it is considered as a more secure way of establishing connection.
If you are on Windows 10 then you will find that this option is by default enabled. Click on “OK” followed by Apply.
Method 2: From My computer/ This Computer
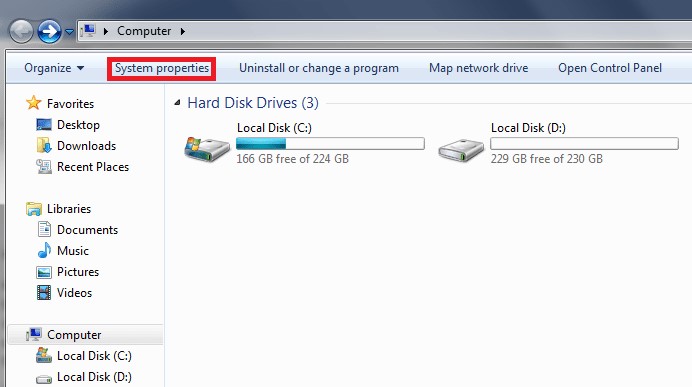
- Open My Computer and click on System properties.

- In the left pane click on Remote settings.
- A new window of System Properties will open. Repeat the process as in Method 1.
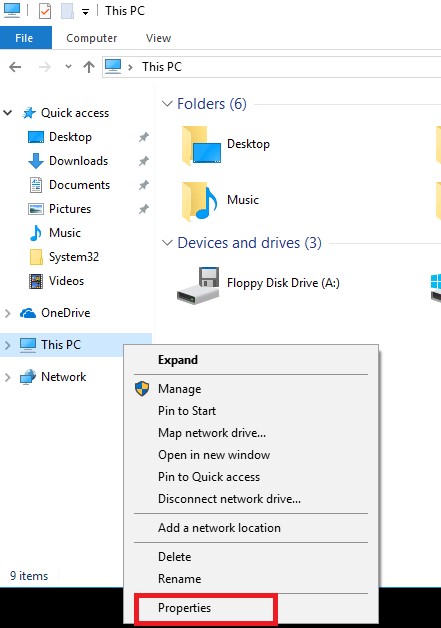
If you are using Windows 10 then open This PC. Now right click on “This PC” icon and select properties.
In the System window that opens, click on Remote settings. This will again open the same System Properties windows. Now follow the same steps of Method 1.
Method 3: From Control Panel:
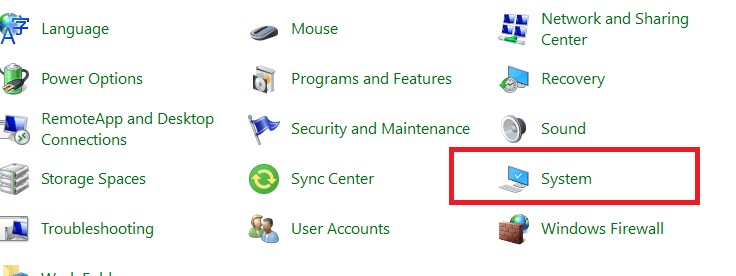
- In windows 7/10 open Control Panel and click on System icon.
- In the System window that opens, click on Remote settings. Now, in the System Properties windows that opens, follow the same steps of Method 1.
How to start a remote connection:
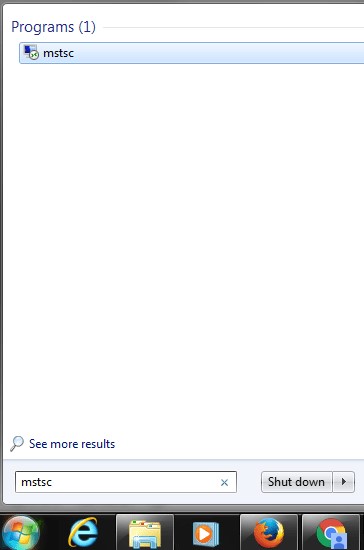
- The process of starting a remote connection is same, irrespective of the Windows version you are using. To start a remote connection, click on start button type “mstsc” and press Enter.
- Type in, either the name of the computer or the IP address of the computer which you wish to access, and click on Connect button.
- Enter the credentials like username and password of the computer with which you wish to connect and click on OK.
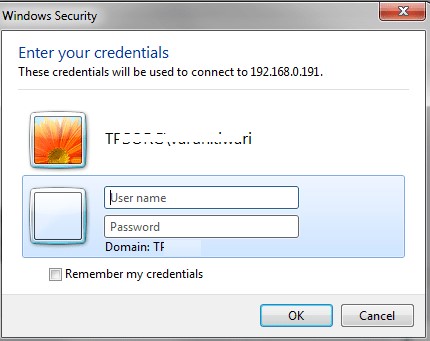
Once the credentials are validated you can access the PC just like you’re sitting in front of it.
So, friends these are few simple ways by which you can easily enable remote desktop connection on any version of Windows.