
An added layer of security to phones to prevent unauthorized access to precious data, is a definite welcome. Two-factor authentication was introduced in iOS 10. It’s a simple authentication process which provides your phone with extra security making it more secure. Considering its importance, Apple has decided to continue with this feature in its latest iOS 11.
This feature works best for users who have multiple Apple devices like iPhone and iPad’s and are relatively easy to activate. With two-factor authentication, whenever you wish to sign in from a new device, Apple will send you a 6-digit code. With this unique verification code, the phone gets protected from various security threats.
This article includes steps for both, enabling and disabling two-factor authentication.
How to Enable Two-Factor Authentication
Two-factor authentication can be enabled through the iPhone’s Settings. To enable it,
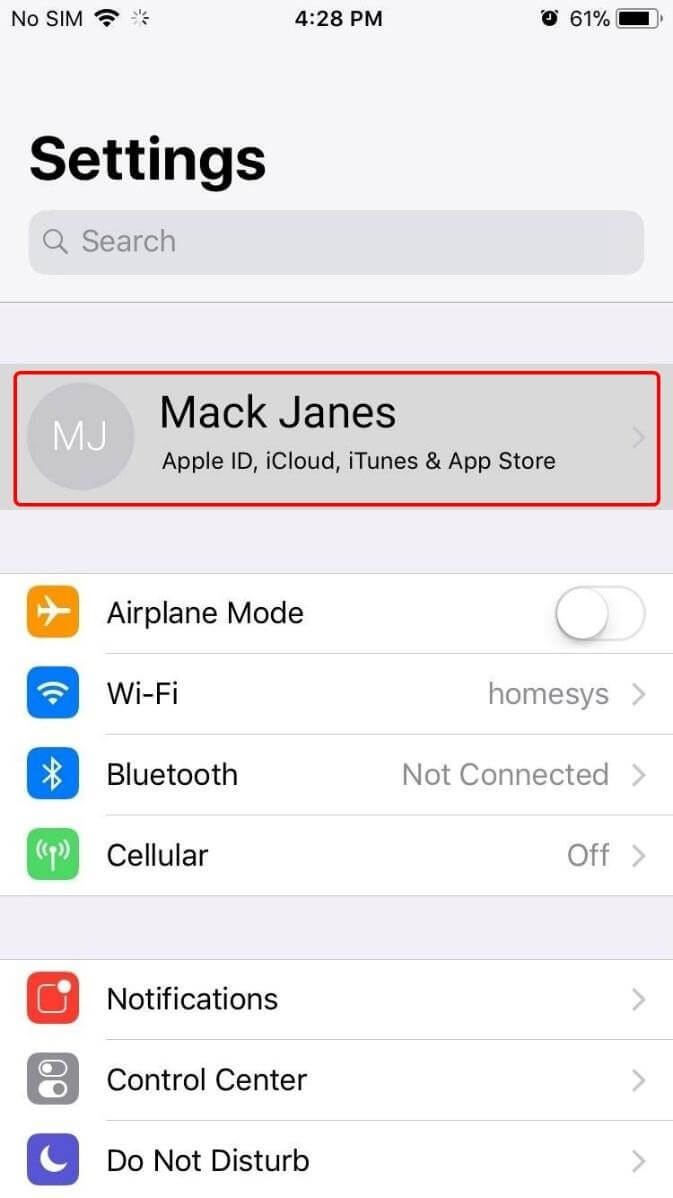
- Navigate to Settings and then tap where your name is written on the main Settings screen. Now choose Password & Security.

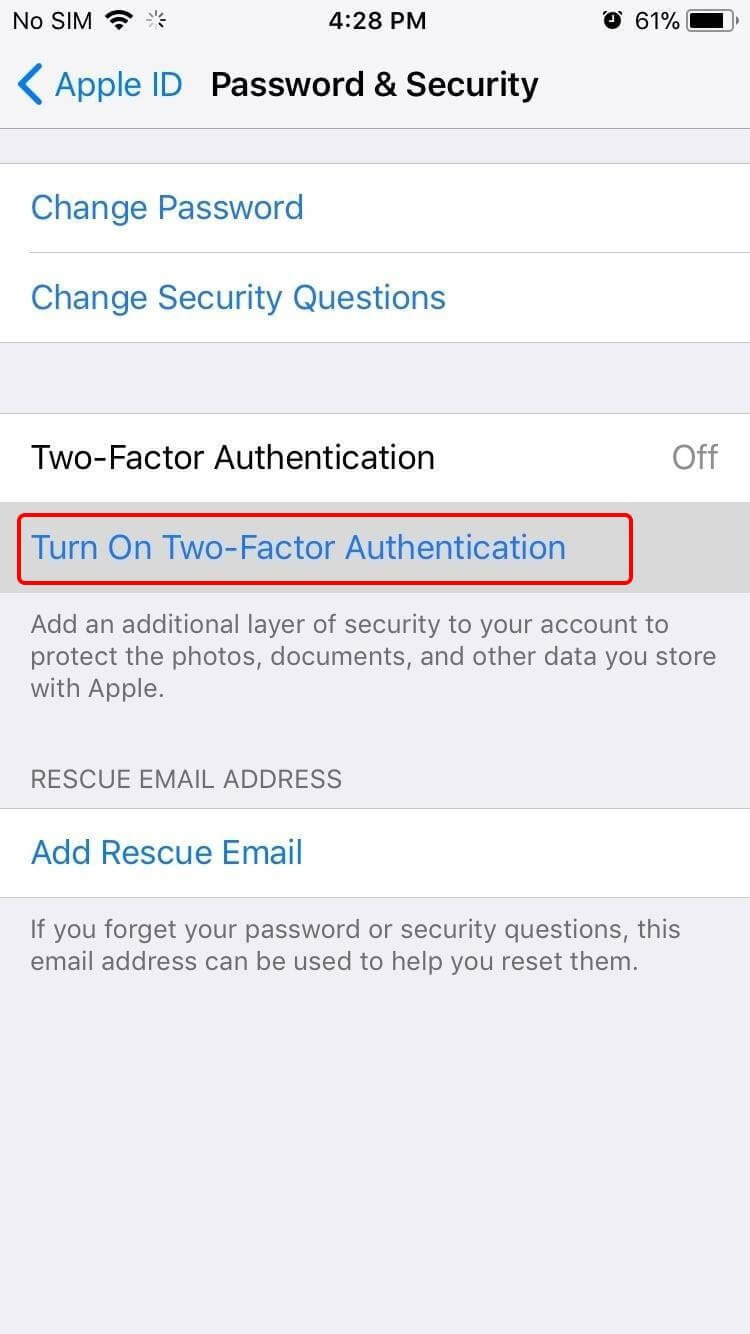
- Post this, click on Turn On Two-Factor Authentication, from the Password & Security window.
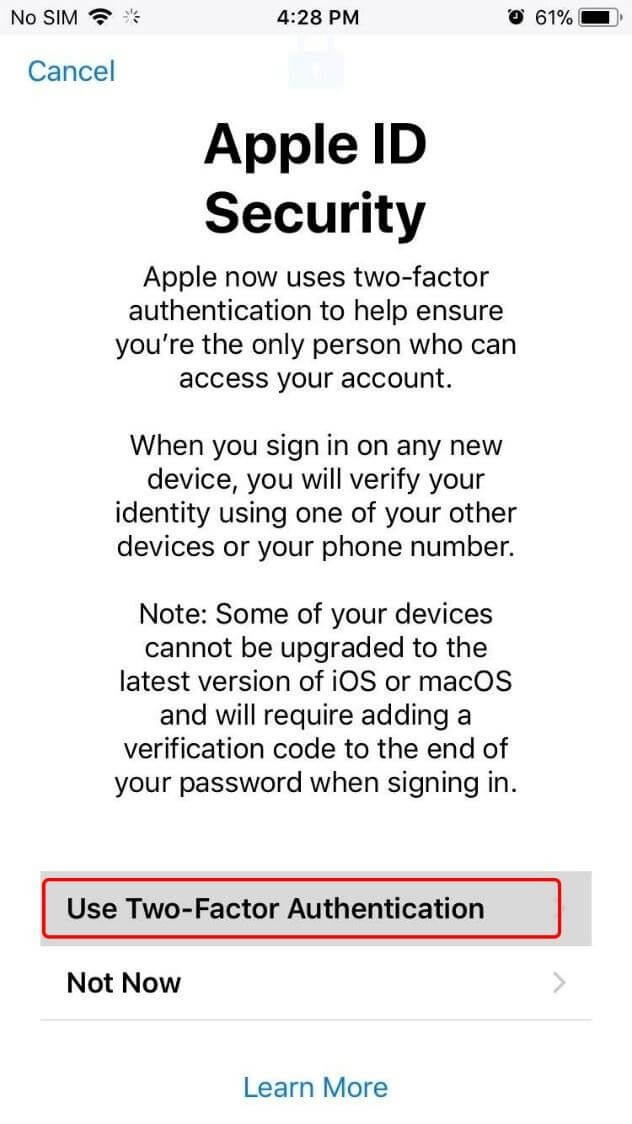
- Once done, you will be redirected to a page that briefs you about the feature. Once you have finished reading, click on Use Two-Factor Authentication.

- Apple will now give an option to use a phone number automatically detected by it or to enter a new number.
- Whichever number you choose, a verification code will be sent to it. You can choose whether you want the code in form of a text message or an automated call. Apple will ask you to enter your Apple ID and the six-digit code thereafter. Once you enter the required information, the two-factor authentication will be enabled.

How to Disable Two-Factor Authentication
For security reasons disabling two-factor authentication is comparatively a tedious task as compared to enabling it. Unlike enabling, this feature cannot be disabled through the iPhone’s Settings but by logging on Mac or PC.
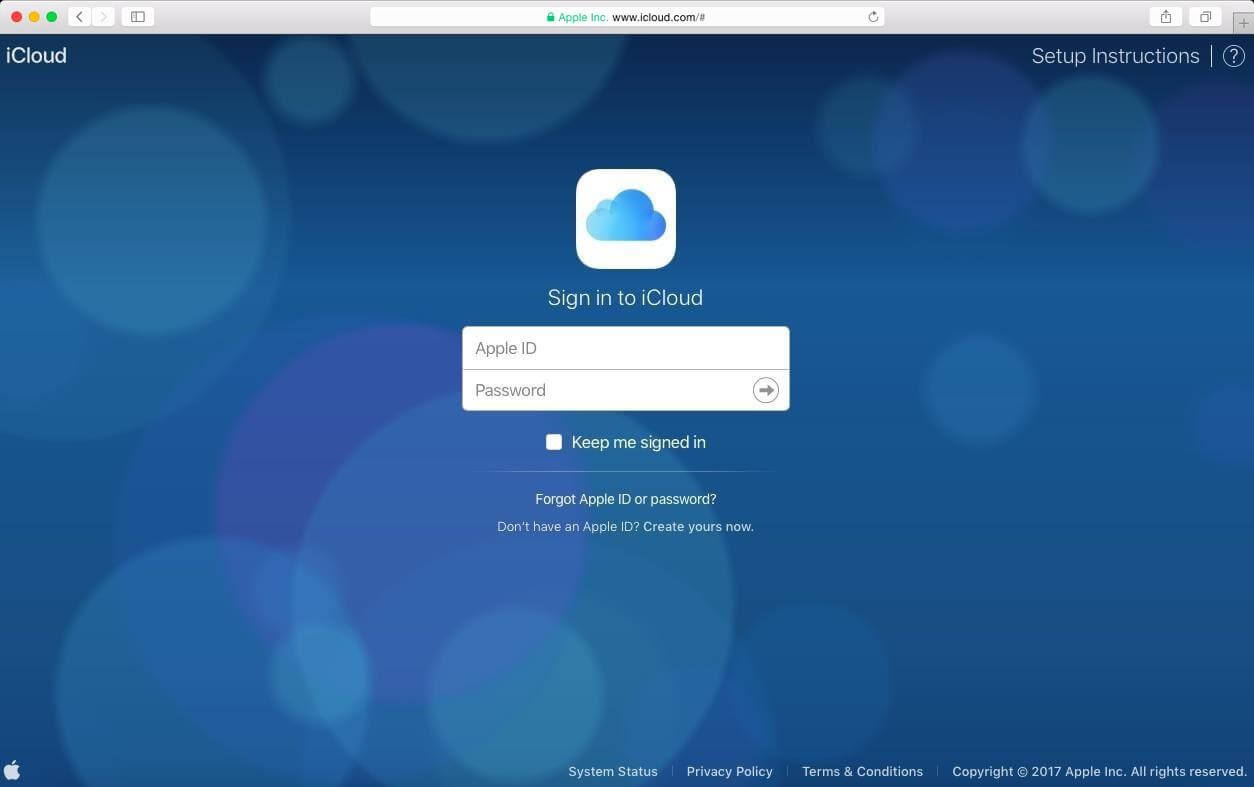
- To start with, open any browser and then sign into your iCloud account.
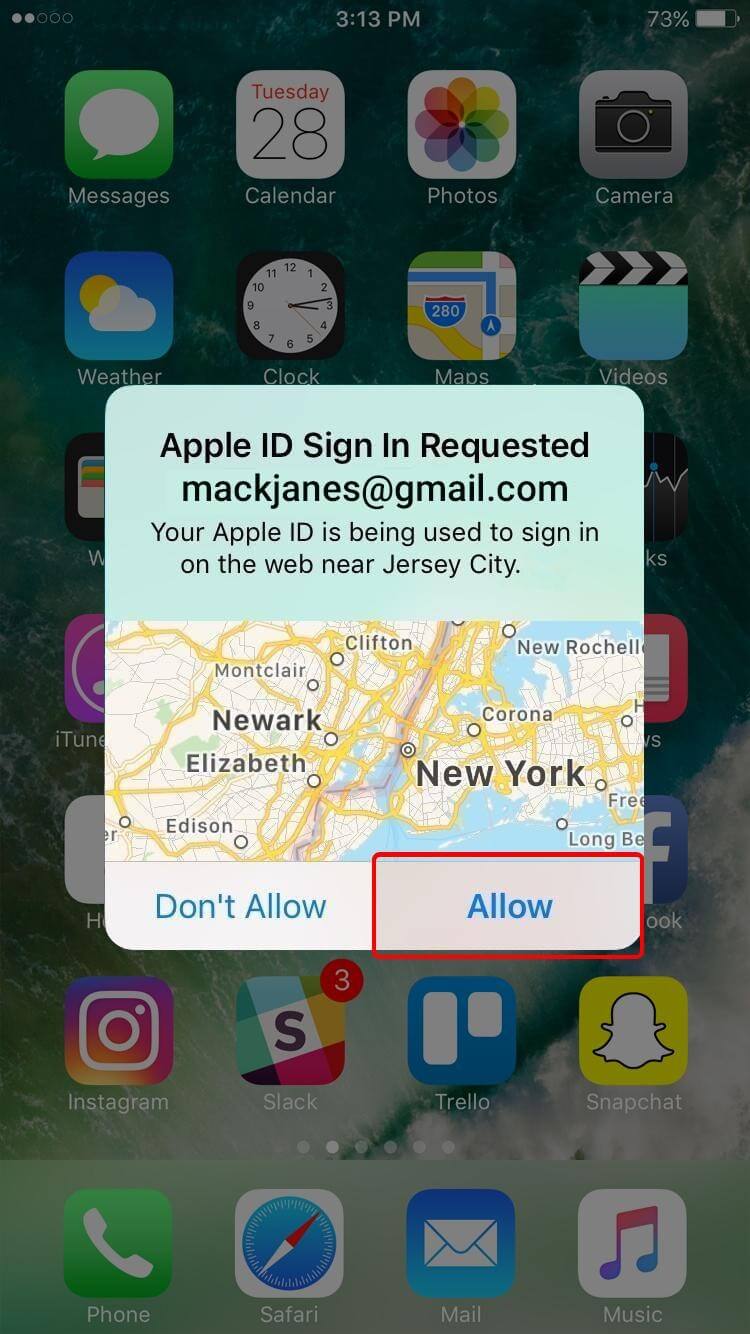
- Since you have the two-factor authentication enabled, you will be asked to enter the six-digit verification code to sign in. To get the code you will have to approve your login by clicking on “Allow”.
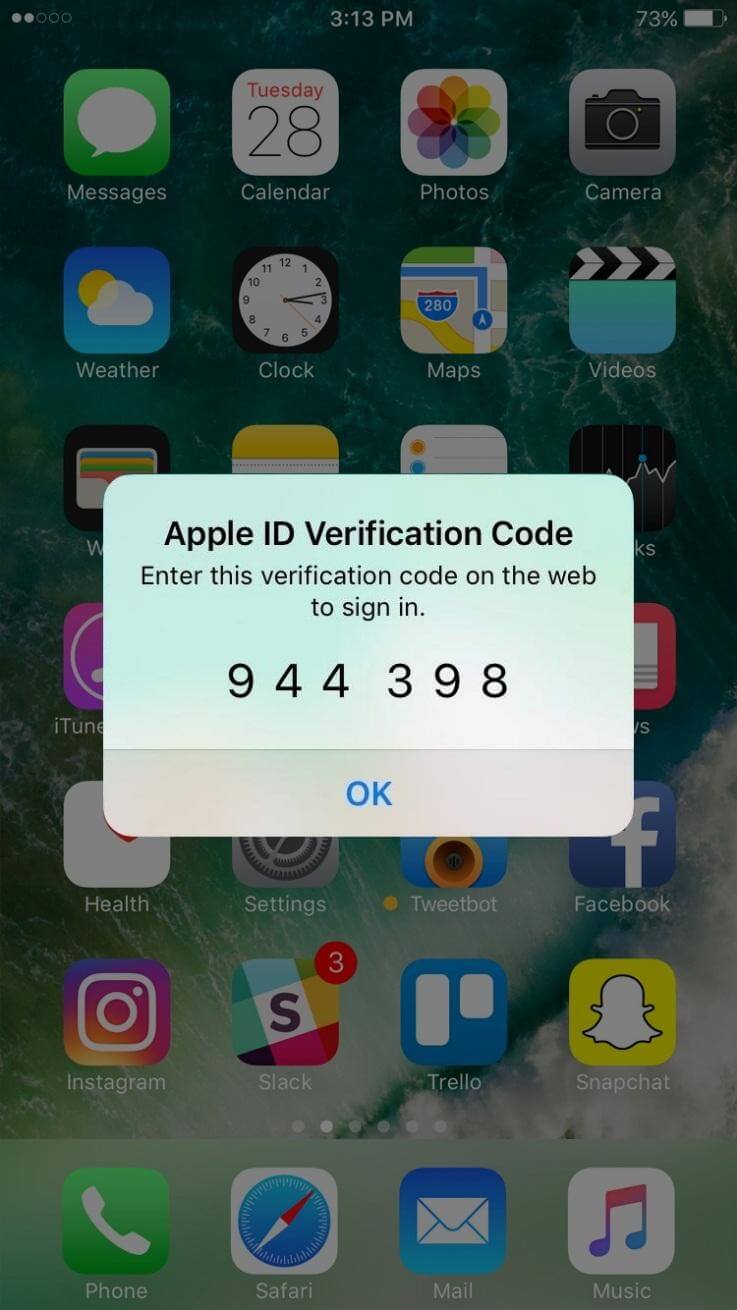
- Enter the six-digit code to verify your account on your PC or Mac machine. Now tap on “Trust” on the next window to complete the login process. Once finished, you will then be redirected to the iCloud account’s home page.

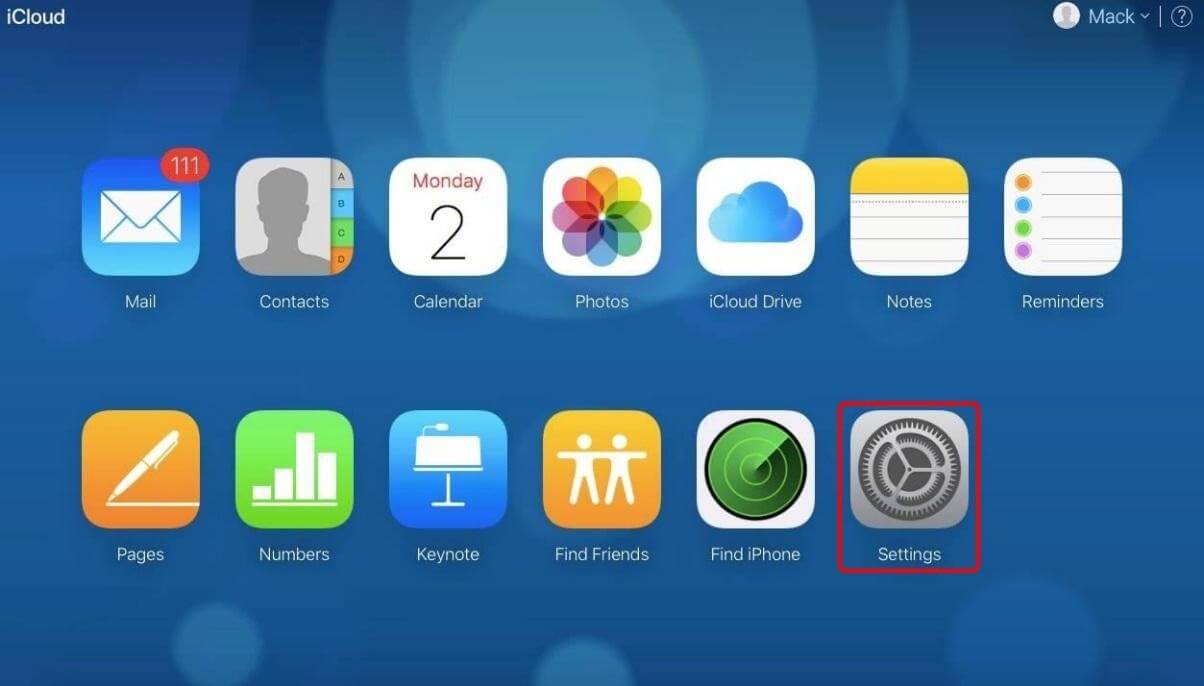
- Here, tap on Settings.
- In Settings click on “Manage” which is below Apple ID. You will again be asked to log in to your account, so enter the username and password followed by the six-digit verification code sent to your iPhone.

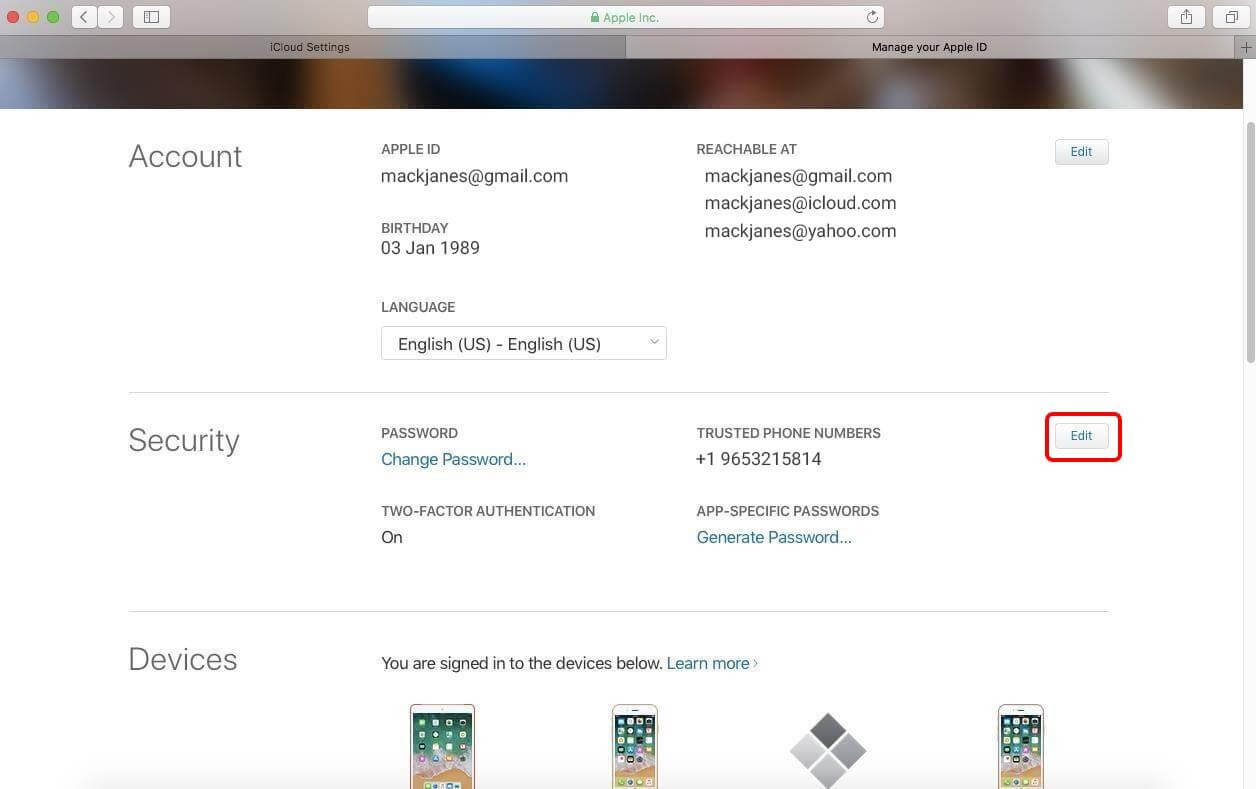
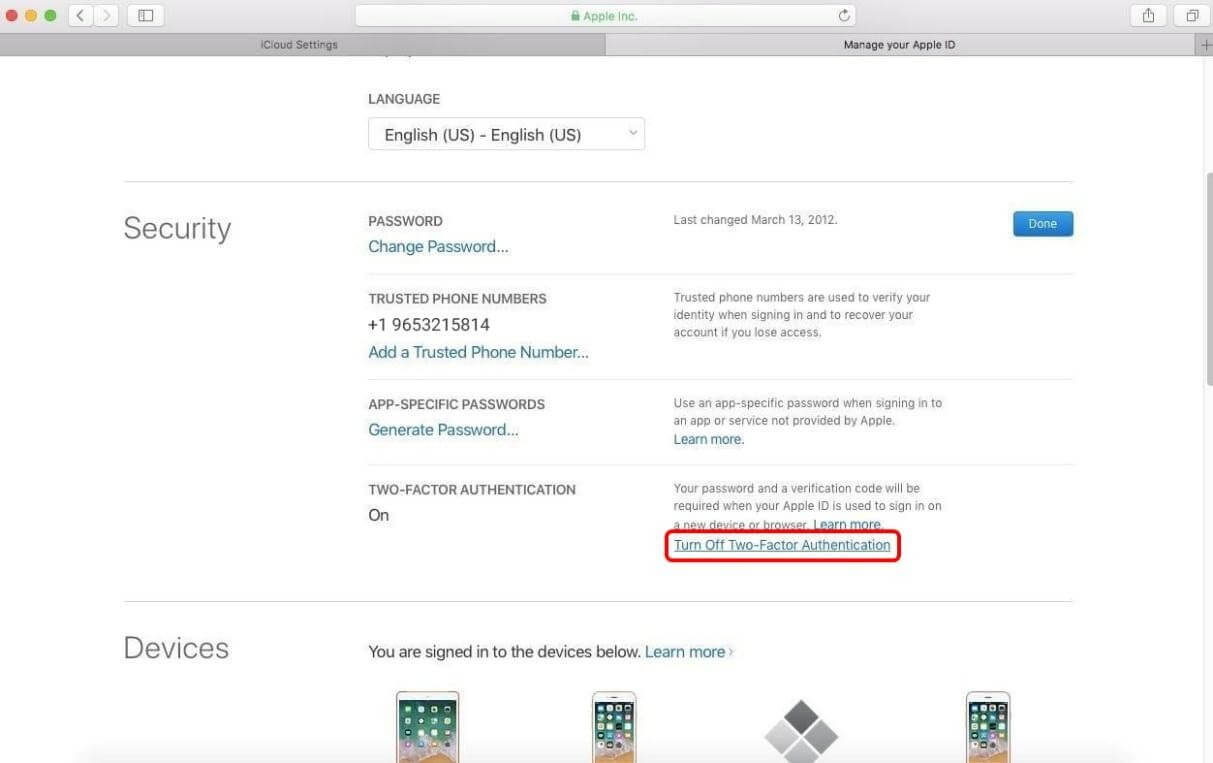
- Now, from the Manage your Apple ID page, scroll down to locate Security and then tap on the “Edit” button on the right corner.
- In the Security page, you will get the option “two-factor authentication”. Click on “Turn Off Two-Factor Authentication”. Tap on it to disable the feature.
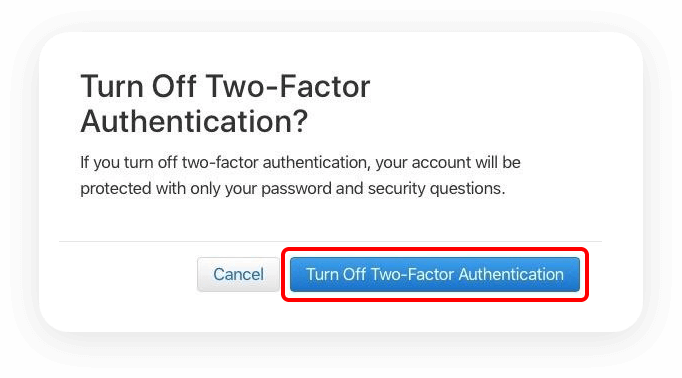
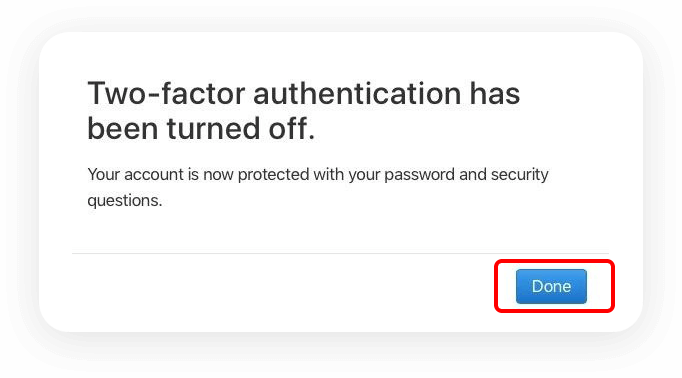
- You will be asked to confirm. Click on “Turn Off Two-Factor Authentication”. Apple will request you to create three security questions before disabling the feature. Finally, click on “Done” to verify the last time and you are done.
So, now that this article has educated you how to enable or disable the two-factor authentication in iOS 11, you can use it as per need.