
Facebook that was going all guns blazing suddenly finds itself in a lot of trouble. For serious allegations of data mishandling, Facebook find itself in between a streak of apologies, confessions and new promises. The shares are tumbling, user’s are quitting, media is criticizing and Mark Zuckerberg has to face a real tough time. Internet is filled with How to delete your Facebook account blogs. In all this chaos we found something that most of us have ignored, i.e. the contacts we have uploaded on Facebook.
Remember, the contacts as an important feature of Facebook that let Facebook to upload contacts from your phone directory? Yeah, most of us surely must have forgotten it that Facebook has complete list of your contacts.
Worried? You do not need to be, as in this article we will guide you through the way to delete all the phonebook contacts that facebook has.
How to Get Started:
1. Login to your Facebook account and head over to Manage Invites and Imported Contacts page.
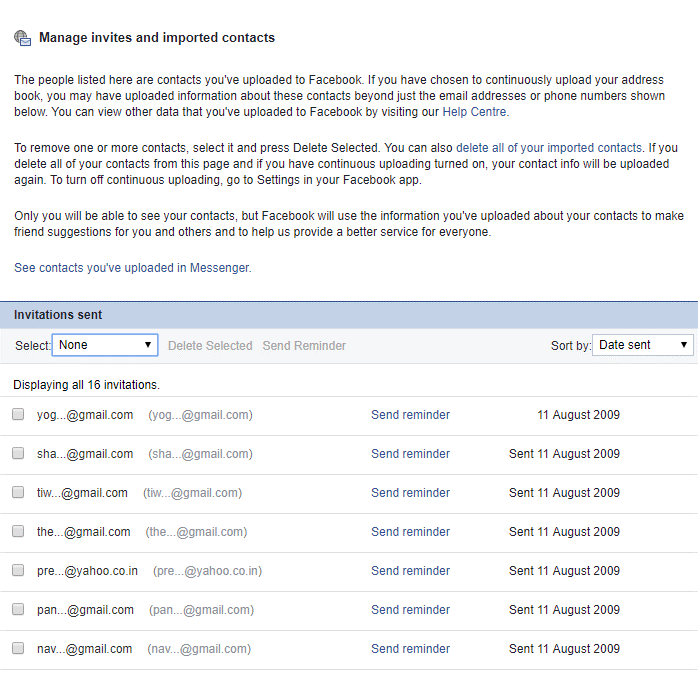
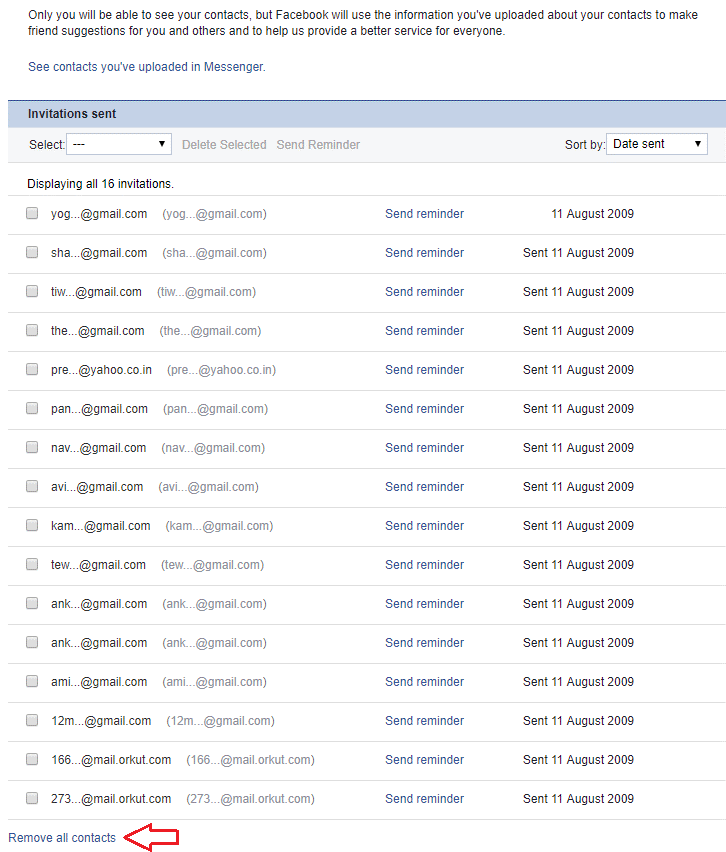
2. On the page that opens don’t be surprised if you find that the invitations you sent years ago (primarily when you joined Facebook) are still active. You can delete them as the invitees are now already members of Facebook. Click on Remove all contacts located at the bottom left corner of the page.
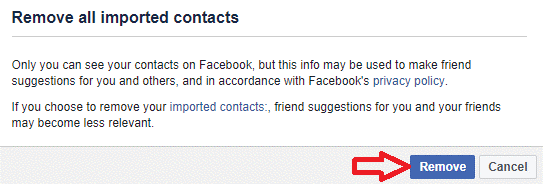
3. In the prompt that appears, click on Remove button to remove all the contacts in one single go. The prompt will show you a warning that if you remove your imported contacts then the feature of friend suggestion may become less relevant. Well! to find a friend on Facebook is not that much difficult.
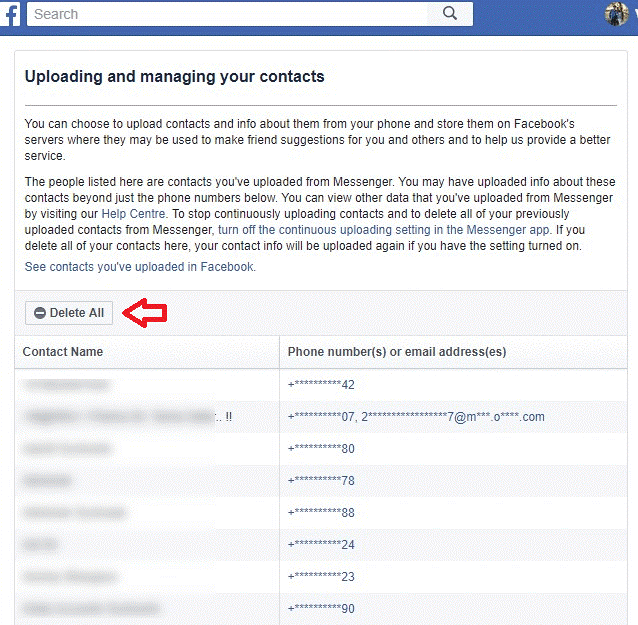
4. Now since you have removed all the pending invitations it is time to delete your phonebook contacts that have been uploaded via Facebook mobile and Facebook Messenger app. To view the contacts that have been uploaded via your phone click here. You can also click on ‘See contacts you’ve uploaded in Messenger’ in Facebook Manage Invites and Imported Contacts page.

5. You will be shocked to see that Facebook holds your complete phone contact list along with their number.
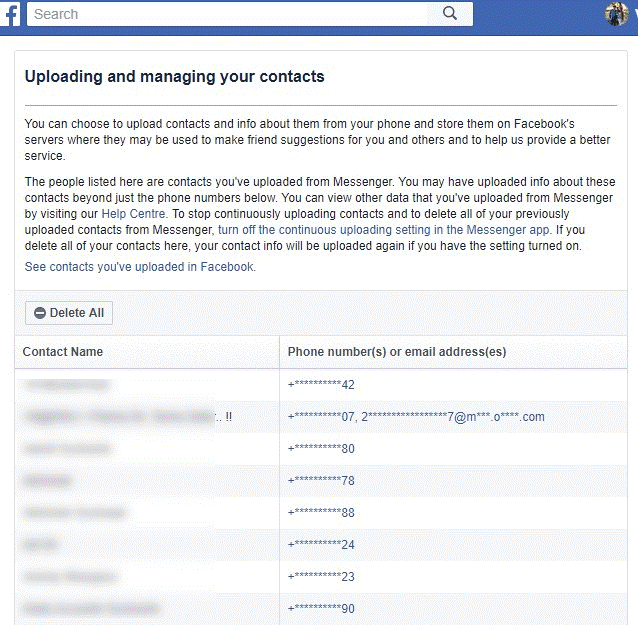
6. Now click on Delete All button to delete all your contacts along with their phone numbers or email addresses.
7. This will show a prompt telling that if you delete uploaded contacts then Facebook will be unable to notify you when your friends start using Messenger.
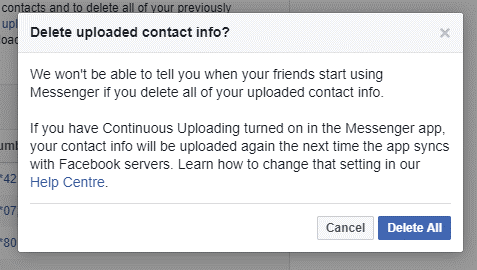
But guys, deleting the contacts is only half of the work done as per the above prompt your contacts will be uploaded again if you have Continuous Uploading turned on. Now our next move is to stop Facebook from automatically uploading contacts from your phone.
How to Stop Facebook from Automatically Uploading Contacts?
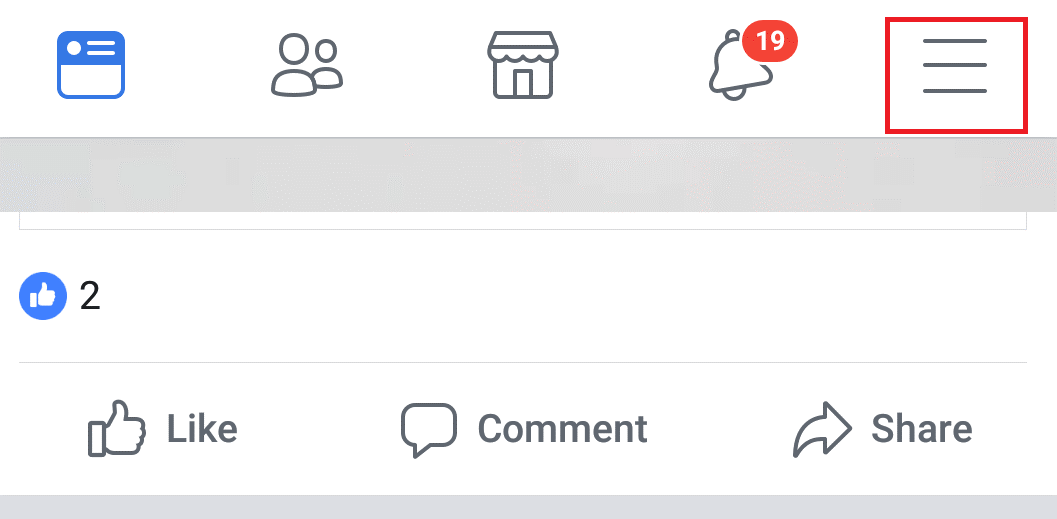
1. Tap on Facebook icon to launch Facebook on your phone and click on menu icon (three horizontal parallel lines) at the top right corner of the app.
2. Now under Help & Settings tap on App Settings.
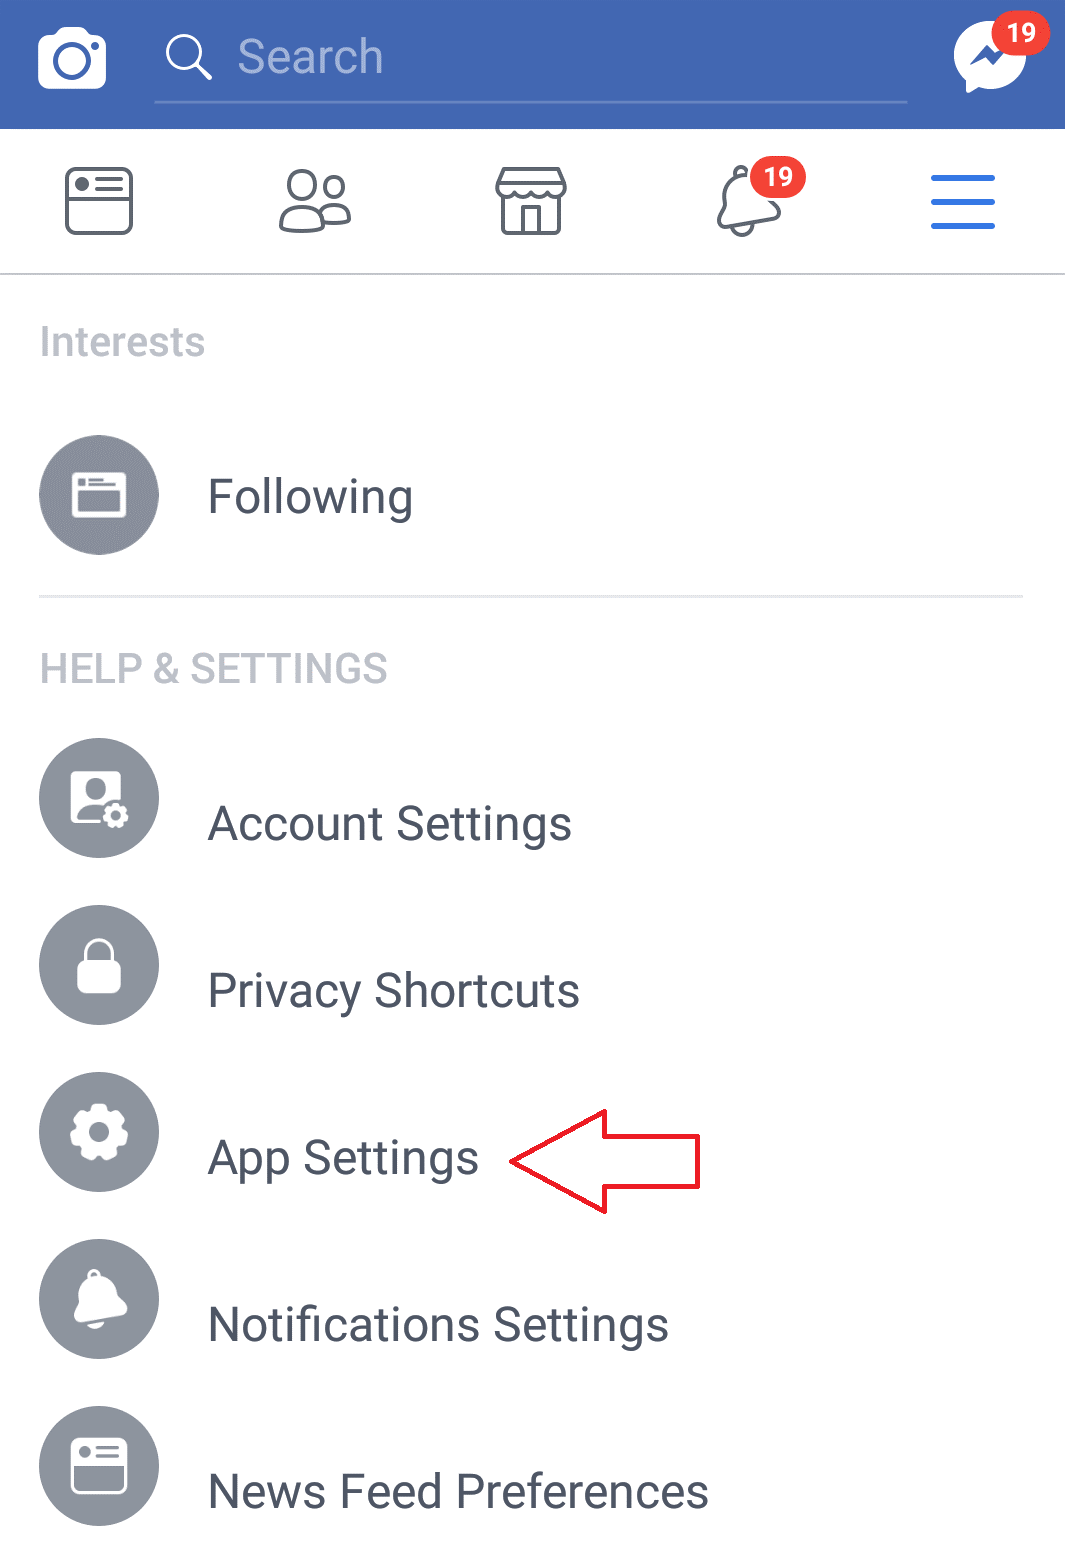
3. In the App Settings now tap on Continuous Contacts Upload to turn it off. This will block Facebook from uploading your contacts to its servers.
If you are using Facebook Messenger app as well then you have to turn off the settings there as well.
- If you are using a phone with Android operating system then tap on your profile picture located at the top right corner.
- Now tap People.
- Since you wish to turn off automatic uploading of contacts tap on Sync Contacts to turn off the setting on.
For iPhone or iPad:
- Tap on your profile picture located at the top left corner.
- Now tap People.
- Now tap on Sync Contacts to turn off the setting.
That’s all guys. Now you have not only effectively deleted all your contact information that is stored on Facebook servers but also disabled automatically uploading of your contacts.