
All iPhone users know the fact that Apple IDs are based on their locations. Having said that Apple IDs are dependent on the user’s location and work in accordance with the location i.e. country or region where the user resides.
This means that while purchasing anything from AppStore, iTunes or even Mac App Store, the Apple ID should match with the location. Does that mean if you change your country or city, you need to update your Apple ID too? Well yes, you will have to.
Read the complete article to know how to change your Apple ID Country or Region.
Note: Before proceeding, please make sure you have your credit card handy for payment.
Change/Update Your Apple ID Country or Region on your iPhone/iPad:
In order to change or update the country or region on your iPhone or iPad, you may follow the steps below:
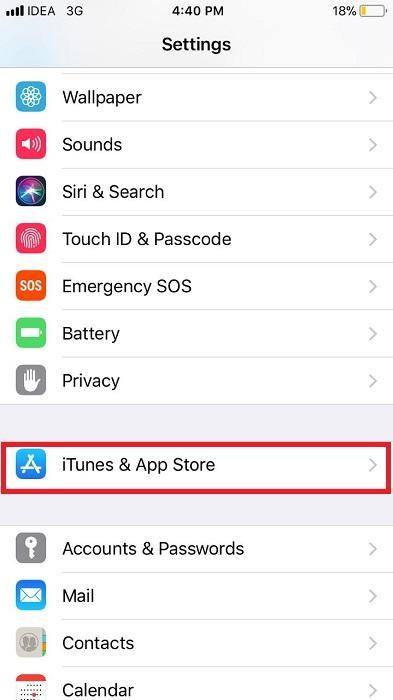
1. Launch Settings from your iPhone or iPad.
2. From Settings scroll down to locate iTunes & App Store.
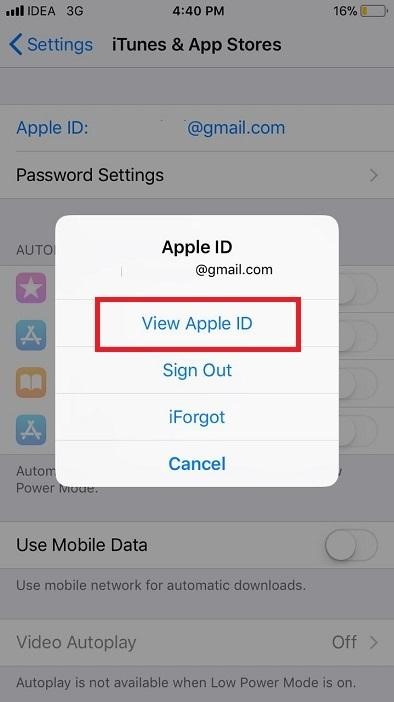
3. Here, click on Apple ID.
4. From the drop-down menu choose View Apple ID.
5. Apple will ask you to log in to your account with the same Apple ID you use to sign in to iTunes. Please sign in with the same details.
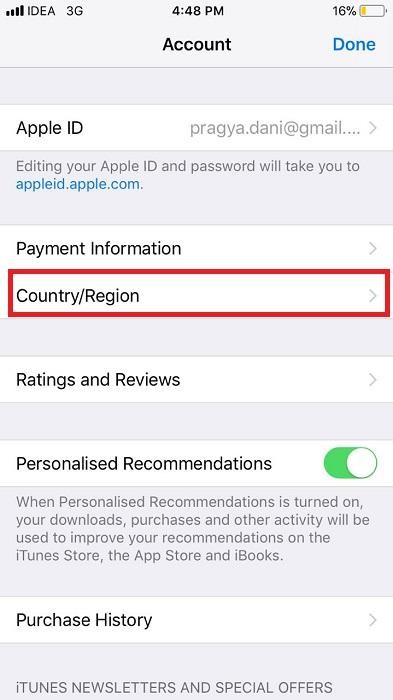
6. Post this, look for Country/Region and click on it.
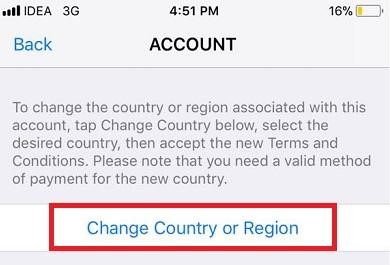
7. Click on Change Country/Region. From the list of countries, choose your country and click on Next.
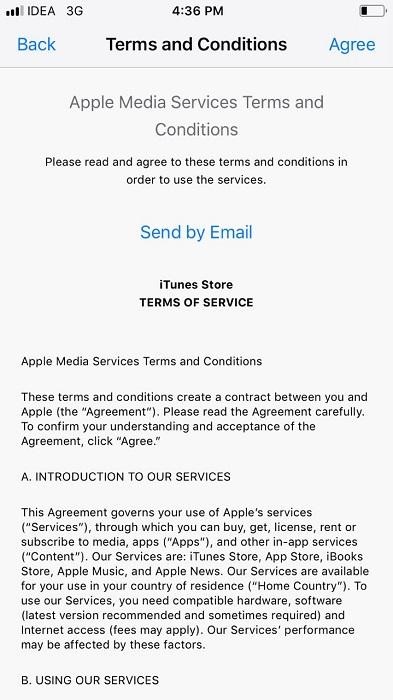
8. Apple will then display the Privacy policy and Terms and Conditions. Agree with them by clicking on Agree.
9. Followed by this is the screen that prompts users to update their billing information. Please enter the payment method as per preference. Continue by providing your payment details and the billing address. Once all the information has been entered, click Next to proceed.
That’s it! Post payment, your Apple ID will be updated as per your current country or region and so will be the App Store settings.
Change/Update Your Apple ID Country or Region on your Mac:
The above-mentioned steps showed how to change Apple Id Country or Region on your iPhone or iPad. Now we will see how to get the updated on your Mac.
Read below to find out how to change your Apple ID Country or Region on your Mac:
1. Launch iTunes on your Mac machine.
2. Log in to iTunes with your Apple ID.
3. From the top of iTunes window, look for Account and click on it.
4. A list will be presented to you, locate View My Account and enter your password.
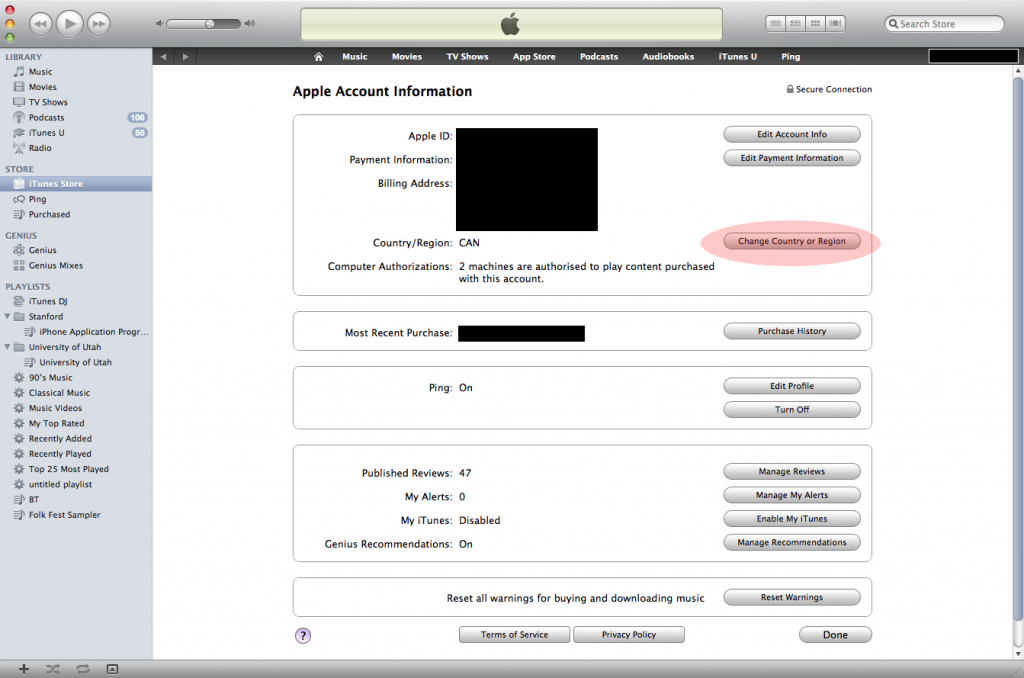
5. An Account Information page will get displayed which will have all the information related to your account, Locate Change Country/Region and click on it.
6. From the region menu, click your Country and tap Change.
7. Next screen is Welcome to iTunes Store, click on Continue to proceed.
8. Apple will then display the Privacy policy and Terms and Conditions. Agree with them by clicking on Agree.
9. Followed by this is the screen that prompts users to update their billing information. Please enter the payment method as per preference. Continue providing your payment details, the billing address. Once all the information has been entered, click Continue to proceed.
That’s it! Your Mac Store and iTunes has now been updated according to your Country and Region. Enjoy accessing it.
So, folks, these were the simple steps you have to follow in order to change your Apple ID Country and Region. Do share your valuable feedback in the comment section below.