Do you wish to change default camera in Windows 10/11? You might wish to change Windows 10’s default camera for several reasons, such as a poorly integrated webcam or any issue. However, most laptops are equipped with a built-in webcam, but even that sometimes falls short of our expectations. Many users, particularly professionals, choose to use an external webcam.
It’s pretty easy to install an additional webcam to your computer.But you must first turn off the laptop’s built-in webcam before making the secondary webcam the primary device. In order to use it for video calling, recording and to function with several other software programs, you must set it as your primary webcam on your Windows computer.
Read Also: New Windows 11 22H2 Features You Can Look Forward To
To accomplish this go through this guide thoroughly.
Why you need to change your default camera in Windows 10/11
Whenever a Windows 10/11 device fails to recognize the built-in webcam, a problem arises. Therefore, it is important to learn how you can change the built-in camera in your Windows 10 laptop/PC?
You can set up your PC/Laptop to employ one of the cameras for a specific application. This works if the built-in webcam on your laptop is broken or has already been swapped by a higher-quality external webcam.
So, in this post, we will demonstrate how to quickly replace the default camera in Windows 11/10. Without further ado, let’s get started.
Read Also: : Webcam Black Screen Issues On Windows 10
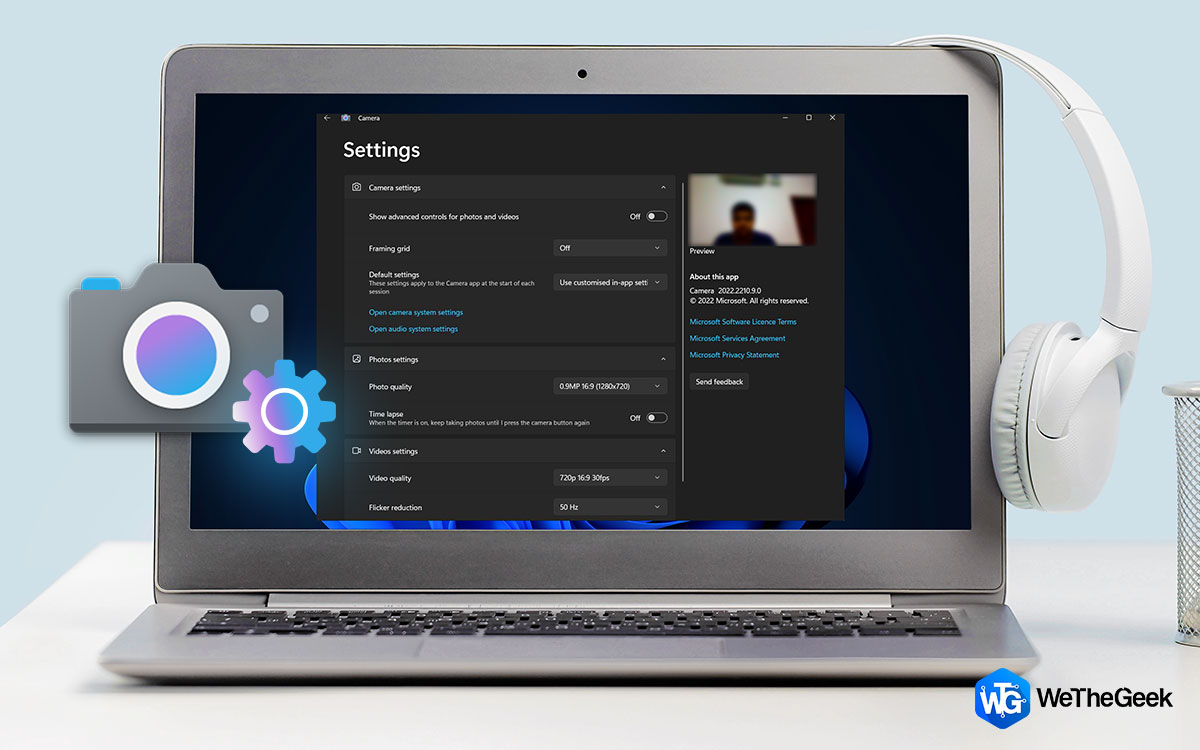
How to Change default camera in Windows 10/11
1. Disable Your Internal Webcam
- Press the Windows key with the key X to open the WinX menu.
- Now click on Device Manager.

- From the list, double-click on the Cameras option.
- To disable the camera, simply right-click on it (the name of the device’s maker will appear), then select Disable device.

- Disable every camera device aside from the one you wish to utilize by default in this manner.
Read Also: Webcam Hacked – How To Tell If Your Webcam Is Spying On You
2. Set your External/Secondary Camera as the Default Camera in Windows 10/11
- Click on the search bar and type control panel and open it.

- Look for and tap on the Devices and Printers option.

- Find the external webcam and right-click on it.
- Now tap on the Set as Default Device option.
By complying with the steps above, you have successfully disabled the built-in camera and configured the secondary camera as the default webcam. After completing these steps, you can use this camera for any task.
Read Also: How to Use Your Old Digital Camera as a Webcam
3. Change your Default Camera in your Web browser as well
- Open your browser. We have opened Microsoft Edge here. Type the following text in the address bar and hit the Enter key:
edge://settings/content/camera

- Choose the camera that you wish to set as this browser’s default camera.
Read Also: How to Enable Tabs for File Explorer on Windows 11 (2022)
To Wrap This Up
So, this is how you can change the default camera in Windows 10/11. We hope laptop manufacturers will give their products better cameras. Although the quality has upgraded over time, there is still much room for improvement. Have you got any queries or suggestions about this topic? Please feel free to discuss them in the section below. And for more such troubleshooting guides and tips & tricks related to Windows, Android, iOS, and macOS, follow us on Facebook, Instagram, and YouTube