Avast is a renowned antivirus brand that has been around for several decades. It is a cross-platform security suite that offers round-the-clock protection to safeguard our devices against any potential malicious threats, including viruses, malware, spyware, trojans, adware, ransomware attacks, and more.
If you’ve already signed up for Avast Antivirus services, we’re sure you must’ve heard about the Avast Virus Chest? Having troubles retrieving files from Avast’s Virus Chest? Don’t worry! We’ve got you covered. In this post, we will be learning all about what is Avast Virus Chest, how to access it, and how to deal with the “Avast Virus Chest won’t restore my Files” issue.
Let’s get started.
Also read: Avast Vs AVG | Ultimate Comparison (2021)
What is Avast Virus Chest?
Virus Chest is an isolated space where Avast stores dangerous and suspicious files. As soon as Avast runs an antivirus scan on your device, and if any suspicious data or file is detected, Avast moves it to the Virus Chest.
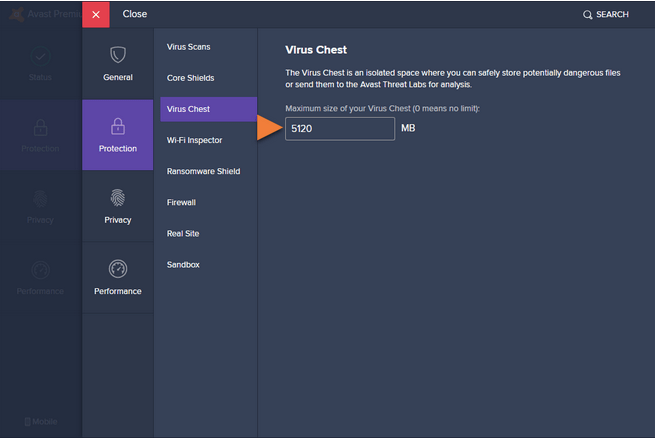
Here comes the beauty of the Virus Chest. All the files and data that are stored on the Avast Virus Chest cannot be executed or accessed on your system. To protect your system from being infected with potentially malicious content, Avast does not allow you to run suspicious files stored in the Virus Chest.
Also read: Avast Remediation.exe: What is it and How to Remove
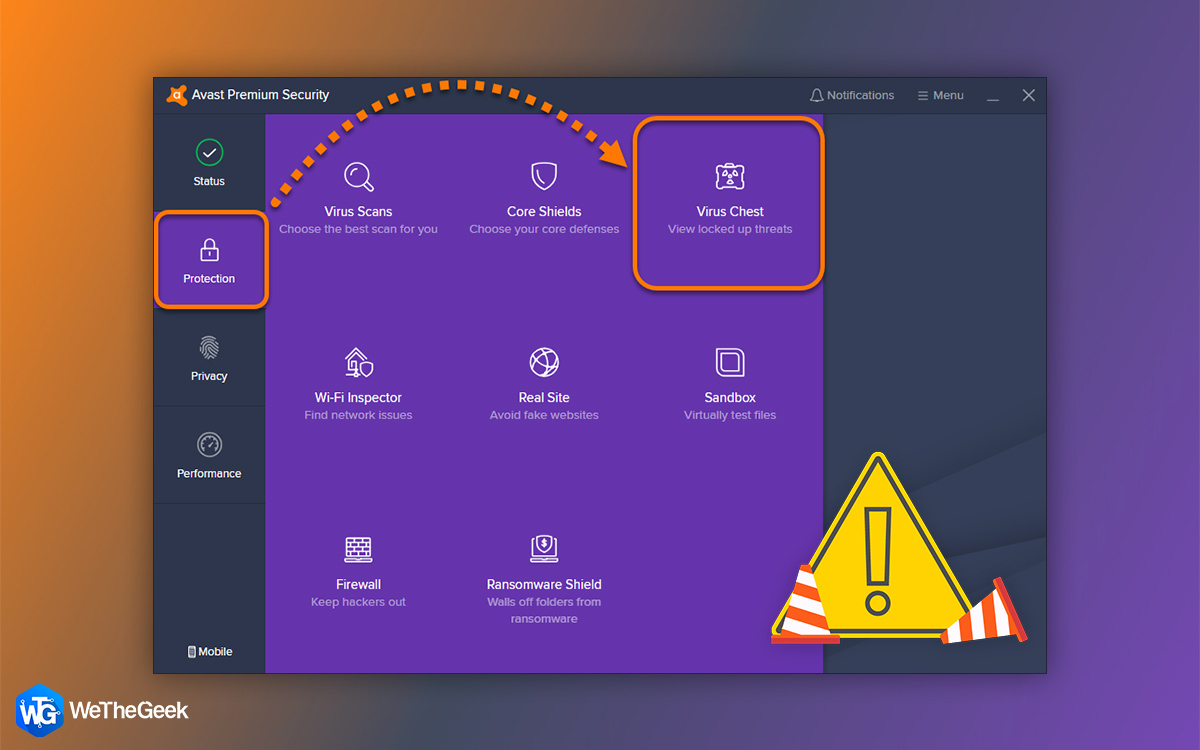
How to Access Avast Virus Chest?
There are two simple ways of how you can access the Avast Virus Chest on your device.
#1 Via Settings
Launch Avast Antivirus tool on your device. Switch to the “Protection” tab placed on the left menu pane.
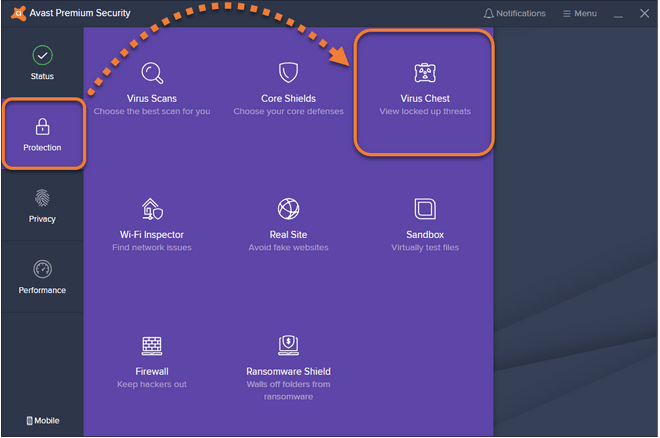
In the Protection tab, select “Virus Chest”.
#2 Via System Tray
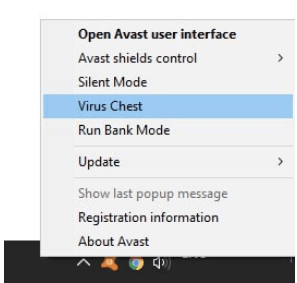
An alternate way to access Virus Chest on the Avast Antivirus tool is via the System Tray.
Right-click on the Avast Antivirus icon placed in the System Tray on your Taskbar. Select the “Virus Chest” option from the context menu.
Also read: How Can Avast Battery Saver For Windows 10 Increase Your Productivity?
How do I Restore files from Avast Virus Chest?
Now, let’s learn how to restore files from the Avast Virus Chest. But yes, we would strongly advise that only restore files from the Virus Chest once you’re 100% sure that the file is not malicious and it won’t harm your device.
In the Virus Chest window, check on the file title that you need to restore.
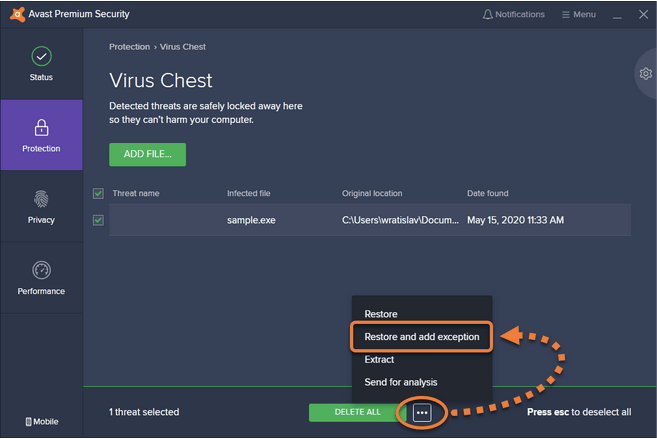
Tap the three-dot icon placed at the bottom, select “Restore”.
And that’s it!
How to Add Files to Avast Virus Chest Manually?
As we mentioned earlier, Avast automatically moves malicious files to the Virus Chest but you can also add files manually.
Launch Avast Antivirus, switch to the “Protection” tab from the left menu pane.
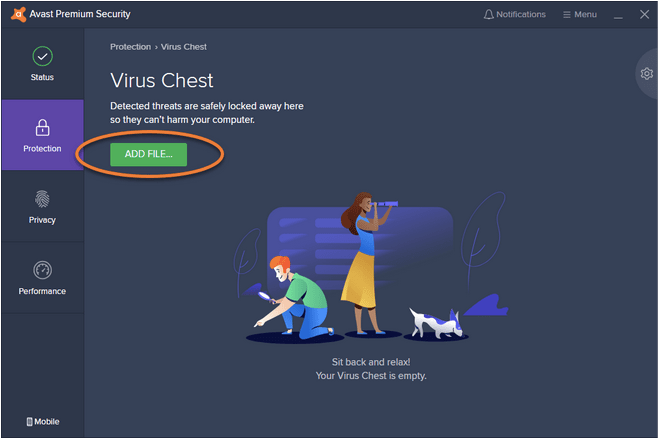
Select “Virus Chest”. In the “Virus chest” window, tap on the “Add File” button.
Browse to the file location, select the file that you need to add to “Virus Chest” and hit the “Open” button.
Avast Unable To Restore Files? Here’s the Fix!
Here are a few workarounds that you can try to fix the “Avast Virus Chest Won’t Restore My Files” issue.
#1 Repair Avast Antivirus
On your Windows PC, fire up the Start menu search box, type “Control Panel” and hit Enter.
Tap on the “Uninstall a Program” option.
Here you will have a list including all the installed apps and services. Locate Avast Antivirus, right-click on it and select “Repair”.
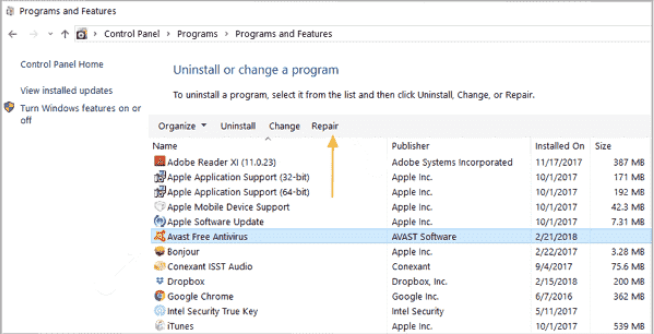
Follow the on-screen instructions to repair the Avast installation to check if it fixes the issue.
#2 Submit Files to Avast threat Labs as False Positive
You can also send the malicious file to Avast Threat Labs for further analysis. By reporting a file as “False Positive”, you can claim that the file was potentially safe, and it was still detected as malware in the antivirus scan. Here’s what you need to do:
Head on to the Avast Antivirus Virus Chest section.
Select the respective file that you need to restore. Tap the three-dot icon placed at the bottom, select “Send for Analysis”.
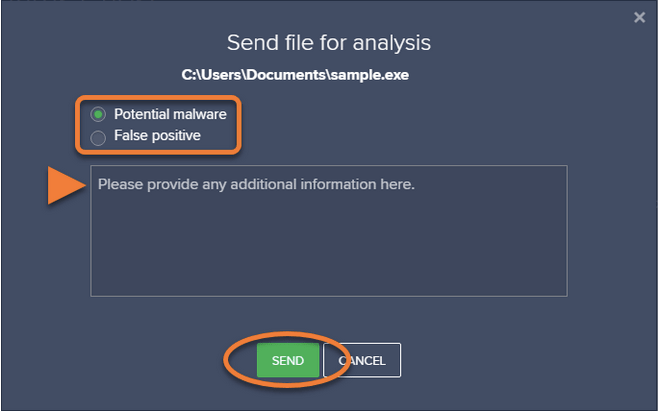
Select the “False Positive” option. Hit the “Send” button.
After submitting the file as “False Positive” sit back and relax for a few days, until you hear from Avast’s support team.
Download Systweak Antivirus for Windows PC

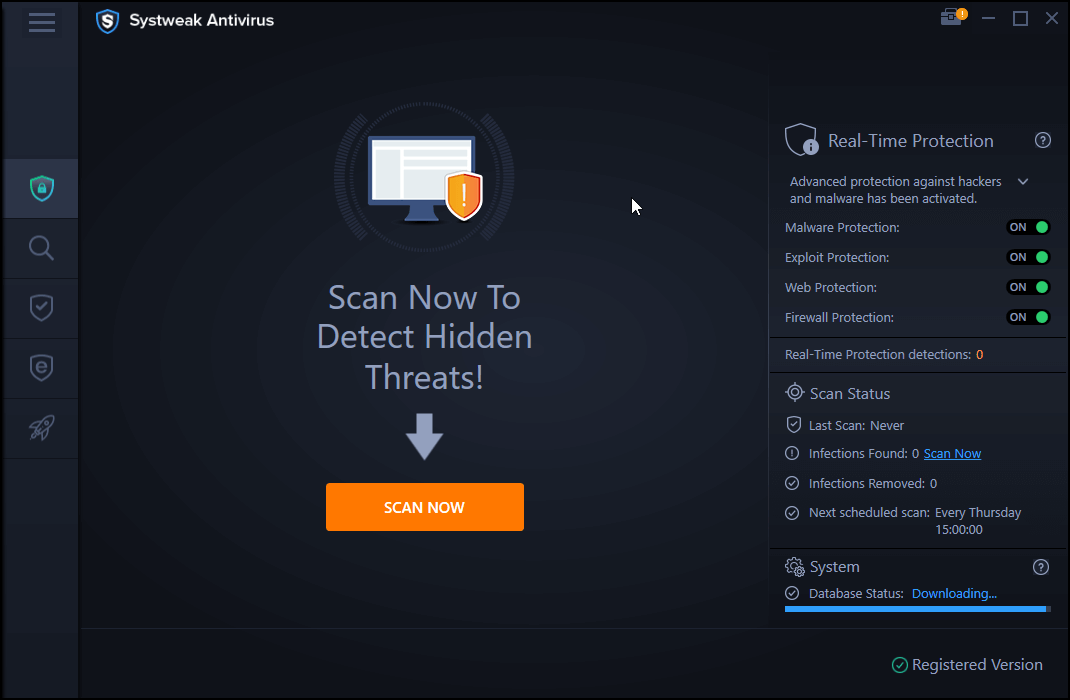
Looking for an Avast Antivirus software alternative? We have a quick recommendation! Systweak Antivirus is a reliable, powerful antivirus package that offers real-time protection against viruses, malware, Trojans, Adware, and Ransomware attacks. It not just protects your device from potential malicious threats but also enhances your device’s performance by removing unwanted start items. Systweak Antivirus offers your three different types of scan modes:
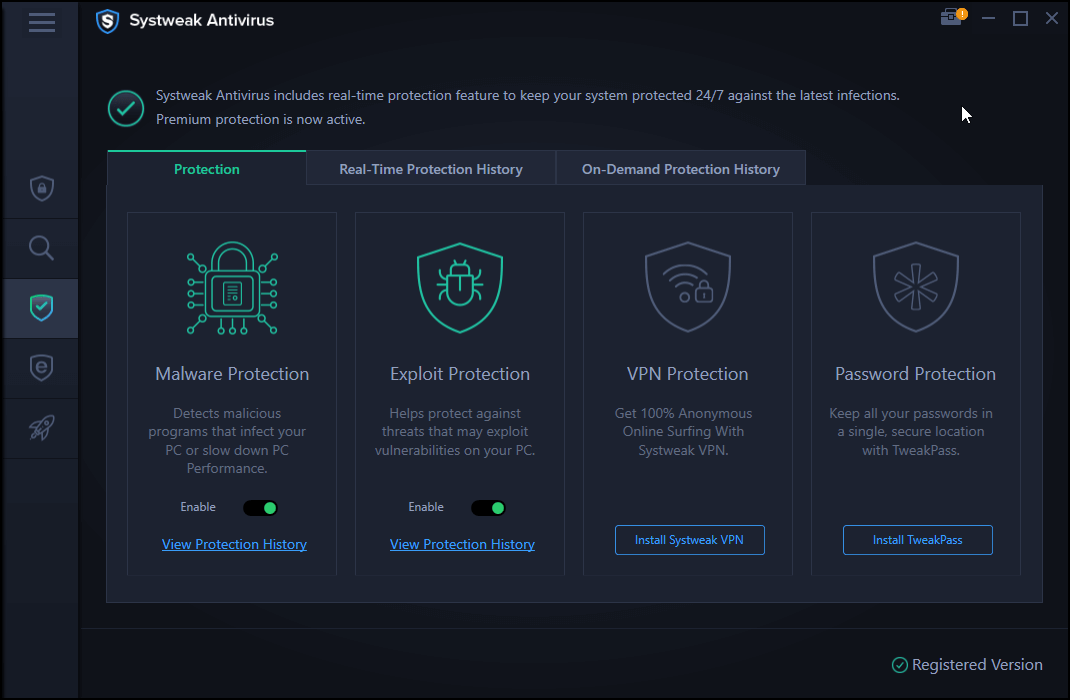
- Quick Scan
- Deep Scan
- Custom Scan
Systweak Antivirus protects your device from Zero-day attacks and vulnerabilities as well. If you’re looking for an ideal antivirus security tool for your Windows PC, download Systweak Antivirus today!
Also read: Windows Defender VS Avast: Which One Is Better for You
Faqs
Where is Avast virus chest folder?
The Avast Virus Chest Folder is located in the antivirus tool itself. You can access it by heading to the “Protection” tab from the left menu pane.
Should I Delete Viruses from Virus Chest?
Not necessarily! All the files placed in the Virus Chest folder can cause no harm to your device. Avast Virus Chest is an isolated space so even if you leave the virus files there without deleting them, there’s absolutely nothing to worry about.
Conclusion
Here were a few ways to deal with the “Avast Virus Chest won’t restore my Files” issue on Windows 10. Do let us know which solution worked out the best for you for restoring files from the Virus Chest. Feel free to hit the comments box!