Several files along with folders accumulate on your computer as you use them continuously. You would eliminate unnecessary and outdated files, which clears up clutter and frees up storage. You’ll most likely choose any file and press delete button to send it to Recycle Bin. You must remove the file from Recycle Bin to erase it permanently, though. But if you want to remove files from the context menu permanently with a single click, read this article to the end.
How To Add The “Permanently Delete” Option To Windows Context Menu
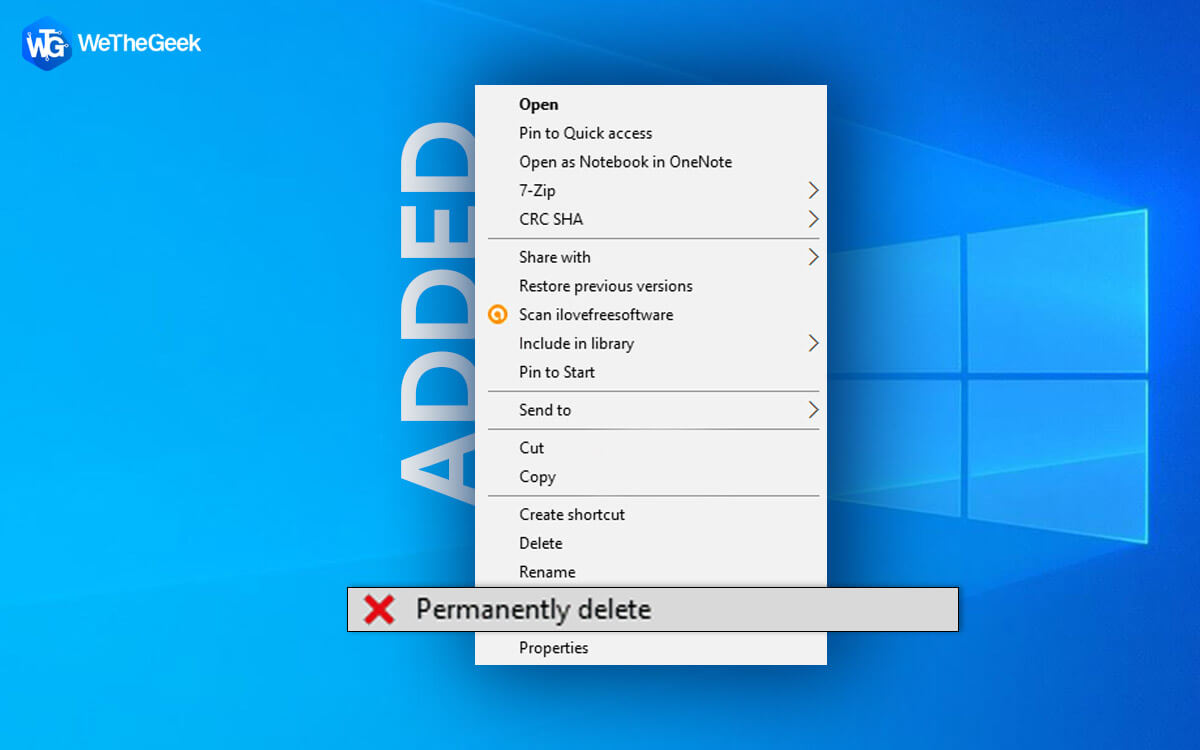
The right-click menu can share, open, copy, save and remove files. But, there isn’t a “Permanently Delete” button to quickly delete files permanently in this Windows context menu. But you can add that choice to the right-click context menu. You can eliminate files permanently without using the Recycle Bin. You must use Registry Editor to accomplish this.
Step 1: Utilize Windows Search to find Registry Editor, then select Registry Editor under Best match to launch it.
Step 2: You can use the Win + R combination to launch the Run box, type regedit in the Open box, and then press the Enter key.

Step 3: On the UAC prompt, select Yes.
Step 4: Then select Computer > HKEY CLASSES ROOT > AllFilessystemObjects from the left pane.

Step 5: The shell key is under AllFilesystemObjects, which you should first expand.
Step 6: Right-click on shell, choose New, and then Key to add a new key.

Step 7: Rename this new key under the shell as Windows.PermanentDelete.
Note: Four string values must now be created under Windows.PermanentDelete key.
Step 8: Right-click on Windows and select the first string. Press the PermanentDelete key in the left pane, or right-click a blank area in the right pane. Choose New, followed by String Value.

Step 9: The right pane will generate a string. Put CommandStateSync as the name. If you initially struggle to give it a name, you can always right-click it and choose Rename.
Step 10: Right-click on a blank area and select New > String Value to create the following string. Name it as ExplorerCommandHandler.

Step 11: Then click it again to bring up the Modifier Window. Copy and paste the value “E9571AB2-AD92-4ec6-8924-4E5AD33790F5” into the Value data field. Next, press OK or enter.

Step 12: Like you made the first and second strings, produce the third string: Create a New > Key and give it the name Icon.
Step 13: Open the Modifier Window by double-clicking the icon string, and then copy and paste the value shell32.dll,-240 into the Value data box. Enter or press OK.

Note: The Permanently Delete text in the context menu will now have a Red Delete Cross icon, thanks to this icon string.
Step 14: Create the final string and give it the name Position.
Step 15: Double-click the Position string to bring it up in the Modifier Window, then type Bottom into the Value data field. Enter or press OK.
Step 16: The location of the Permanently Delete option in the context menu is determined by this Position string. As a result, it will be near the bottom of the context menu because we set the value data to the Bottom.

Note: All registry modifications necessary to enable the “Permanently Delete” option have now been finished. When you right-click a file or folder, you can exit the Registry Editor and see if the “Permanently Delete” option appears in the context menu.
Remove The Recycle Bin Files From Your Computer Using Advanced PC Cleanup


Advanced PC Cleanup is a great PC optimization tool that assists in recovering lost storage space so you may use it for more useful uses by deleting unwanted objects from your computer. You should be convinced of the value of Advanced PC Cleanup by these characteristics.
Junk Remover. You may scan, find, and remove trash files from your computer using a specific module of the Advanced PC Cleanup software.
Temporary paperwork. Temporary files are just behind garbage files in terms of taking up space on your computer. They may have once been necessary for setting up or using a particular piece of software. You can delete these temporary files with this utility; don’t worry, fresh ones will be generated as soon as your programs exit.
Removable Documents. All the files you purposefully remove from your computer are stored in the Recycle bin. In addition to the previously mentioned features, there are a ton more, including malware prevention, erasing identity traces, fixing damaged registry connections, and much more.
The Final Word On How To Add A “Permanently Delete” Option To The Windows Context Menu
Having a one-click ability to remove files and folders permanently is convenient. Additionally, if it’s on the context menu you frequently use, it might simplify things and save time. Therefore, add and use the Permanently Delete option in the Windows context menu to work smarter.
Follow us on social media – Facebook, Instagram, and YouTube. Please contact us with any questions or ideas. We would be delighted to provide you with a resolution. We frequently publish advice, solutions, and guidance for common technological problems.